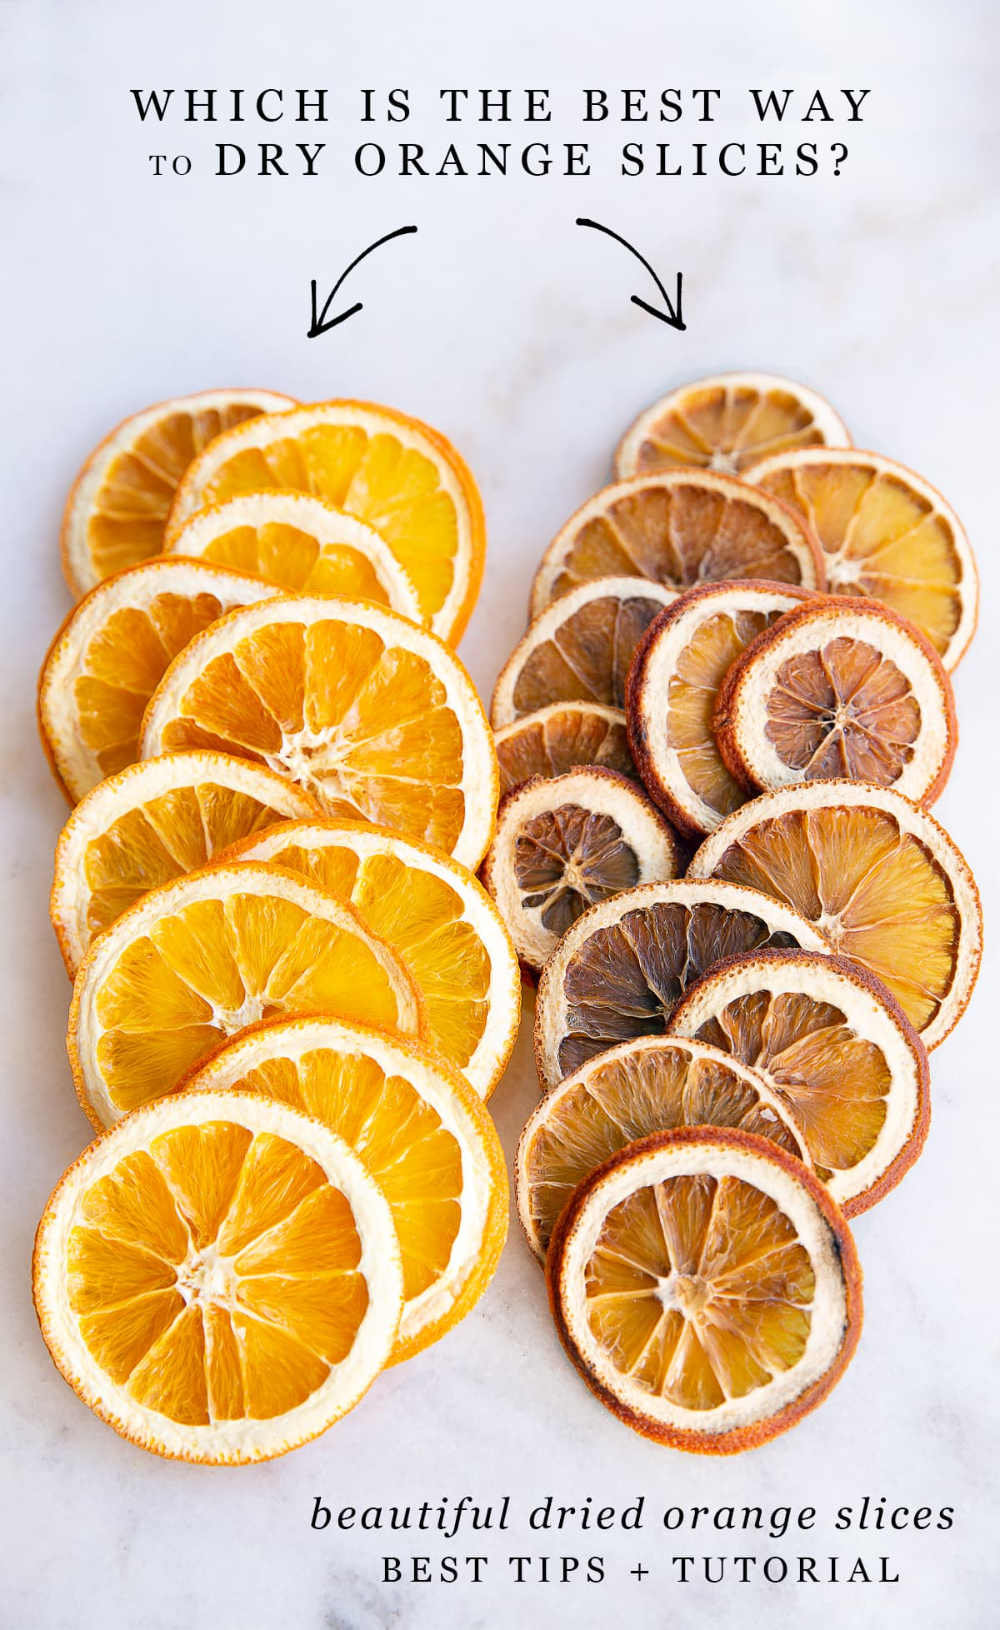
Dried Orange Slices: The Ultimate Guide to Christmas Decorations
Dried orange slices are a beautiful and festive addition to Christmas decorations. Not only do they add a pop of color and a touch of natural elegance to your holiday display, but they also fill your home with a delightful citrus scent. With this ultimate guide to drying and dehydrating oranges, you can easily create stunning dried orange slices for your Christmas decorating this year.
The first step in making dried orange slices is to gather your materials. You will need fresh oranges, a sharp knife, a cutting board, parchment paper, a baking sheet, and an oven or food dehydrator. Make sure to select oranges that are firm and have a smooth, unblemished skin. This will ensure that your dried orange slices turn out beautifully.
Once you have your materials gathered, it’s time to prepare the oranges for drying. Start by preheating your oven to its lowest setting, typically around 170°F (75°C). While the oven is preheating, slice the oranges into evenly sized rounds, about 1/4 inch thick. Use a sharp knife to make clean, precise cuts, as this will help the oranges dry more evenly.
After the oranges are sliced, place them on a parchment-lined baking sheet in a single layer. If you’re using a food dehydrator, arrange the slices on the dehydrator trays, making sure to leave space between each slice for proper air circulation. Once the oranges are arranged, it’s time to dry them.
If you’re using an oven to dry the orange slices, place the baking sheet in the oven and prop the door open slightly to allow moisture to escape. Depending on your oven’s temperature and the thickness of the orange slices, drying can take anywhere from 4 to 8 hours. Check the slices periodically and rotate the baking sheet to ensure even drying.
If you’re using a food dehydrator, simply set the temperature to 135°F (57°C) and let the machine do the work. Drying time will vary depending on the dehydrator and the thickness of the orange slices, but it typically takes 6 to 12 hours. Check the slices periodically and rotate the trays as needed.
Once the orange slices are completely dry, let them cool before handling. They should be firm and slightly leathery to the touch. At this point, you can leave the slices as is for a more rustic look, or you can take them to the next level with a few additional steps.
To intensify the color and scent of the orange slices, consider lightly dusting them with cinnamon or cloves while they are still warm. This will not only enhance their visual appeal but also add a warm, spicy fragrance to your decorations. You can also thread the dried orange slices onto twine or ribbon to create garlands, or use them to adorn wreaths and centerpieces.
In summary, here’s how to make the most beautiful dried orange slices for Christmas decorating this year:
1. Gather your materials: fresh oranges, a sharp knife, a cutting board, parchment paper, a baking sheet, and an oven or food dehydrator.
2. Preheat your oven to its lowest setting.
3. Slice the oranges into evenly sized rounds and arrange them on a parchment-lined baking sheet or dehydrator trays.
4. Dry the orange slices in the oven with the door propped open, or in a food dehydrator at 135°F (57°C) for several hours.
5. Dust the dried orange slices with cinnamon or cloves for added color and scent, and use them to create beautiful Christmas decorations.
By following this ultimate guide to drying and dehydrating oranges, you can create stunning dried orange slices for Christmas decorating that will impress your guests and add a touch of natural beauty to your holiday festivities.
You can review our digital products by following us on Etsy.


