Home
Blog
About
Contact
Home
Blog
About
Contact
What are you looking for?
Search results will appear here
TAG: Shades
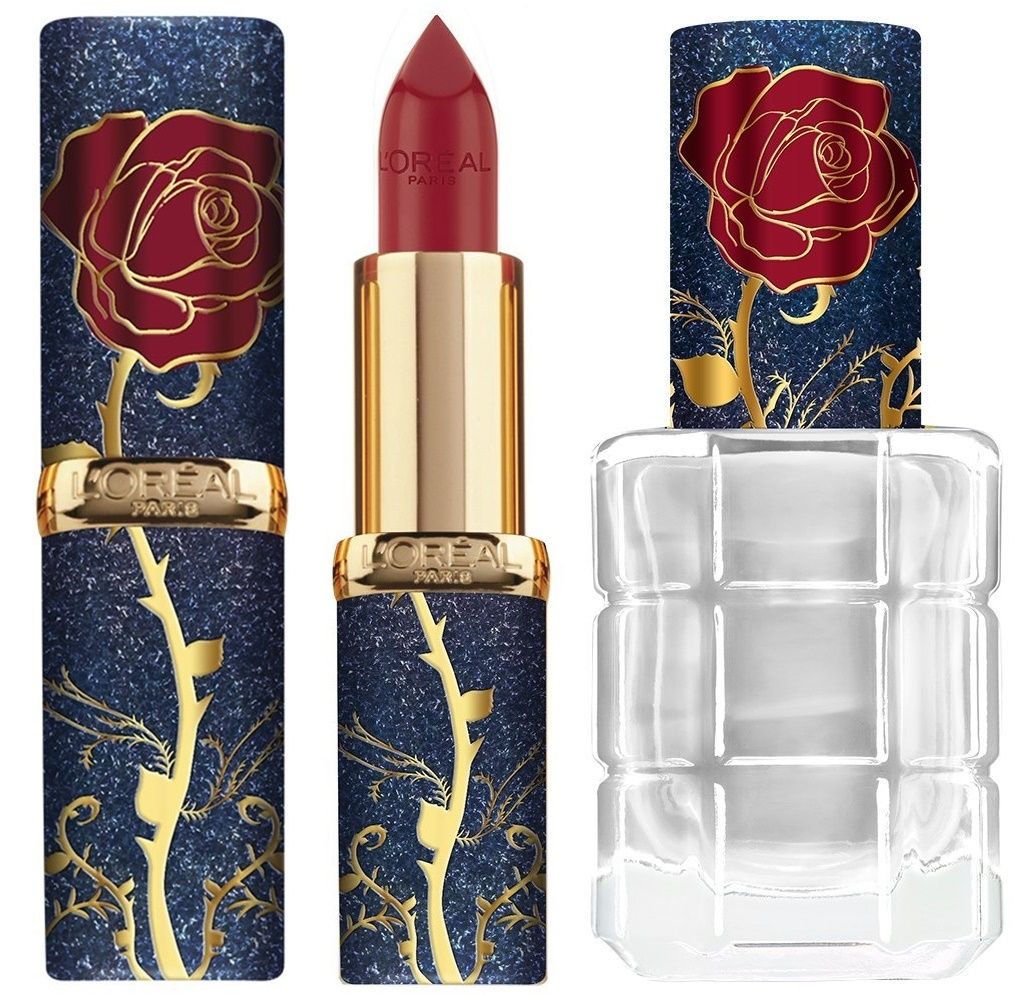
If you are a fan of Disney’s Beauty and the Beast and love makeup, then you are going to be drooling over the new L’Oreal Beauty and the Beast Makeup Collection. This stunning collection includes Beauty and the Beast inspired lipsticks and nail polishes that are sure to make any Disney lover swoon. Unfortunately, the collection is currently only available on Amazon Italy, leaving many fans in the US feeling jealous and left out.
Beauty and the Beast Makeup Collection Overview
The L’Oreal Beauty and the Beast Makeup Collection features a range of products inspired by the beloved Disney movie. From lipsticks in shades inspired by Belle’s iconic yellow dress to nail polishes that pay homage to the enchanted rose, this collection is a must-have for any Beauty and the Beast fan. The packaging is also beautifully designed, featuring images of Belle, the Beast, and other characters from the movie.
Unavailability in the US
One of the major drawbacks of this collection is that it is currently only available on Amazon Italy. This has left many fans in the US feeling disappointed and frustrated, especially since Amazon UK does ship to the US. It is unclear why Amazon Italia does not offer international shipping for this collection, but it has left many fans longing for the opportunity to get their hands on these beautiful products.
Alternatives for US Fans
If you are in the US and feeling left out of the L’Oreal Beauty and the Beast Makeup Collection, don’t worry – there are still ways to get your hands on similar products. Many beauty brands offer Disney-inspired collections, so you can still find lipsticks and nail polishes that pay homage to Beauty and the Beast. Additionally, there are often online retailers who offer international shipping for products that are not available in your country.
Conclusion
In conclusion, the L’Oreal Beauty and the Beast Makeup Collection is a stunning collection that any Disney fan would love to add to their makeup collection. While it is disappointing that the collection is currently only available on Amazon Italy and does not ship to the US, there are still ways for US fans to find similar products. Whether you are a fan of Belle, the Beast, or just love a good Disney-inspired makeup collection, there are plenty of options out there for you to explore. So don’t be too sad about missing out on this collection – there are still plenty of ways to bring a little Disney magic into your beauty routine.
Christmas Nail
10 months ago
Gel nail designs have become increasingly popular in recent years, thanks to their long-lasting and durable finish. Whether you prefer a classic French manicure or a bold and vibrant design, gel nails offer endless possibilities for creativity and customization. In this article, we’ll explore some of the trendiest gel nail designs that are sure to turn heads and inspire your next manicure.
Marble Madness
One of the hottest trends in gel nail designs is the marble pattern. This chic and sophisticated look can be achieved using a variety of colors, from soft pastels to bold neons. To create a marble effect, simply dab a few different shades of gel polish onto your nails and swirl them together with a thin brush or toothpick. The result is a stunning and unique design that mimics the natural beauty of marble.
Ombre Obsession
Ombre nails have been a popular trend for quite some time, and they show no signs of slowing down. This gradient effect can be achieved using two or more colors that blend seamlessly from light to dark. With gel polish, you can create a flawless ombre look that lasts for weeks without chipping or fading. Whether you opt for a subtle pastel ombre or a bold and bright design, ombre nails are a stylish and versatile option for any occasion.
Glitter Glam
For those who love a touch of sparkle, glitter gel nails are the perfect choice. From subtle shimmer to full-on glitter bomb, there are endless ways to incorporate glitter into your gel nail designs. You can opt for a simple glitter accent nail, or go all out with a full set of glittery nails. Either way, glitter gel nails are sure to add a touch of glamour and sophistication to any look.
Abstract Art
If you’re feeling bold and creative, why not try an abstract gel nail design? This trend allows you to experiment with different shapes, lines, and colors to create a one-of-a-kind look that reflects your personal style. Whether you opt for geometric patterns, floral motifs, or random splashes of color, abstract gel nails are a fun and playful way to express your creativity.
Summary List of Gel Nail Designs:
– Marble Madness
– Ombre Obsession
– Glitter Glam
– Abstract Art
In conclusion, gel nail designs offer a wide range of options for those looking to elevate their manicure game. Whether you prefer a classic and elegant look or a bold and daring design, there is a gel nail style to suit every taste and occasion. So why not step out of your comfort zone and try something new with your next manicure? With gel polish, the possibilities are endless, and the results are sure to impress.
Christmas Nail
10 months ago
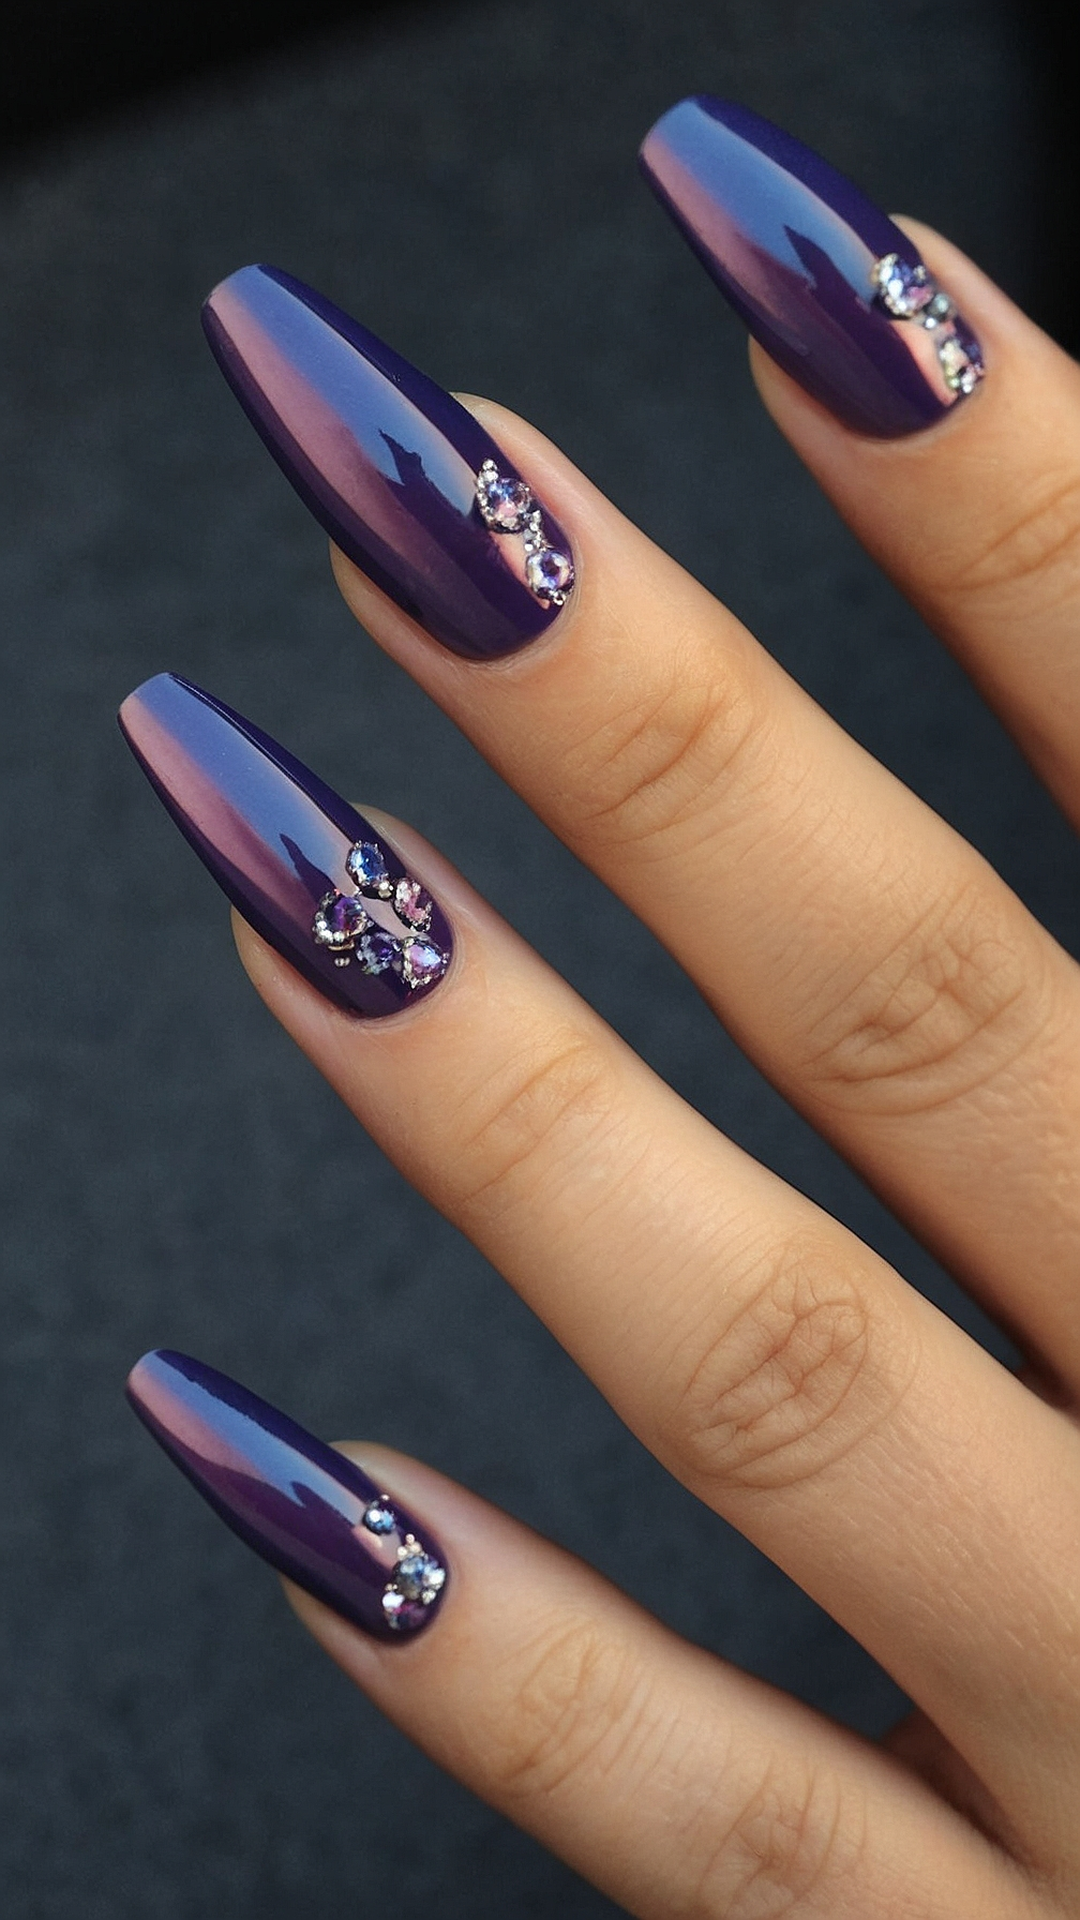
“Discover 15 gorgeous shades of purple to elevate your style and nail your look effortlessly.”
Christmas Nail
10 months ago
“Top 26 Fall Nail Colors 2024: OPI, DND Gel, and more trendy shades for autumn nails.”
Christmas Nail
10 months ago
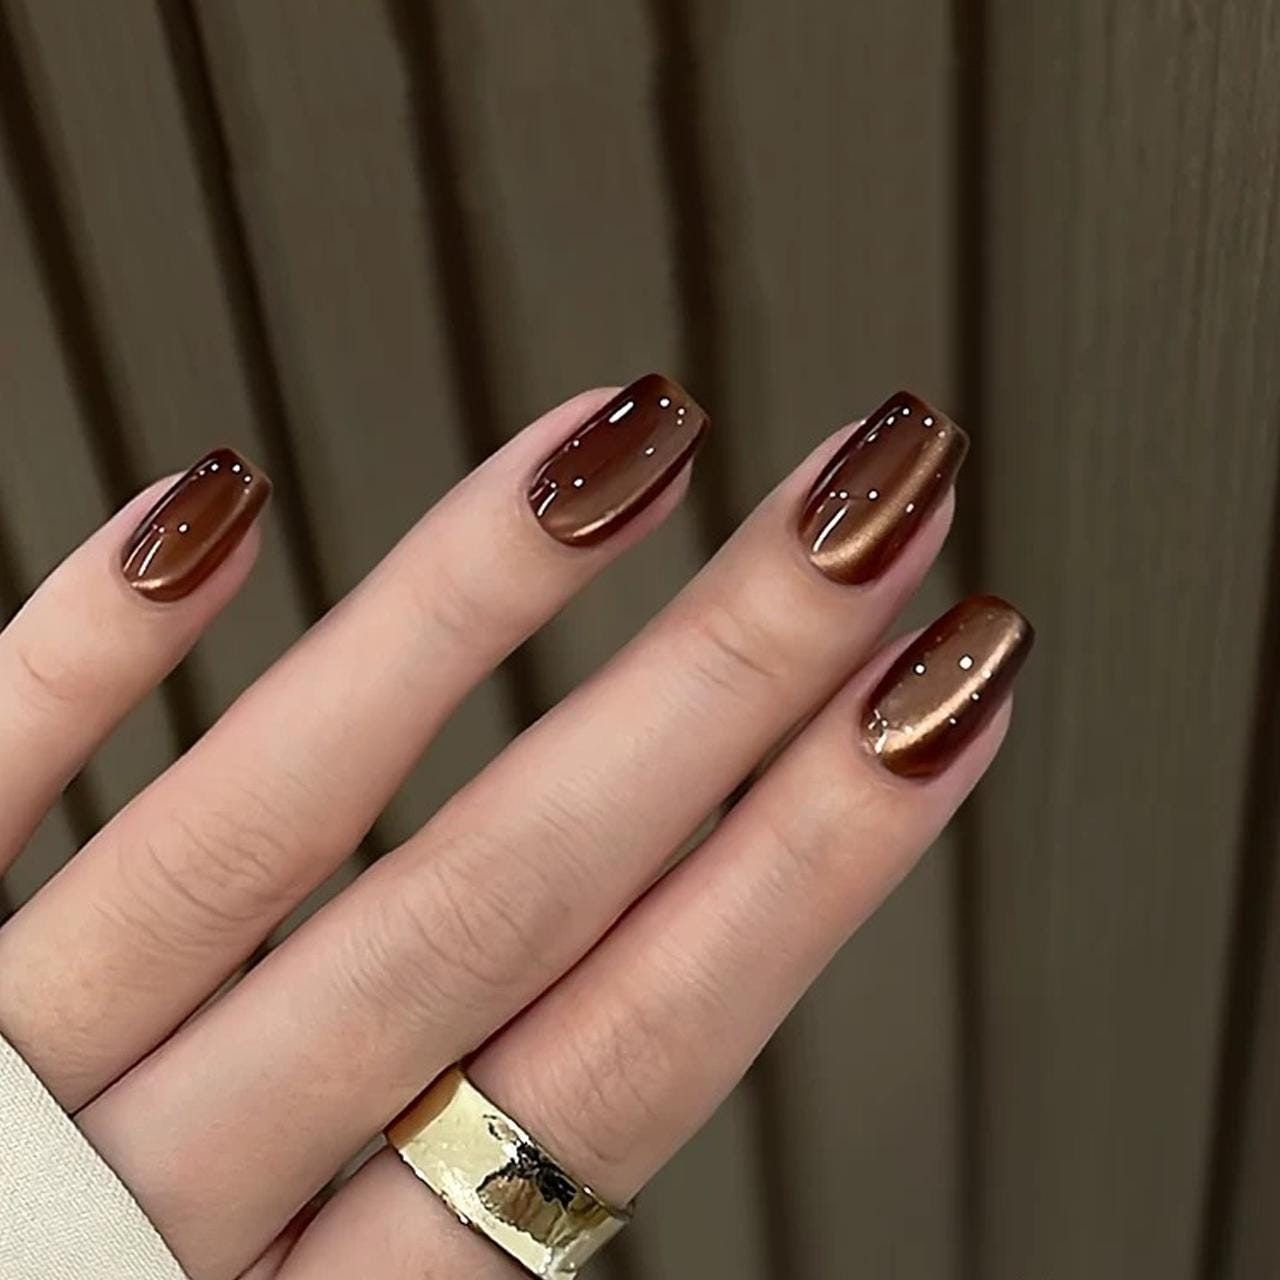
New cat eye press-on nails for fall/winter, translucent acrylic extensions in brown coffee shades.
Christmas Nail
10 months ago
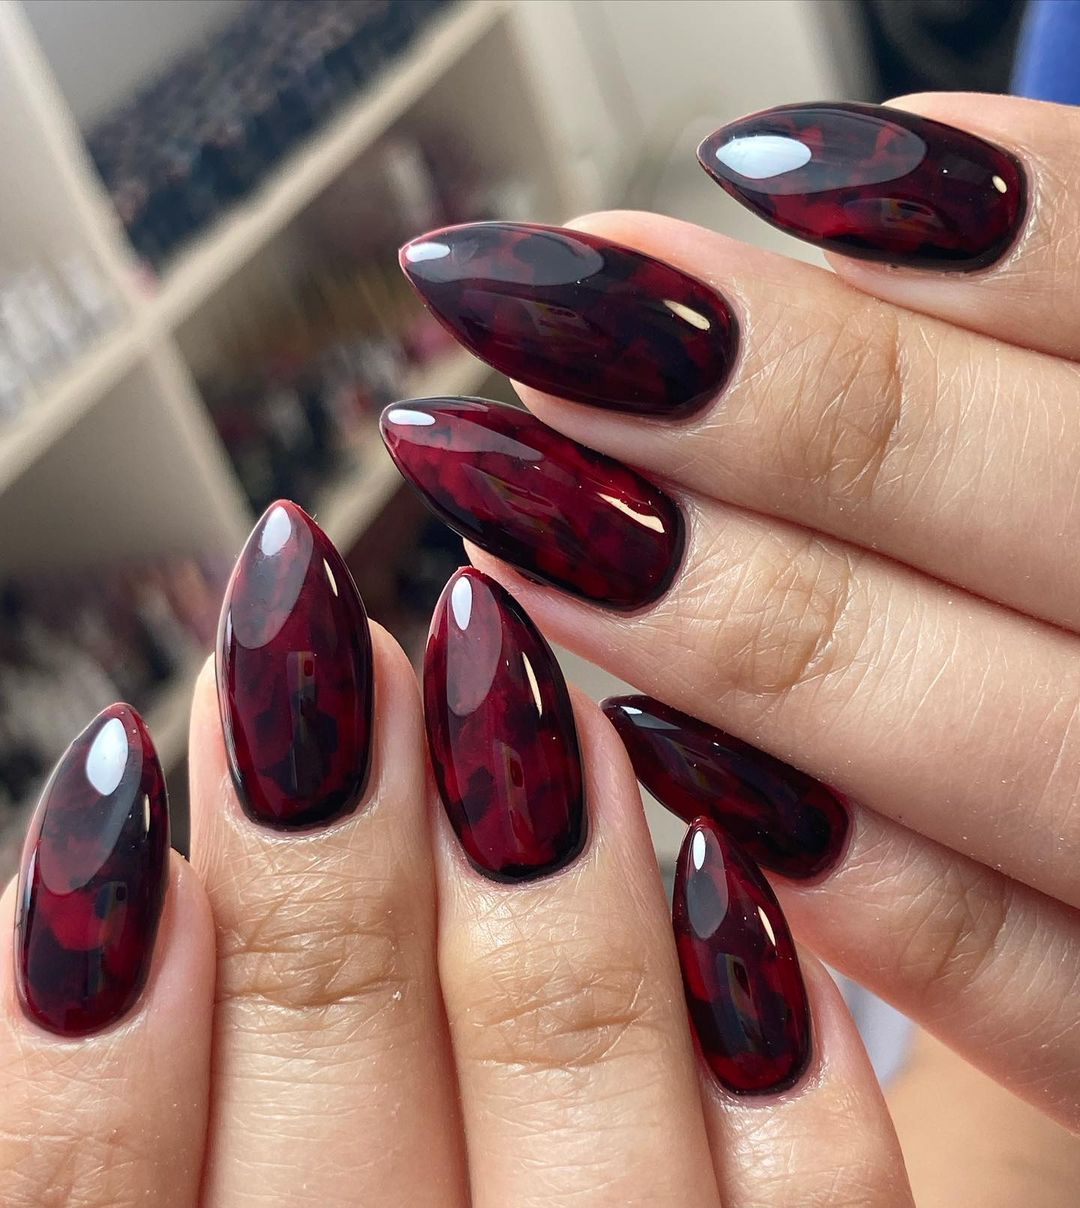
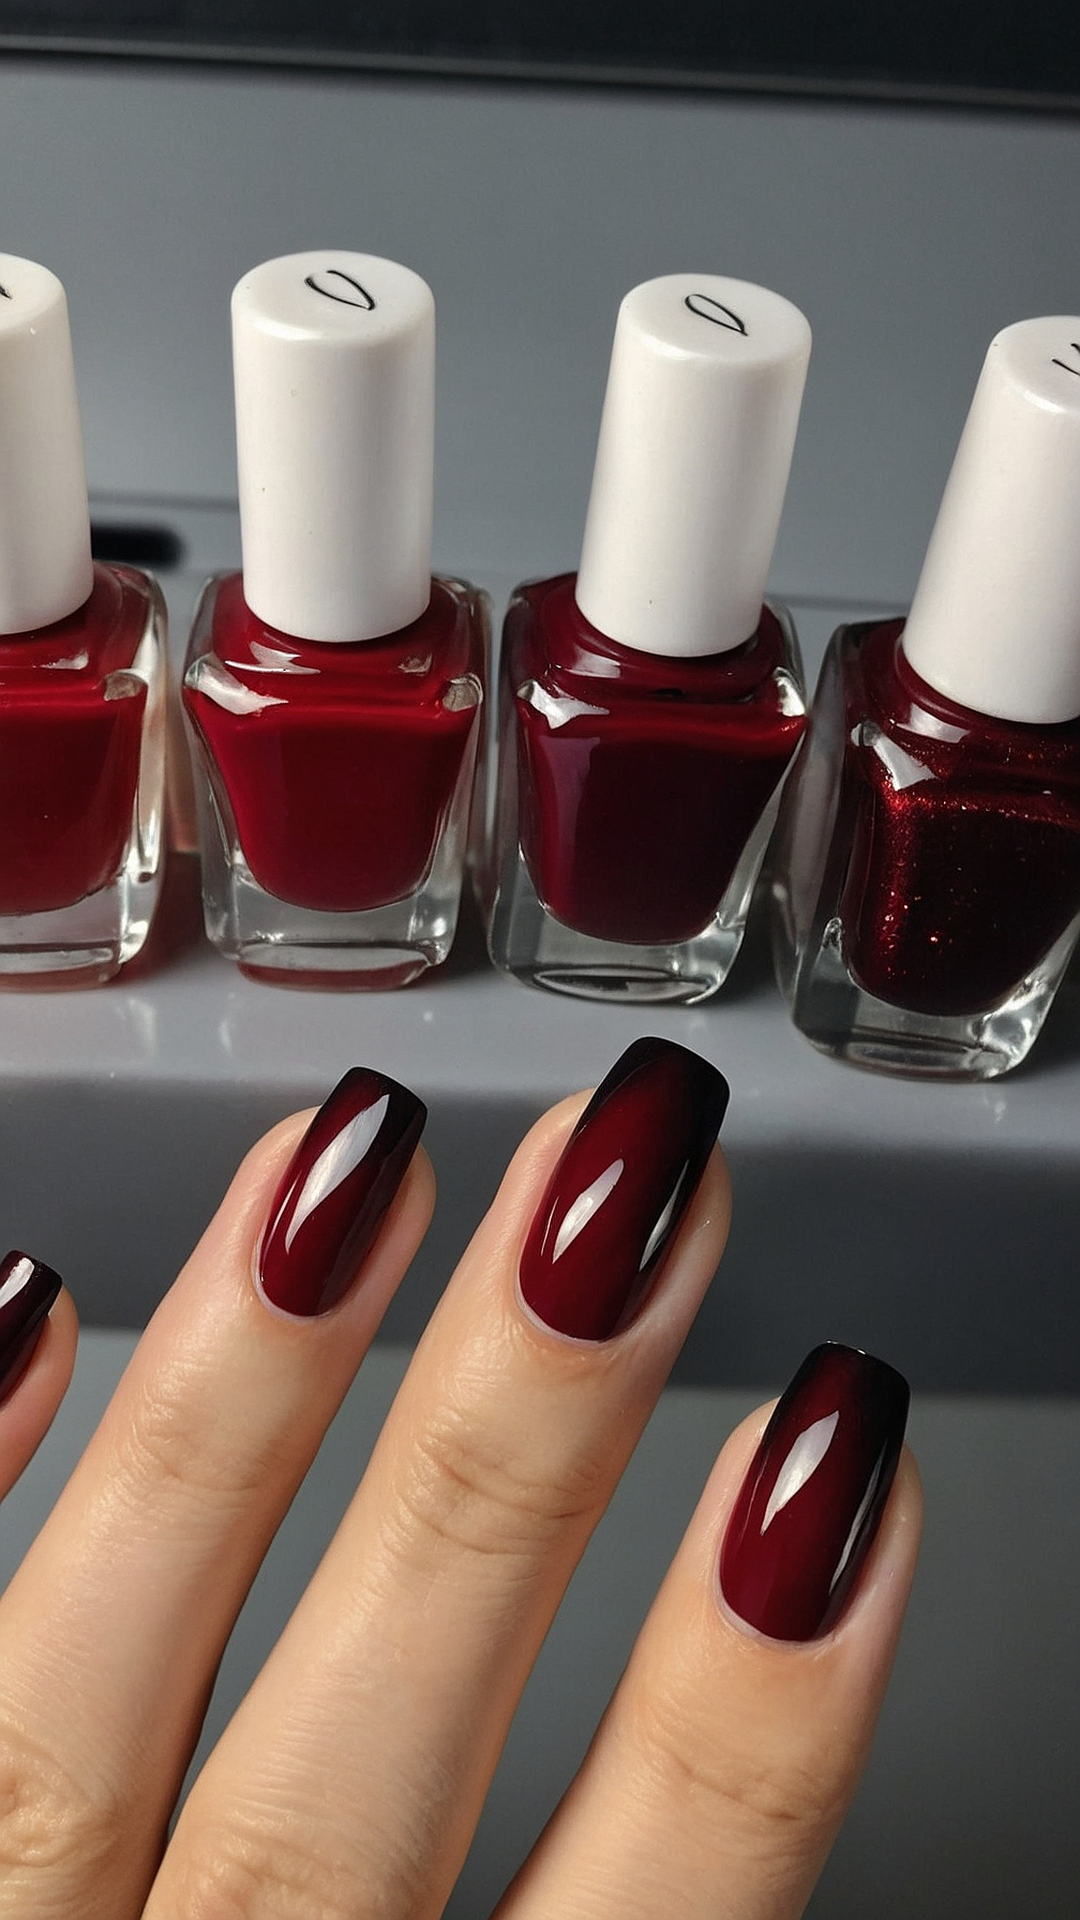
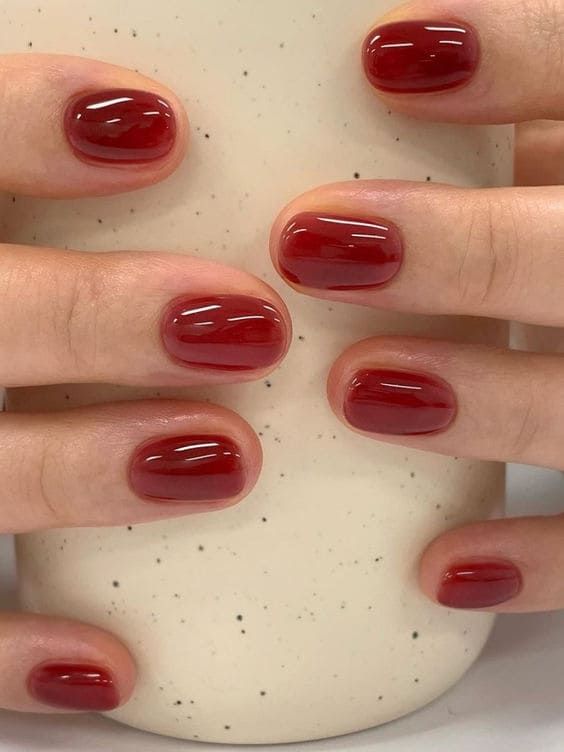
Burgundy nail art ideas for stylish looks, featuring trendy designs and vibrant shades.
Christmas Nail
11 months ago
“Get ready for winter with these adorable nail colors that will make you swoon.” 15-word: “Stay stylish and festive this season with these must-have winter nail shades.”
Christmas Nail
11 months ago
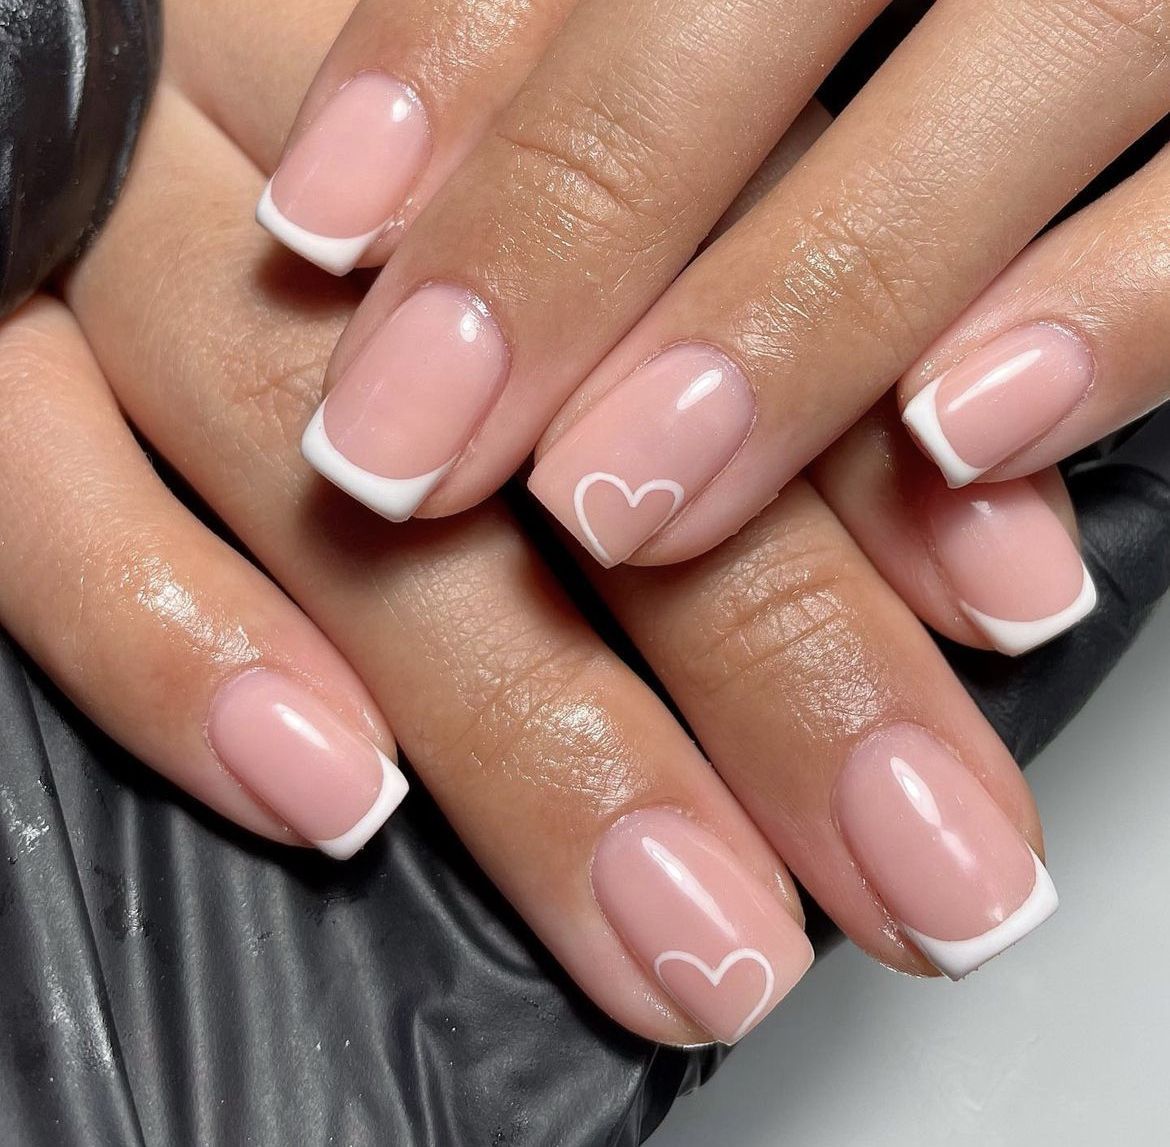
“2024’s chic nude spring nail designs feature elegant shades for a sophisticated and timeless look.”
Christmas Nail
11 months ago
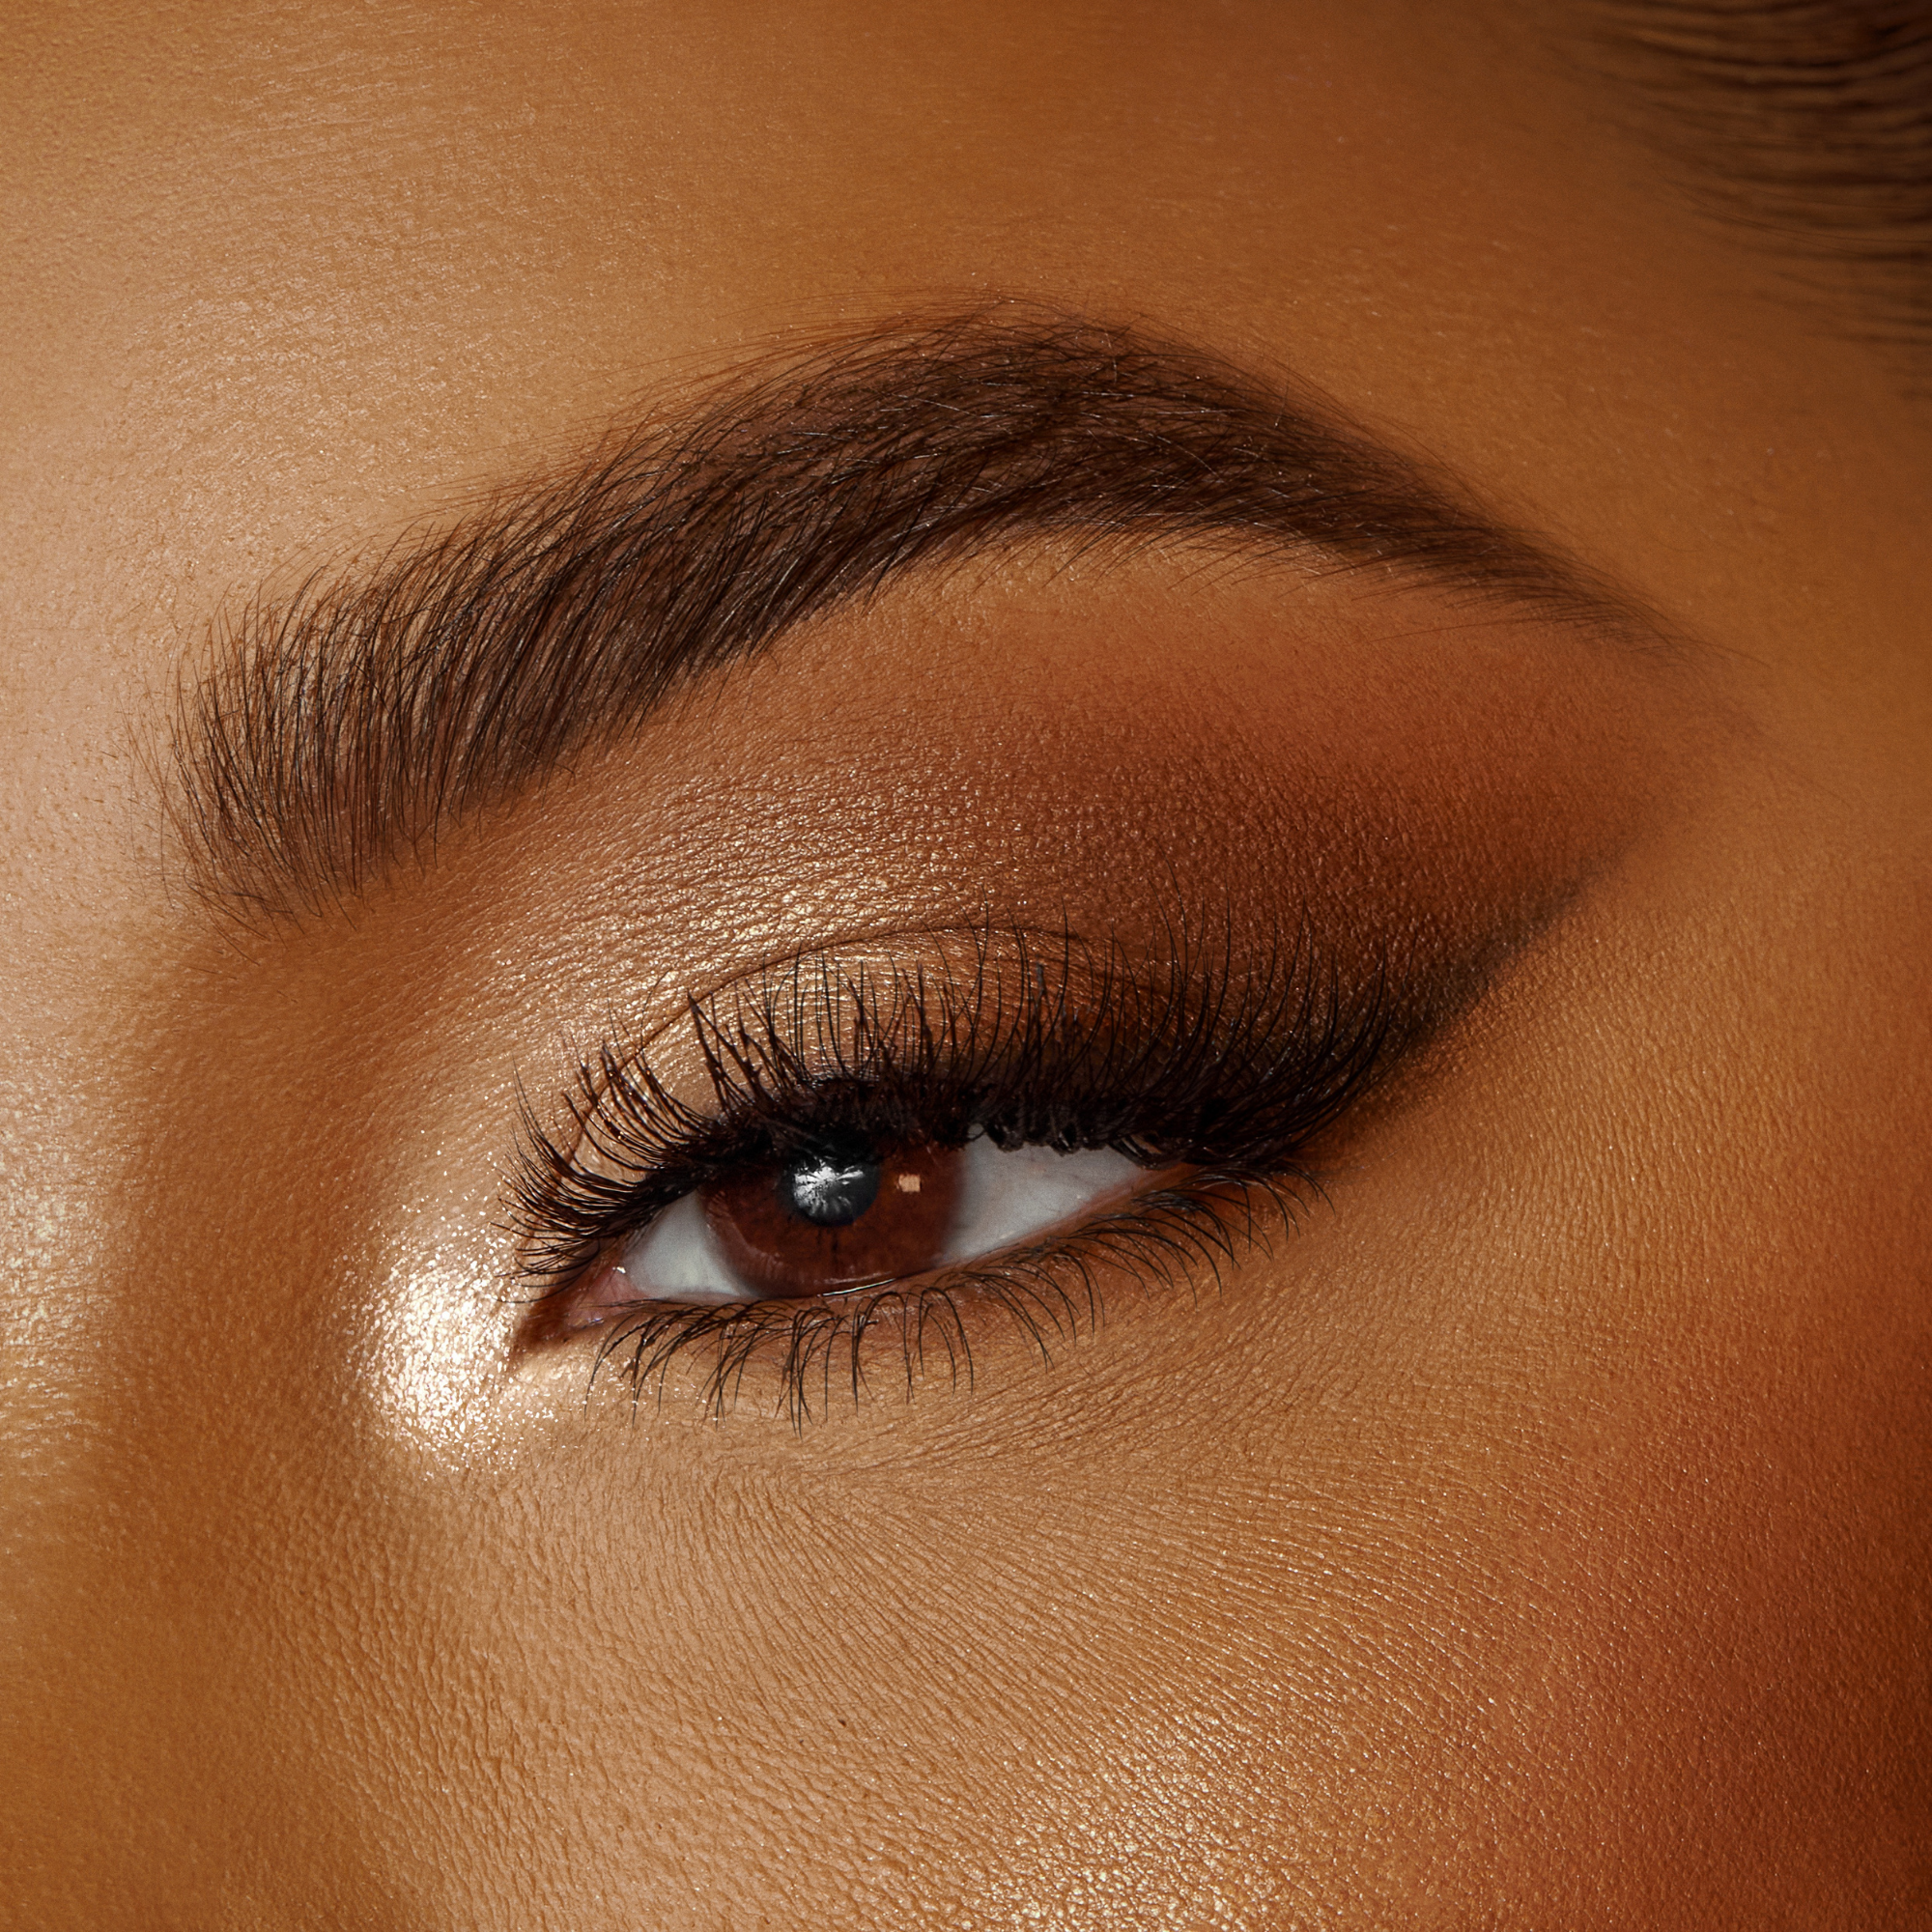
“Supreme Bronze Palette: High-quality eyeshadow shades for a glamorous and radiant makeup look.”
Beauty
11 months ago
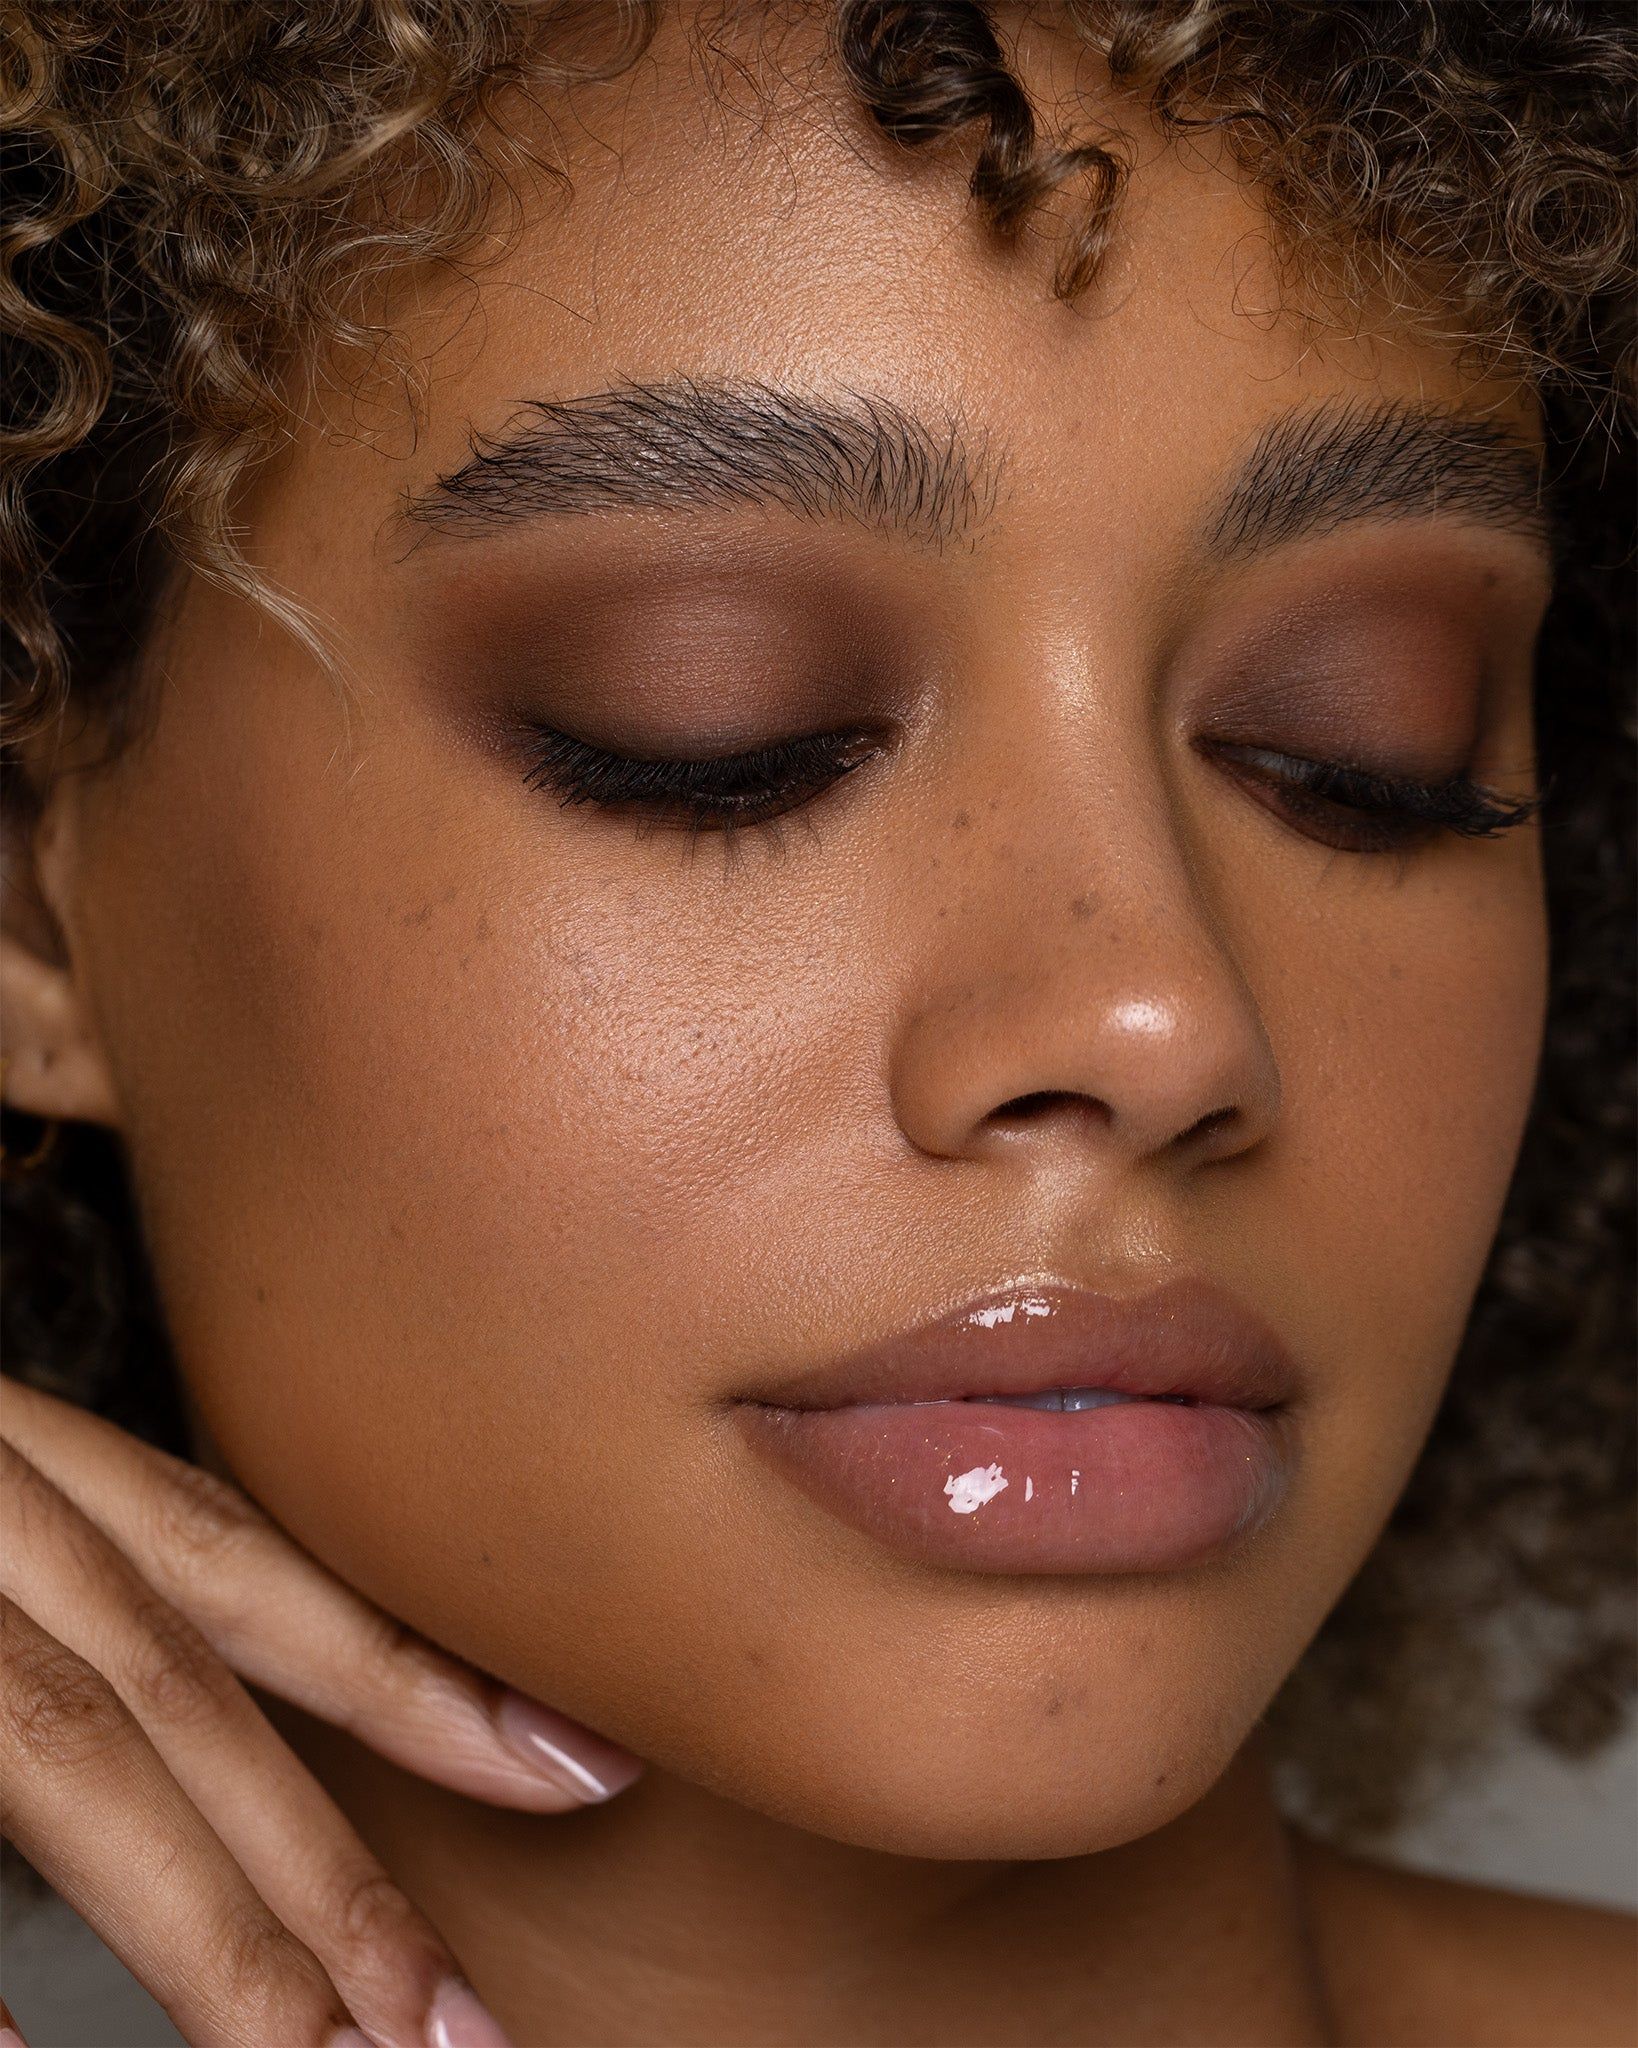
Baked Browns Eyeshadow Palette: Stunning neutral shades for versatile eye looks, perfect for any occasion.
Beauty
11 months ago
1
2
3
4
5
6
Search
Search
Ads
Recent Posts
Stunning nude chrome nail designs for any event, perfect inspiration for your next manicure.
11 months ago
headline that captures the essence of the article: “Steal Rihanna’s athleisure style with these trendy tips for a comfortable and chic look.”
11 months ago
“Top 24 Hair Colors for Afro-Textured Hair in 2022 – Find Your Perfect Shade Today!”
11 months ago
Categories
Beauty
Celebrity
Christmas Nail
Fashion
Hair Style
Holiday
Photography
Recipes
Follow Us
We use cookies to ensure that we give you the best experience on our website. If you continue to use this site we will assume that you are happy with it.
Ok


Follow Us