What are you looking for?

Search results will appear here

TAG: Honey

70+ Bee Nail Designs for Buzzworthy Nails


Creating bee nail designs is a fun and unique way to show off your love for these buzzy creatures. Whether you’re a beekeeper, nature enthusiast, or just appreciate their important role in the ecosystem, bee nail designs are a great way to make a statement. Here are over 70 bee nail designs to inspire your next manicure:

Classic Bee Nail Designs


1. Start by painting your nails with a yellow base color.
2. Use black nail polish to create stripes on your nails to mimic a bee’s abdomen.
3. Add white dots to represent the bee’s wings.
4. Finish off with a small black dot for the bee’s head.

Abstract Bee Nail Designs


1. Paint each nail a different shade of yellow, black, or white.
2. Use a thin brush to create abstract bee-inspired designs on each nail.
3. Play around with different patterns and shapes to create a unique look.

Honeycomb Nail Designs


1. Start by painting your nails with a nude or yellow base color.
2. Use a thin brush to create honeycomb patterns on each nail using black nail polish.
3. Add small gold or yellow dots to represent honey in the honeycomb.
4. Finish off with a glossy top coat to give your nails a shiny finish.

3D Bee Nail Designs


1. Start by painting your nails with a yellow base color.
2. Use black nail polish to create a 3D bee design on one or two of your nails.
3. You can use small rhinestones or nail art stickers to create the bee’s wings and stripes.
4. Finish off with a clear top coat to seal in your design.

Gradient Bee Nail Designs


1. Paint each nail with a gradient of yellow and black nail polish.
2. Use a sponge to create a smooth transition between the two colors.
3. Add a bee-inspired accent nail using black and white nail polish.
4. Finish off with a matte top coat for a modern look.

Glitter Bee Nail Designs


1. Start by painting your nails with a yellow or black base color.
2. Use glitter nail polish to create a sparkly bee design on one or two of your nails.
3. You can add rhinestones or glitter accents to enhance your bee design.
4. Finish off with a glossy top coat to make your nails shine.

French Tip Bee Nail Designs


1. Paint your nails with a clear base coat.
2. Use yellow nail polish to create a French tip on each nail.
3. Add black stripes and white dots to mimic a bee’s body and wings.
4. Finish off with a clear top coat to seal in your design.

Watercolor Bee Nail Designs


1. Paint each nail with a white base color.
2. Use watercolor nail polish to create a bee-inspired design on each nail.
3. Play around with different colors and patterns to create a unique watercolor effect.
4. Finish off with a clear top coat to protect your design.

Conclusion


Next time you’re looking to spice up your manicure, consider trying out one of these bee nail designs. Whether you’re a beginner or a nail art expert, there’s a bee-inspired design for everyone. Show off your love for these important pollinators with buzzworthy nails that will surely turn heads.

If you have been looking for ways to tighten your skin without using harsh chemicals or undergoing expensive treatments, this homemade wrinkle cream is perfect for you. Made with all-natural ingredients, this cream is not only effective but also safe for your skin. Say goodbye to wrinkles and hello to smoother, tighter skin with this DIY remedy.

Benefits of Homemade Wrinkle Cream:


  • Natural ingredients

  • No harsh chemicals

  • Affordable

  • Effective results


Ingredients:


  • 1/2 cup of organic coconut oil

  • 2 tablespoons of organic honey

  • 1 tablespoon of vitamin E oil

  • 1 tablespoon of almond oil

  • 1 teaspoon of lemon essential oil


Instructions:


Start by melting the coconut oil in a double boiler until it becomes a liquid. Once melted, remove it from the heat and add the honey, vitamin E oil, almond oil, and lemon essential oil. Mix well until all the ingredients are combined. Let the mixture cool for a few minutes before transferring it to a clean glass jar.


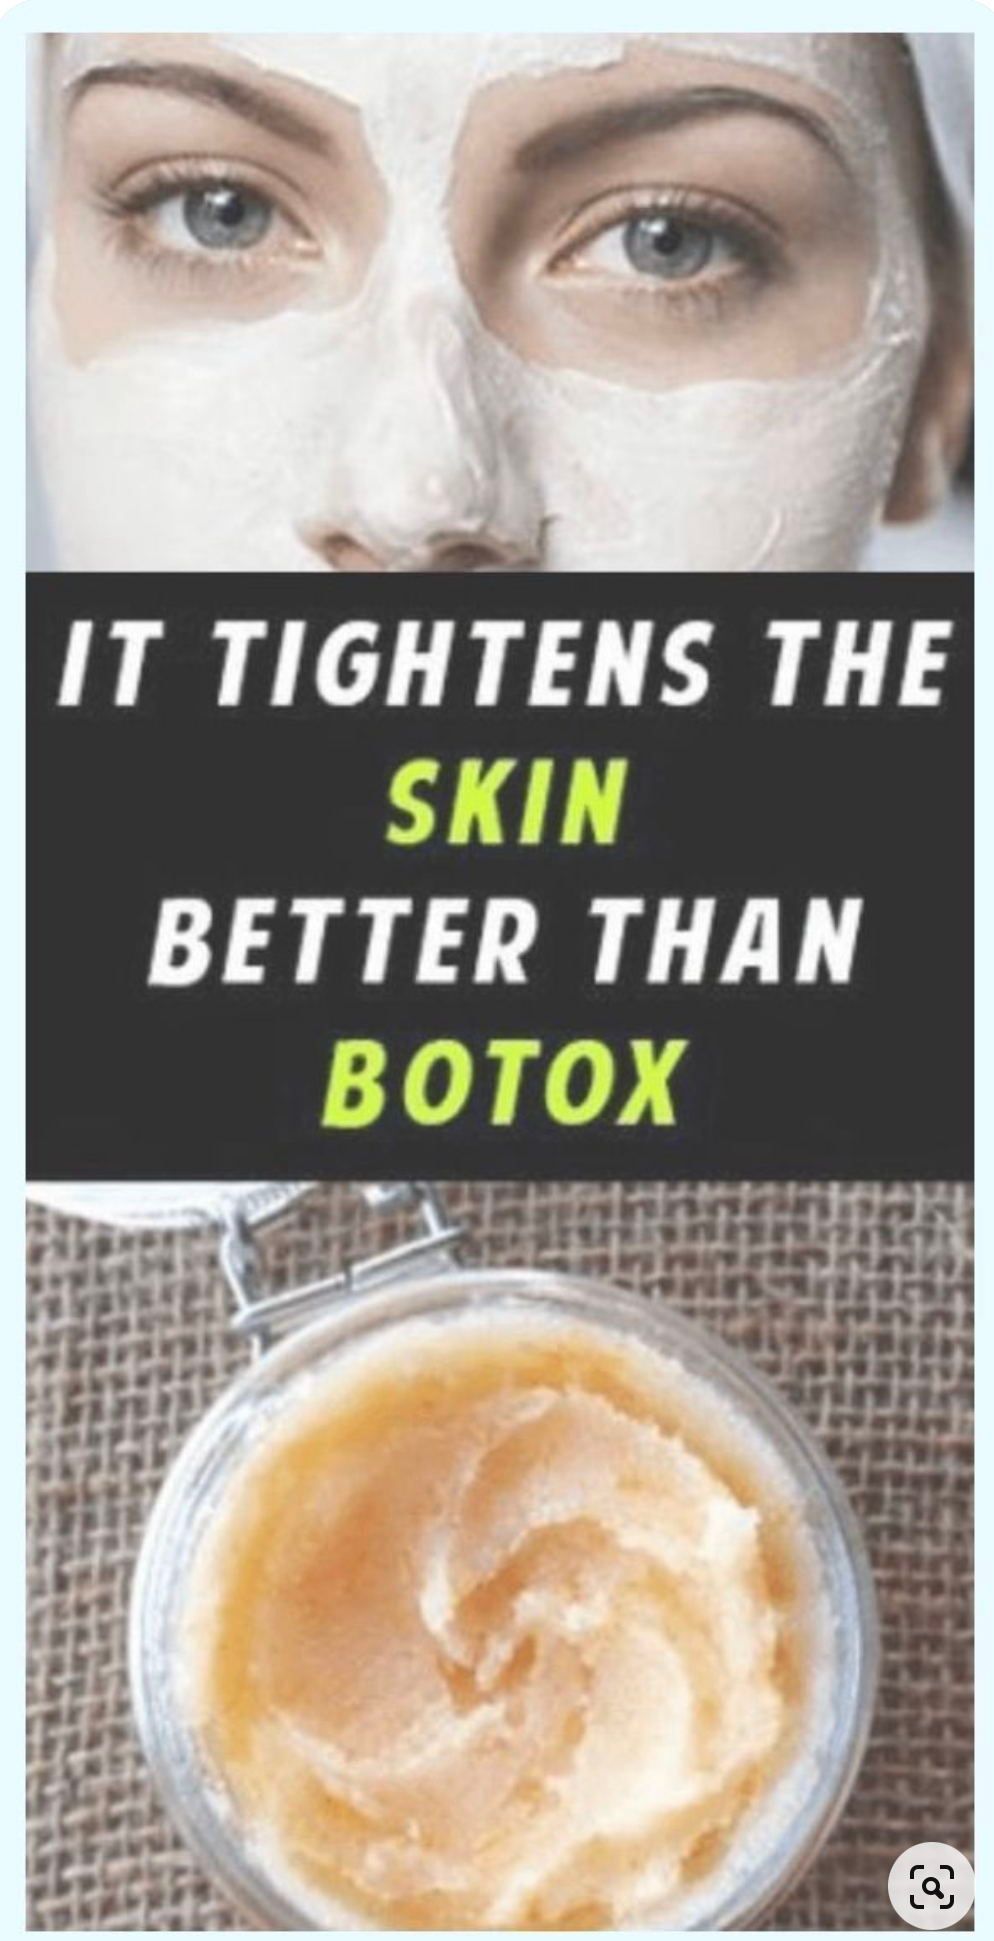
Apply a small amount of the cream to your skin in upward strokes, focusing on areas with fine lines and wrinkles. Use it daily for best results. The coconut oil will help hydrate and plump your skin, while the honey and vitamin E oil will help tighten and firm it. The almond oil and lemon essential oil will help brighten and rejuvenate your skin, giving you a youthful glow.


Results:


  • Smoother skin

  • Tighter skin

  • Reduced wrinkles

  • Youthful glow


With regular use, you will start to notice a significant improvement in the texture and appearance of your skin. This homemade wrinkle cream is a natural and effective alternative to Botox, without any of the side effects. Say goodbye to expensive treatments and hello to radiant, youthful skin with this DIY remedy!


So why wait? Try this homemade wrinkle cream today and see the amazing results for yourself. Your skin will thank you for it!


By using this homemade wrinkle cream, you can achieve tighter, smoother skin without the need for expensive treatments or harsh chemicals. Made with all-natural ingredients, this DIY remedy is safe and effective for all skin types. Say goodbye to wrinkles and hello to radiant, youthful skin with this powerful homemade cream.

  • 1
  • 2
×Optimized Ad
×Optimized Ad