Home
Blog
About
Contact
Home
Blog
About
Contact
What are you looking for?
Search results will appear here
TAG: Home
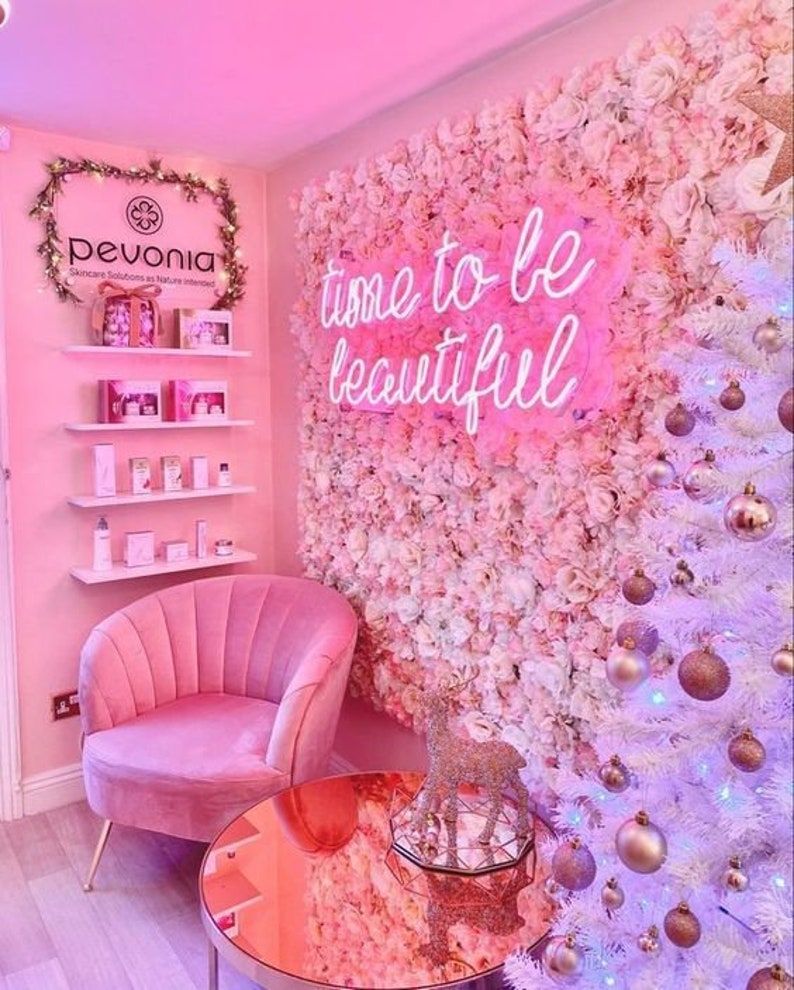
Custom LED neon wedding sign, personalized name sign, modern home decor, unique wall art.
Christmas Nail
11 months ago
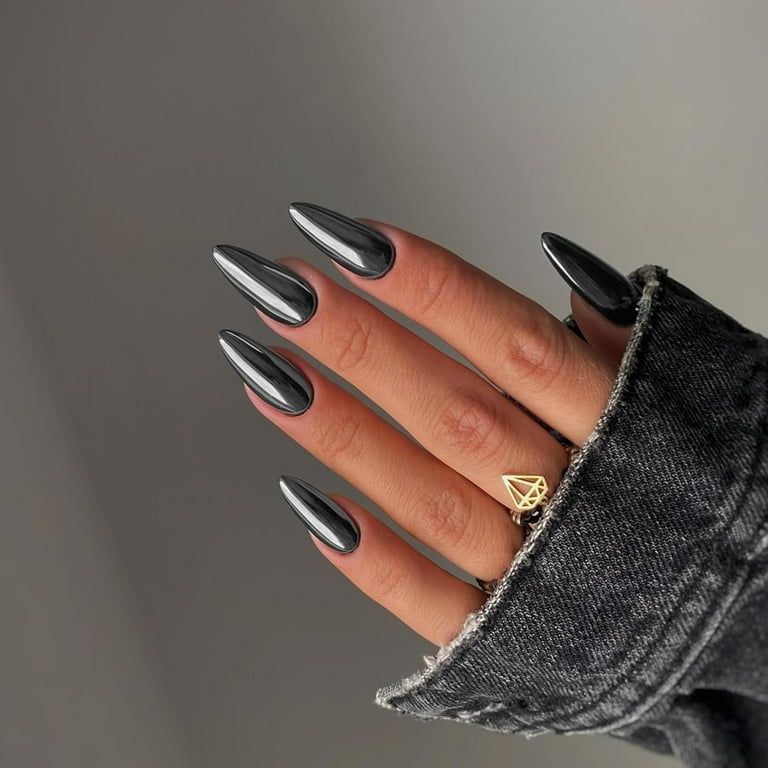
description for the product “Get salon-quality nails at home with these black stiletto almond press-on nails, perfect for women and girls.”
Christmas Nail
11 months ago
description with relevant keywords:
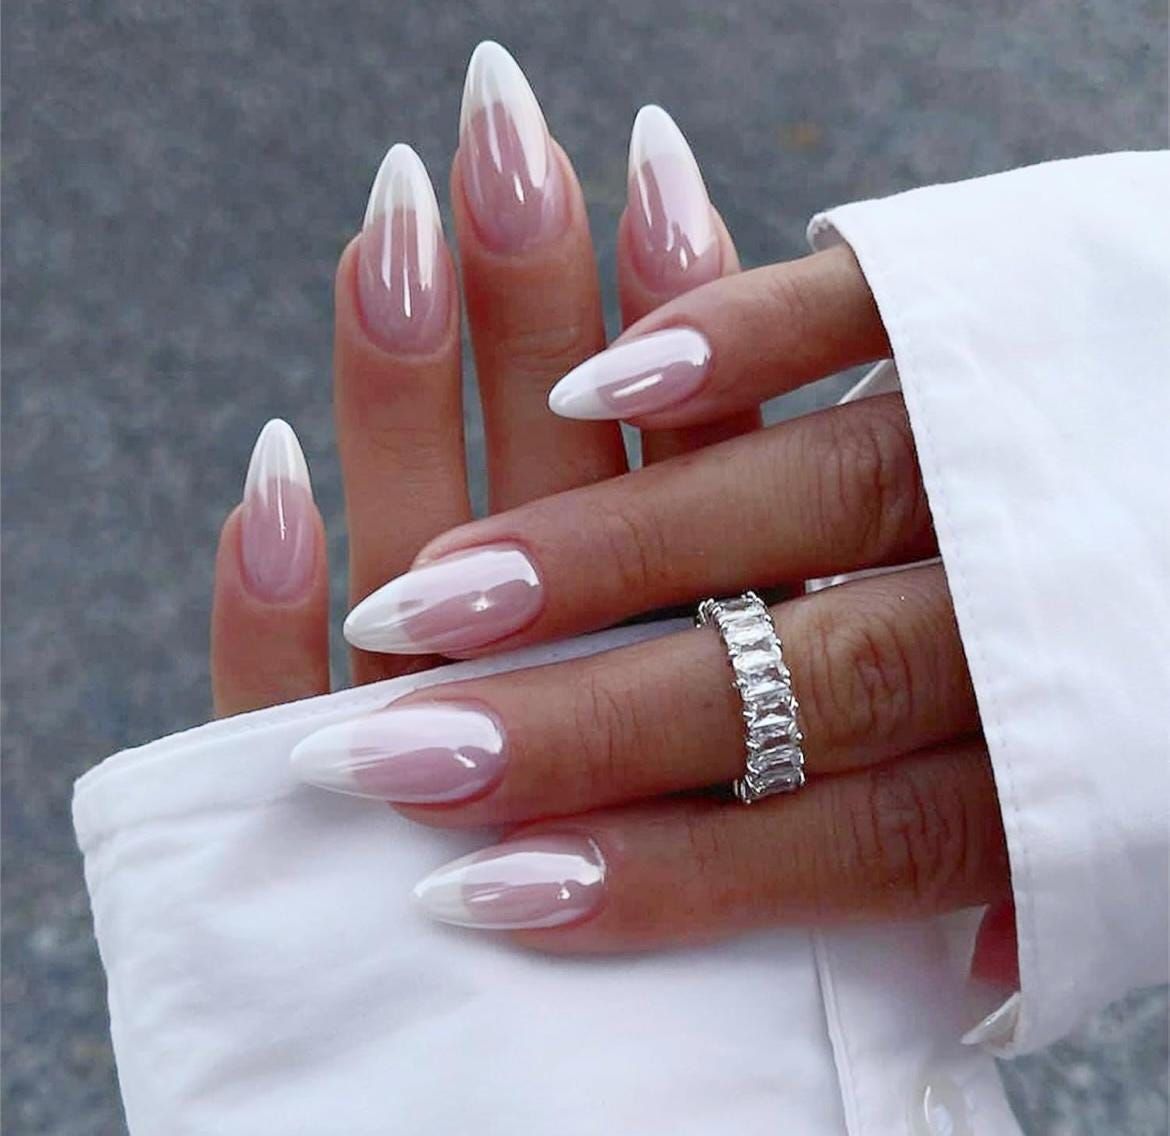
“Chrome French Tip Press On Nails for a stylish and easy manicure at home. Long-lasting and durable.”
Christmas Nail
11 months ago
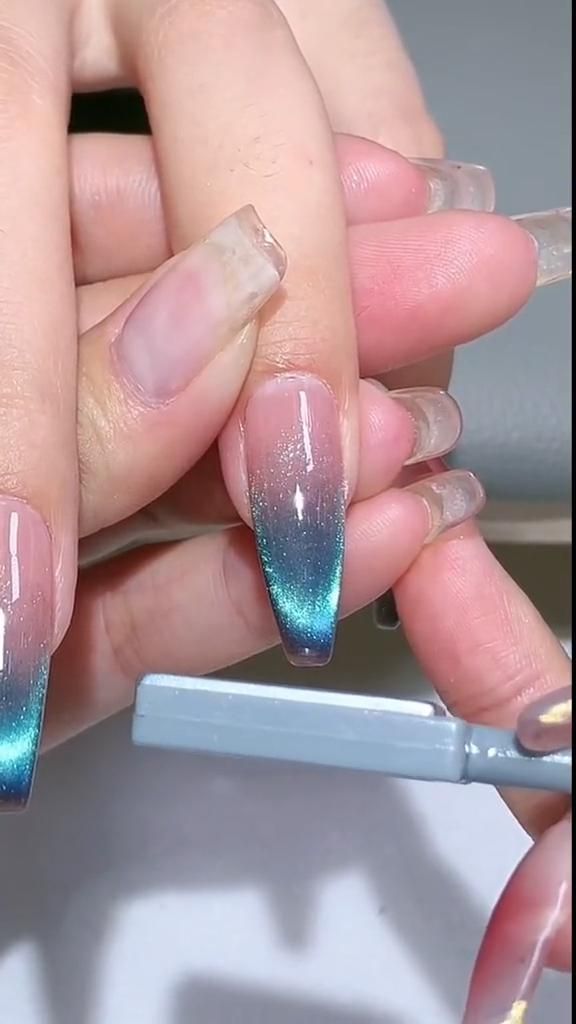
“Get glamorous with Goddess Nails’ Cat Eye Gel for stunning, long-lasting manicures at home.”
Christmas Nail
11 months ago
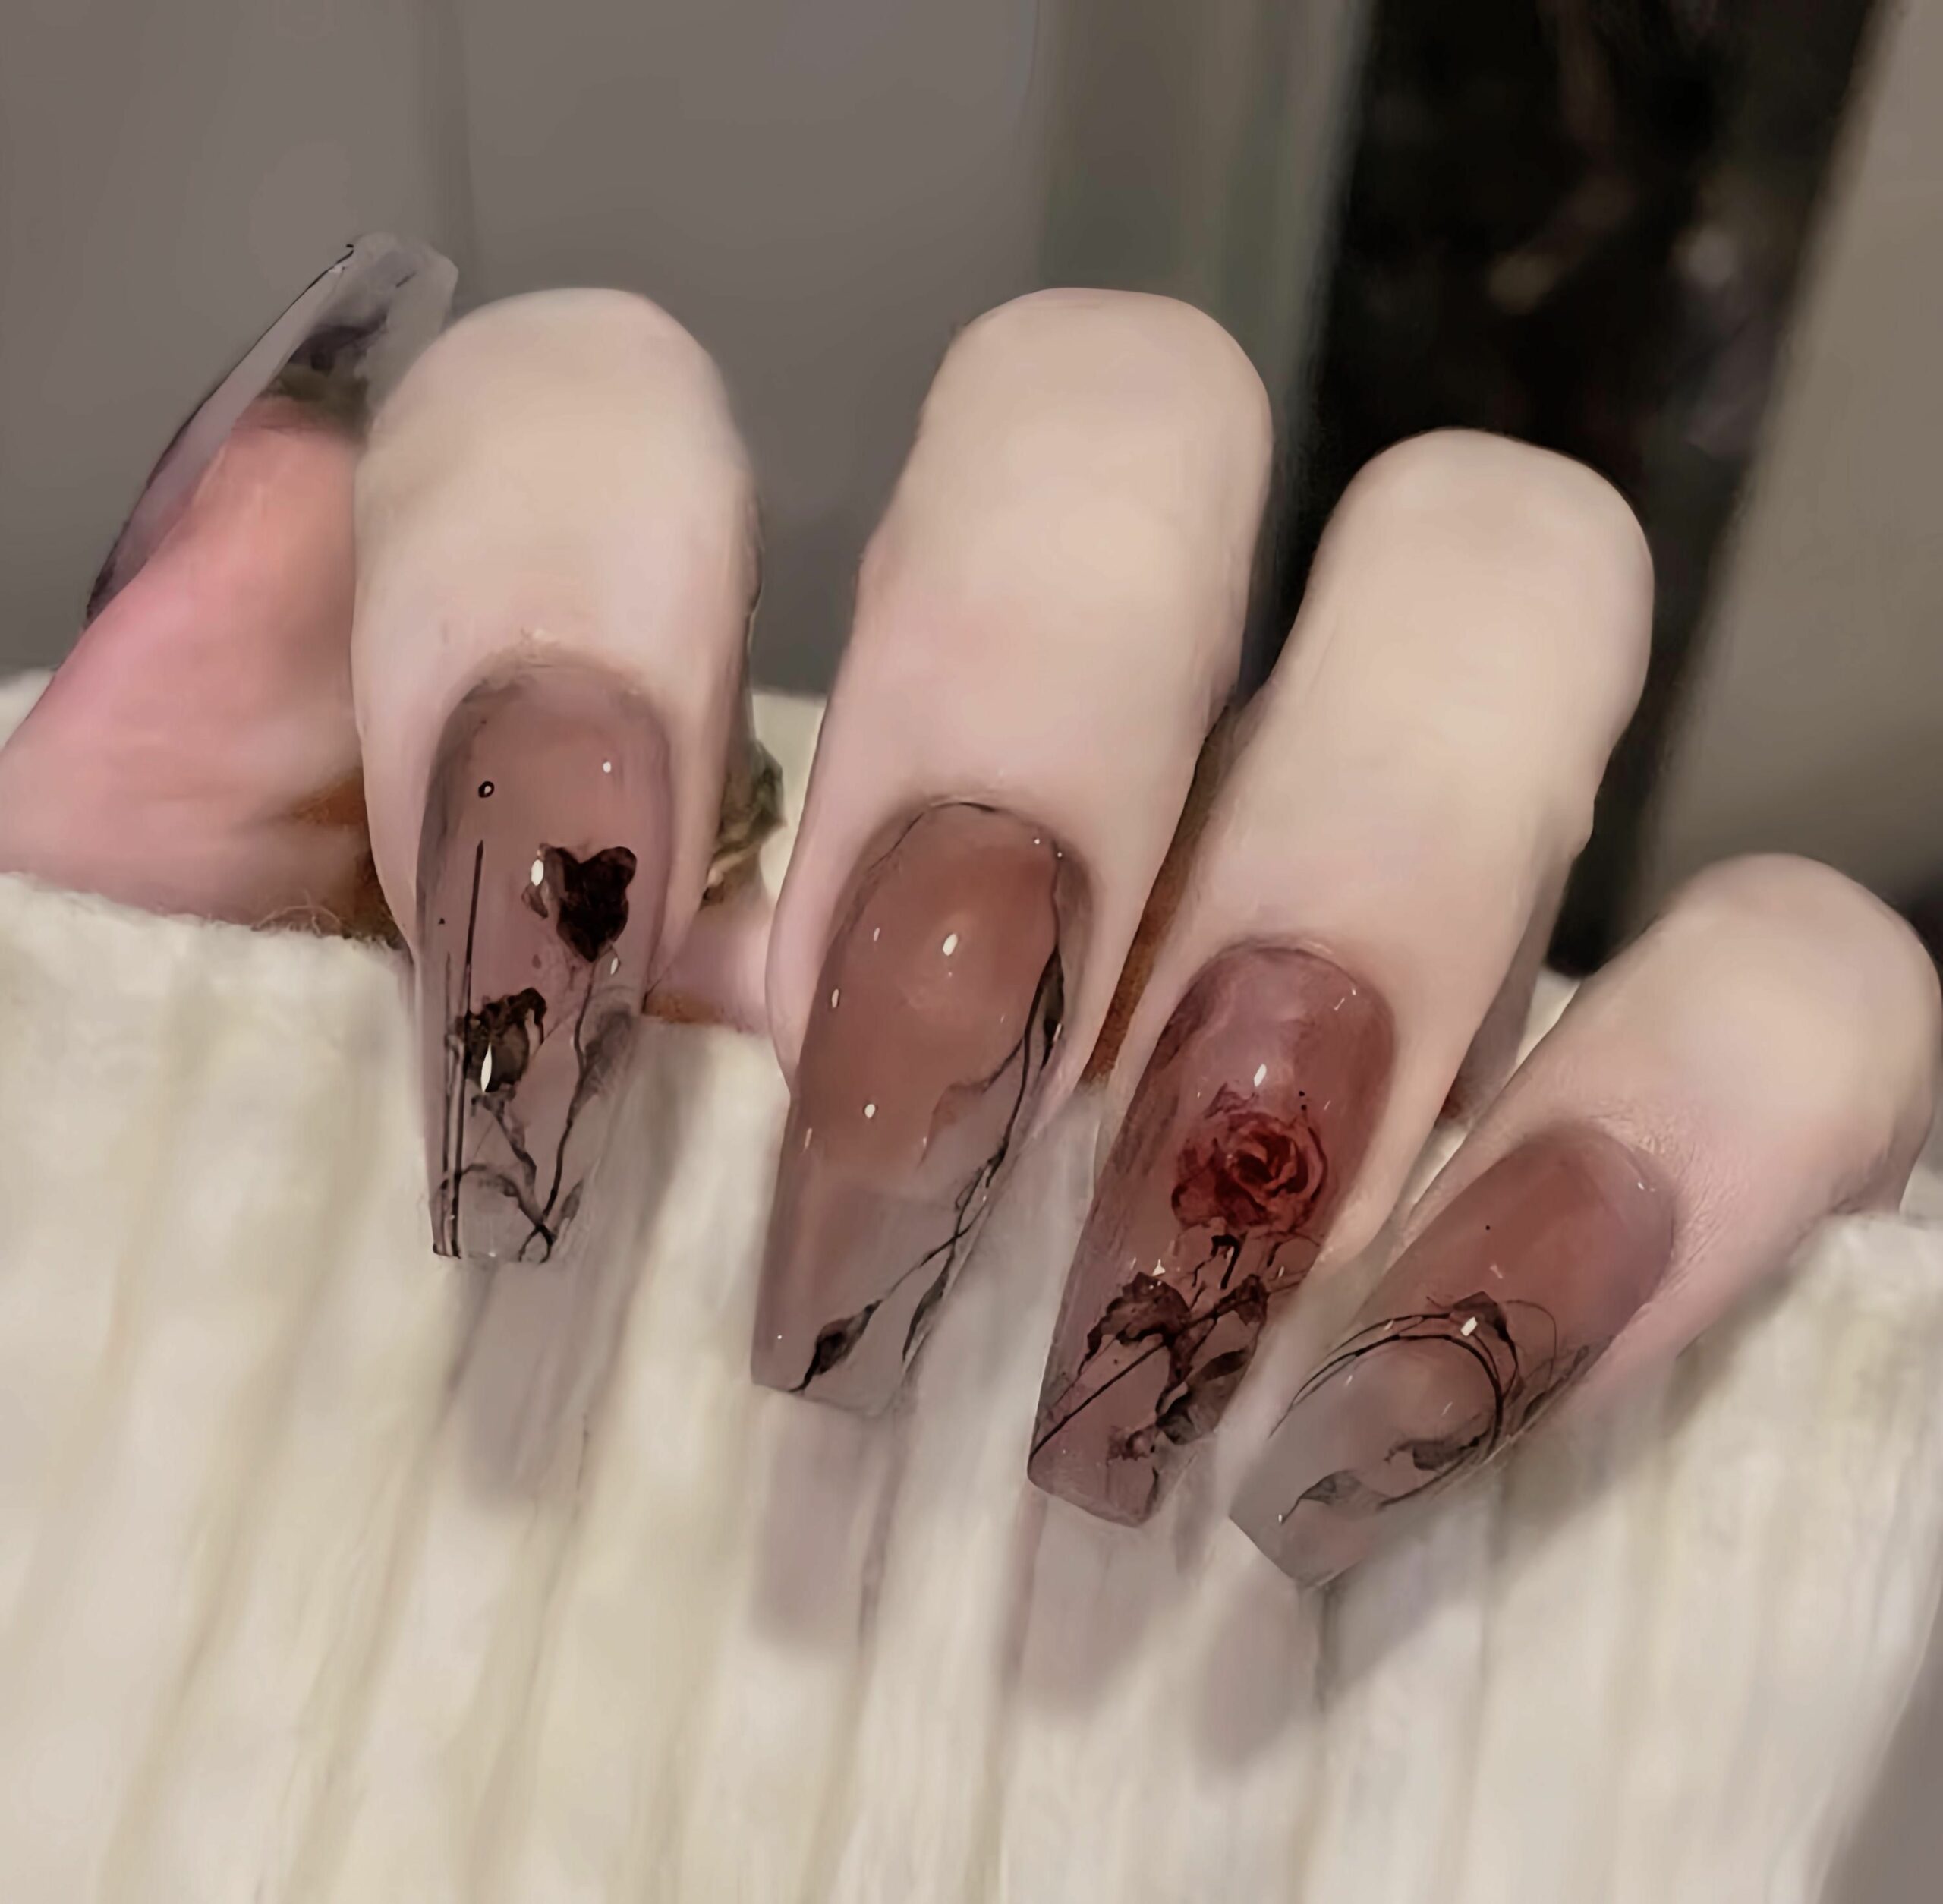
Transform your nails with these 117 nail art ideas for stunning tiny masterpieces at home.
Christmas Nail
11 months ago
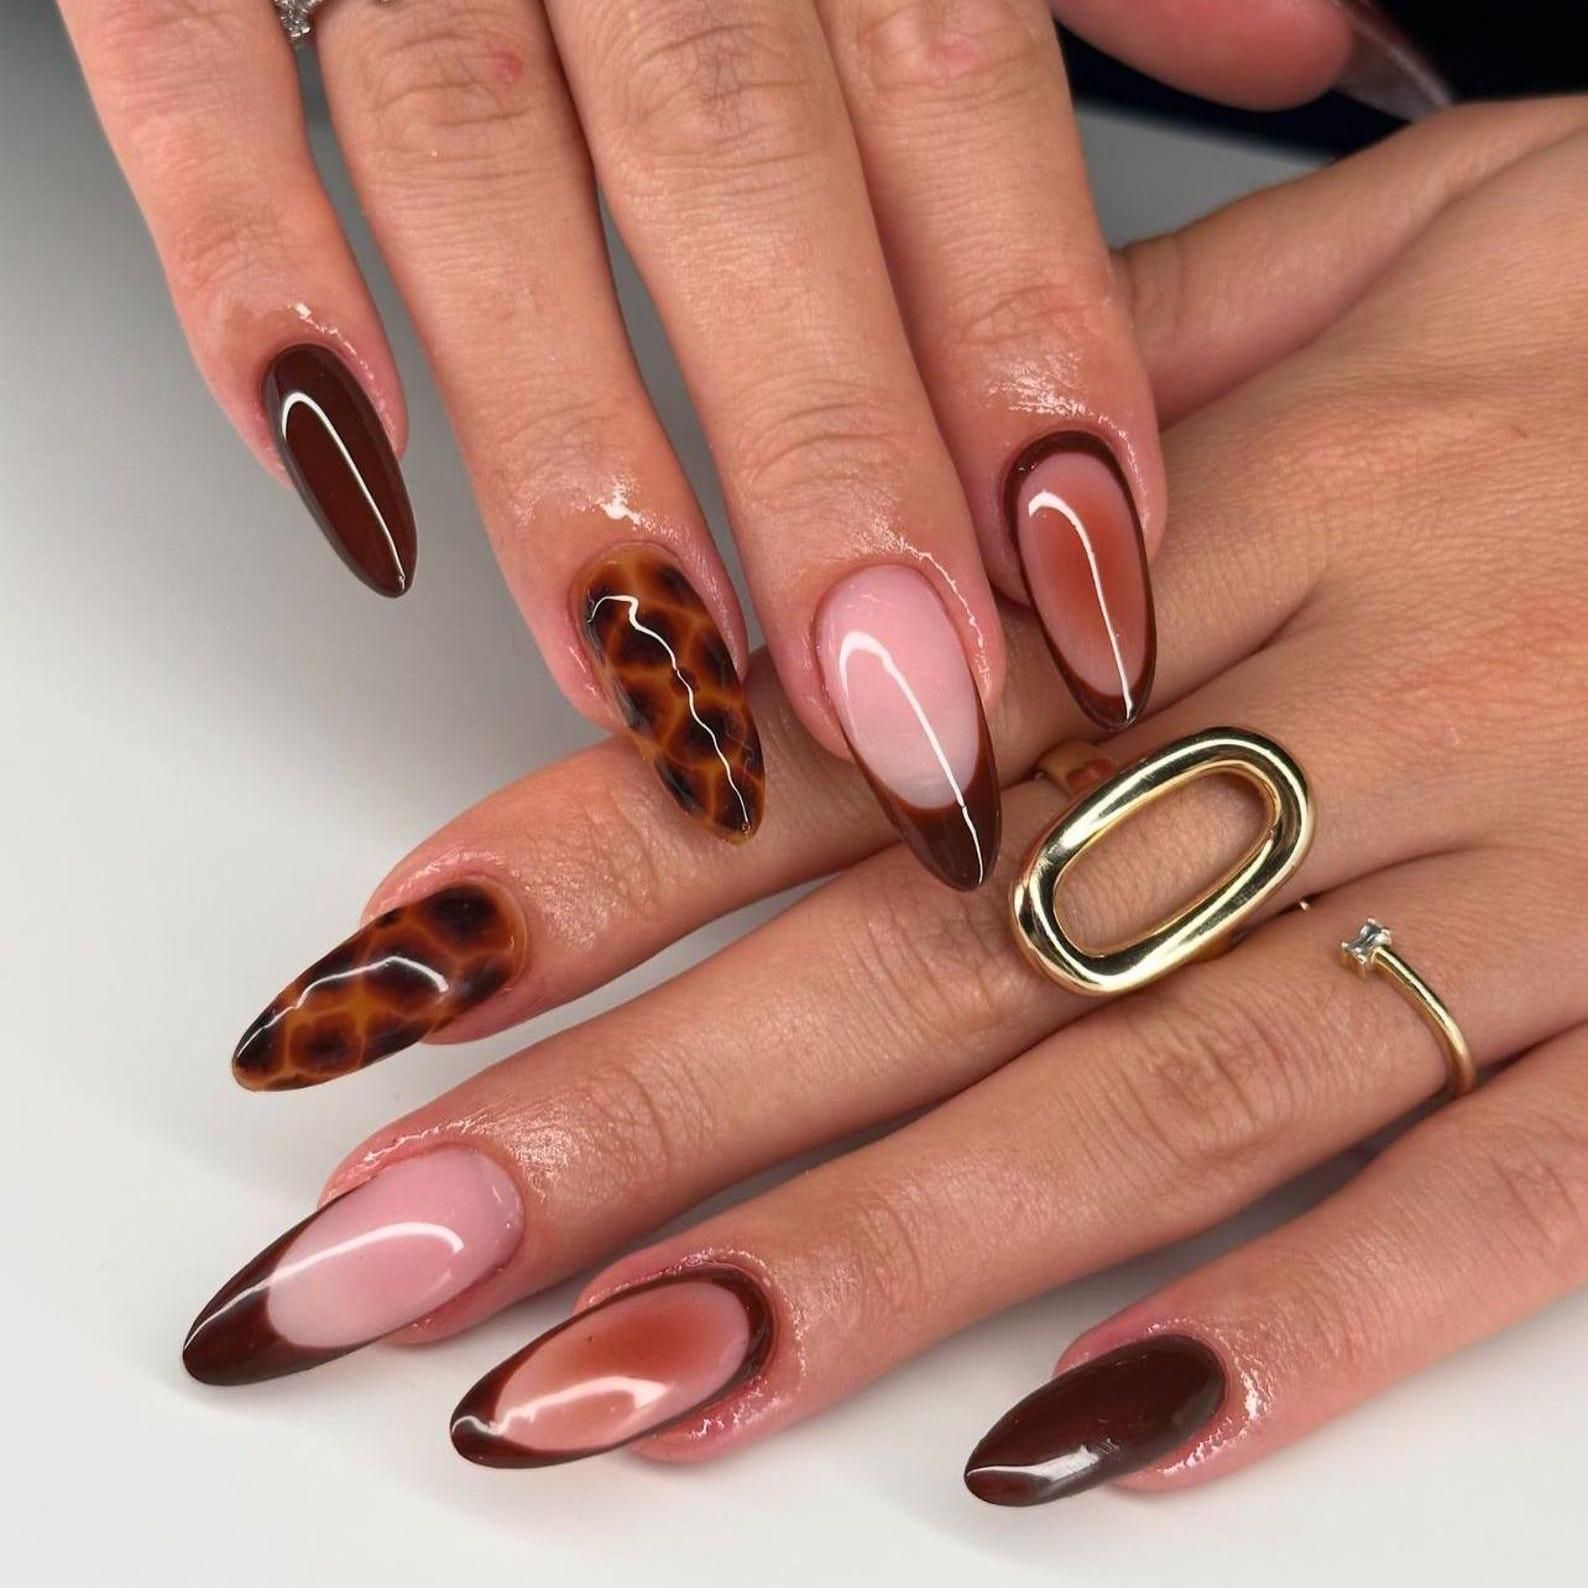
“Beautiful Tortoiseshell Shellac Nails: How to Achieve the Trendy Schildpatt Look at Home”
Christmas Nail
11 months ago
“DIY Press-on Nails for Spring Fling – Easy and Affordable Nail Art at Home”
Christmas Nail
11 months ago
guide on how to create stunning nail art designs at home for beginners.
Christmas Nail
11 months ago
“How to Achieve Strong and Long Nails Naturally with DIY Methods and Home Remedies.”
Christmas Nail
11 months ago
description:
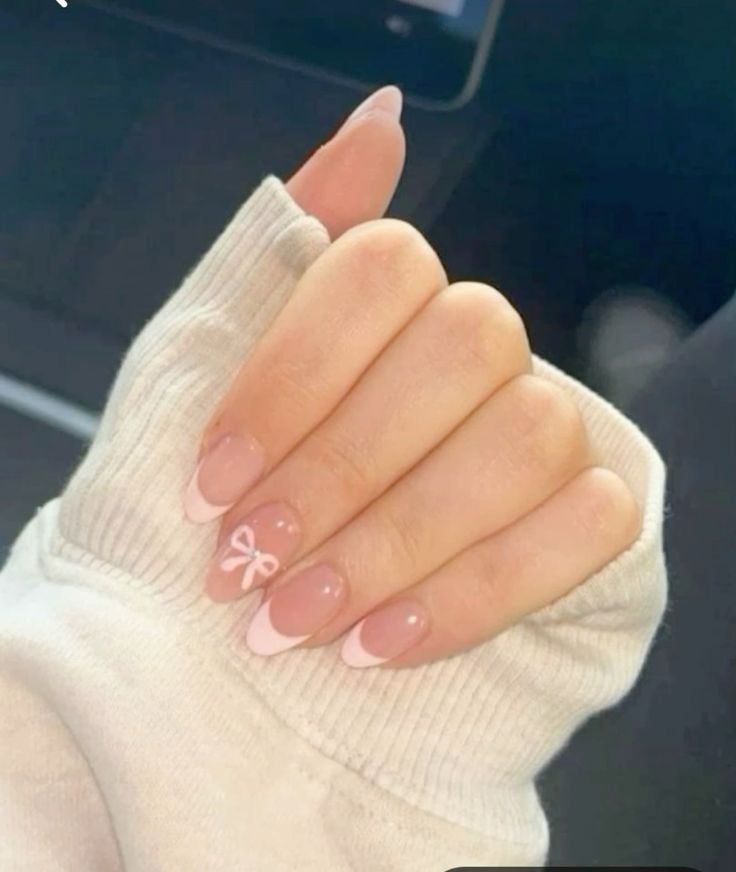
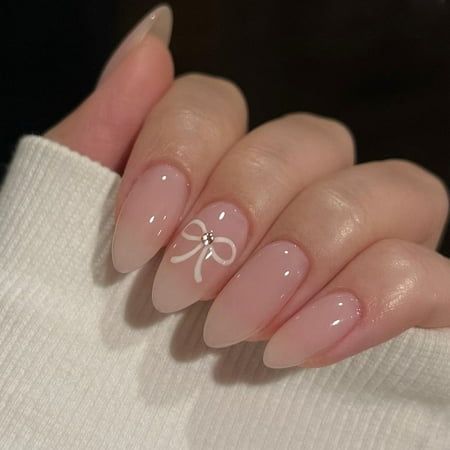
“Get salon-quality nails at home with Deehe Artificial Press On Nails, featuring a cute pink bow design.”
Christmas Nail
11 months ago
1
2
3
4
5
6
7
…
37
Search
Search
Ads
Recent Posts
Stunning nude chrome nail designs for any event, perfect inspiration for your next manicure.
11 months ago
headline that captures the essence of the article: “Steal Rihanna’s athleisure style with these trendy tips for a comfortable and chic look.”
11 months ago
“Top 24 Hair Colors for Afro-Textured Hair in 2022 – Find Your Perfect Shade Today!”
11 months ago
Categories
Beauty
Celebrity
Christmas Nail
Fashion
Hair Style
Holiday
Photography
Recipes
Follow Us
We use cookies to ensure that we give you the best experience on our website. If you continue to use this site we will assume that you are happy with it.
Ok


Follow Us