Home
Blog
About
Contact
Home
Blog
About
Contact
What are you looking for?
Search results will appear here
TAG: design
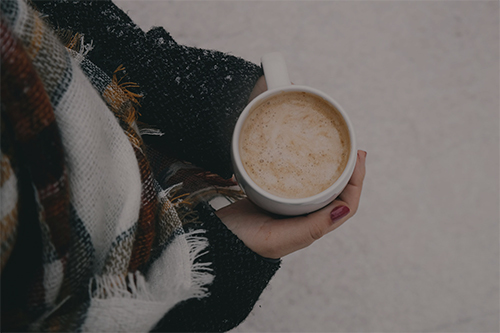
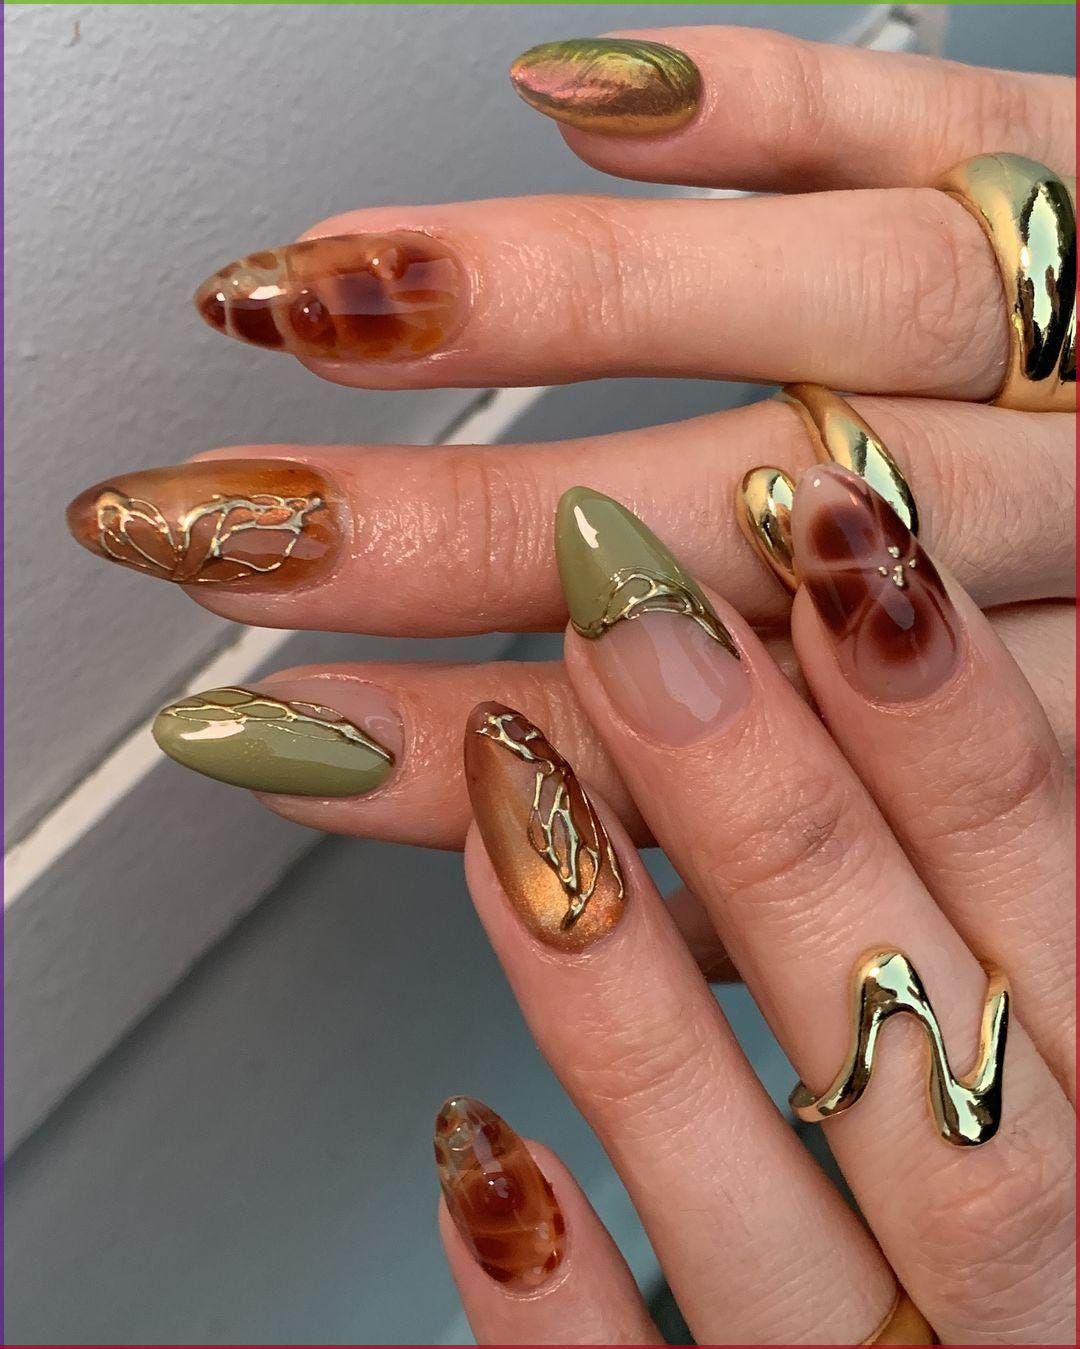
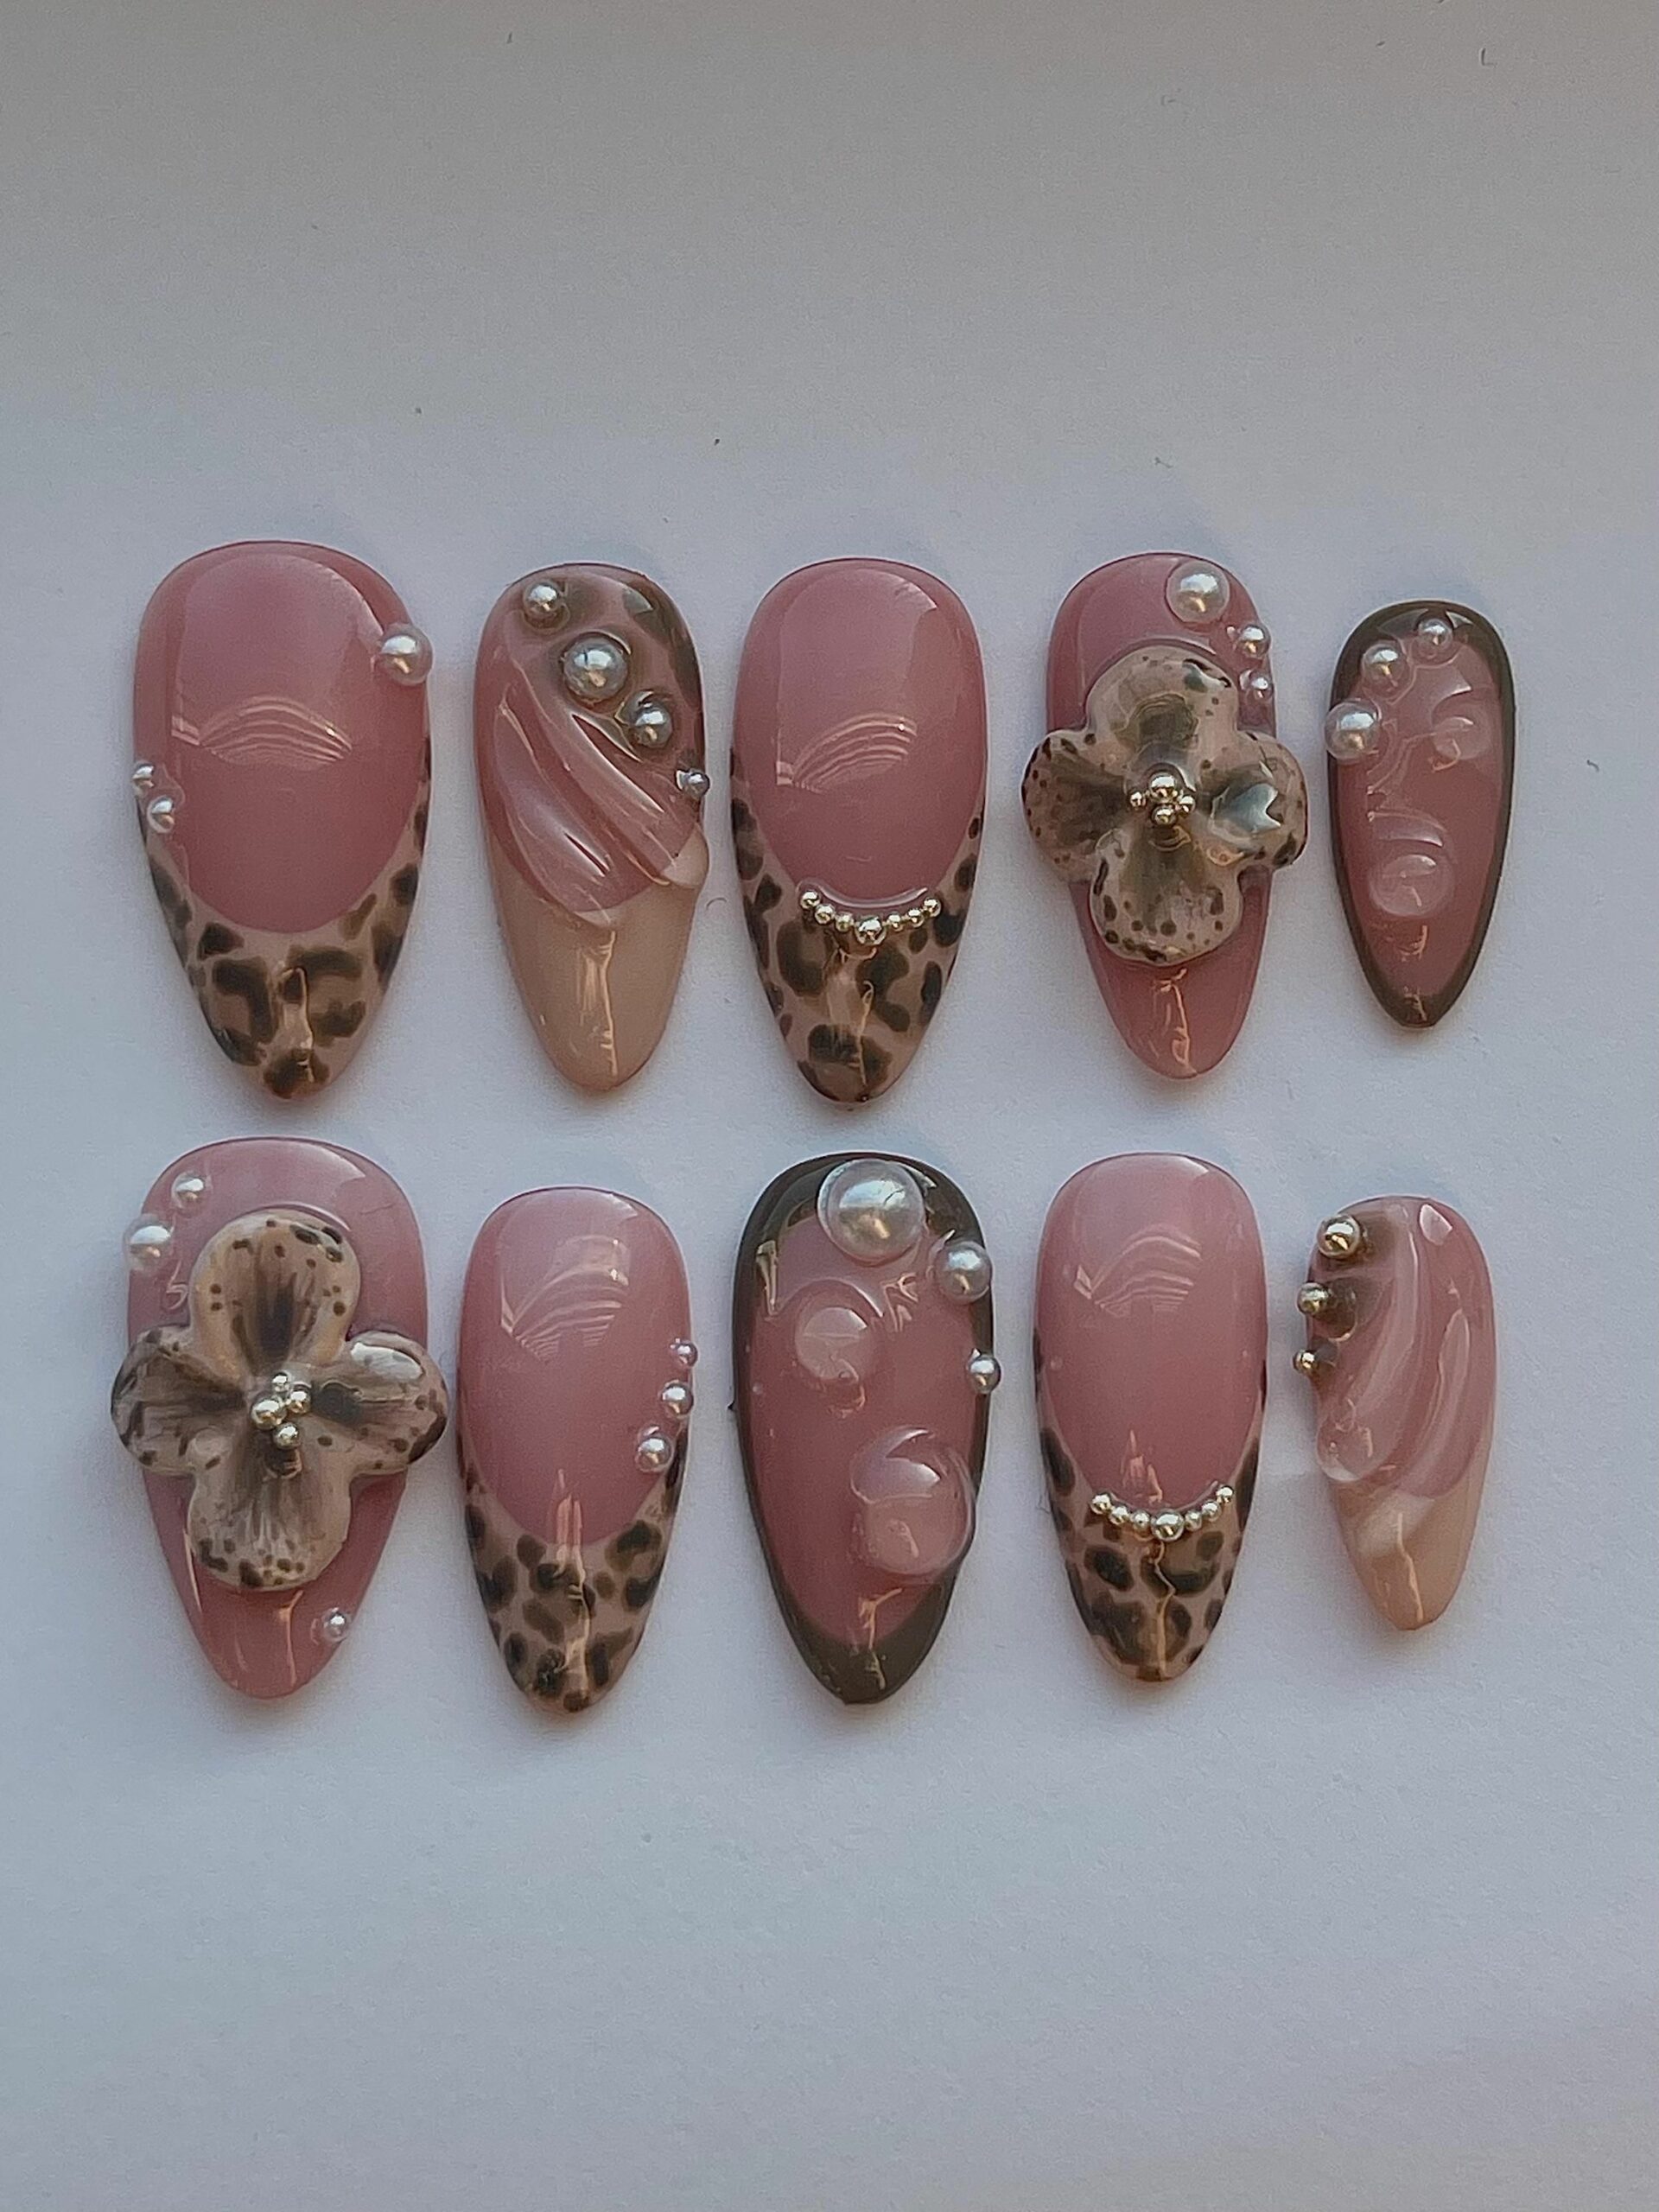
description with relevant keywords for this product:
“Handmade gold leaf and amber press on nails for a luxurious fall look. Trendy and unique design.”
Christmas Nail
10 months ago
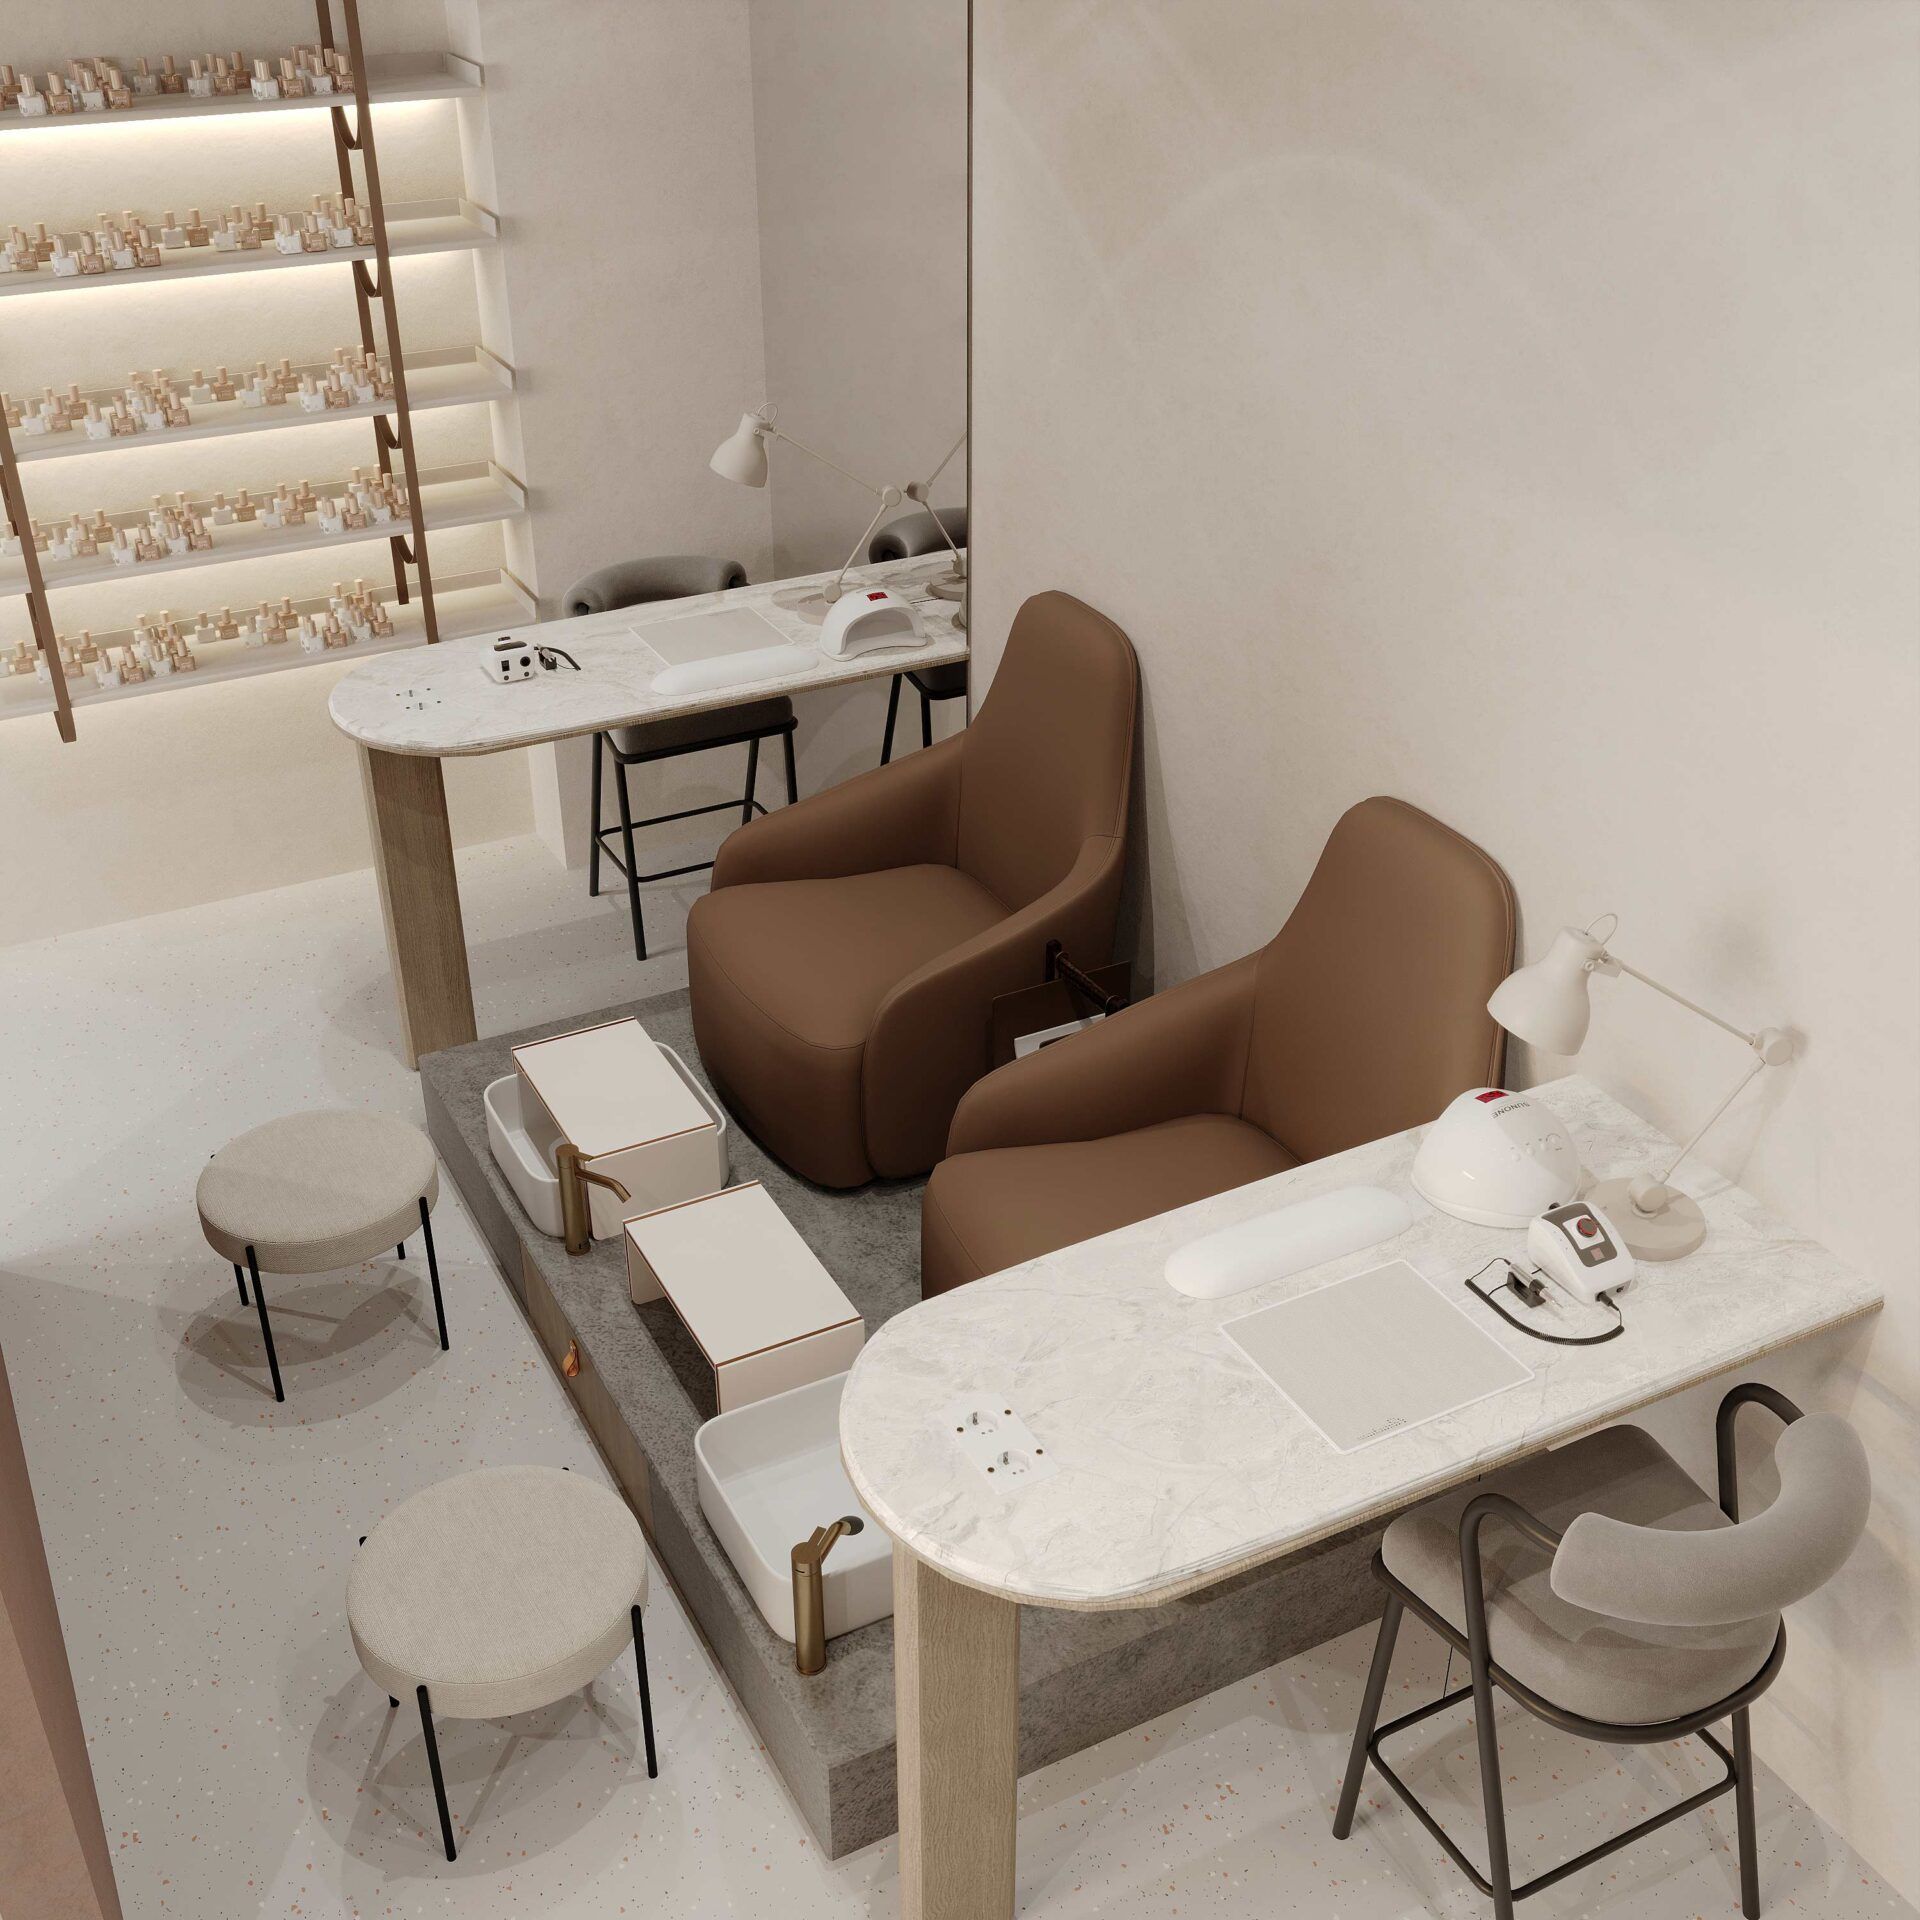
URB – A New Space of Beauty and Aesthetics for You to Shine Bright
URB is a breath of fresh air in the world of beauty and aesthetics. With its sophisticated and stylish design, this space is sure to make you feel beautiful inside and out. Originally a small room measuring only 70 square meters with a ceiling height of 6 meters, URB has been transformed into a stunning space that maximizes every inch.
Unique Design and Layout
One of the key features of URB is its unique design and layout. The space has been carefully divided and organized to create separate areas for different beauty treatments and services. From hair styling to skincare, each section of URB is designed to cater to your specific needs.
Luxurious Atmosphere
Step into URB and you will instantly be transported to a world of luxury and relaxation. The sleek and modern decor creates a chic atmosphere that is perfect for pampering yourself. Whether you’re getting a manicure, a facial, or a massage, every treatment at URB is designed to make you feel like royalty.
Professional Staff
At URB, we believe that beauty is not just about how you look, but also about how you feel. That’s why our team of professional staff is dedicated to providing you with the highest quality of service. From expert hairstylists to experienced estheticians, every member of our staff is trained to help you look and feel your best.
Wide Range of Services
URB offers a wide range of services to cater to all of your beauty needs. Whether you’re looking for a quick touch-up or a full day of pampering, we have everything you need to look and feel your best. From haircuts and color to facials and massages, URB has it all.
State-of-the-Art Equipment
In order to provide you with the best possible experience, URB is equipped with state-of-the-art equipment and technology. From cutting-edge hair styling tools to advanced skincare machines, we spare no expense in ensuring that you receive top-notch treatment.
Personalized Consultations
At URB, we understand that every person is unique, which is why we offer personalized consultations for all of our clients. Whether you’re unsure of what hairstyle to choose or need advice on the best skincare products, our experts are here to help. We will work with you to create a customized beauty plan that fits your individual needs and preferences.
In conclusion, URB is more than just a beauty salon – it’s a sanctuary for self-care and rejuvenation. With its stylish design, luxurious atmosphere, professional staff, wide range of services, state-of-the-art equipment, and personalized consultations, URB is the perfect place to pamper yourself and unleash your inner beauty. Visit us today and let us help you shine bright!
Christmas Nail
10 months ago
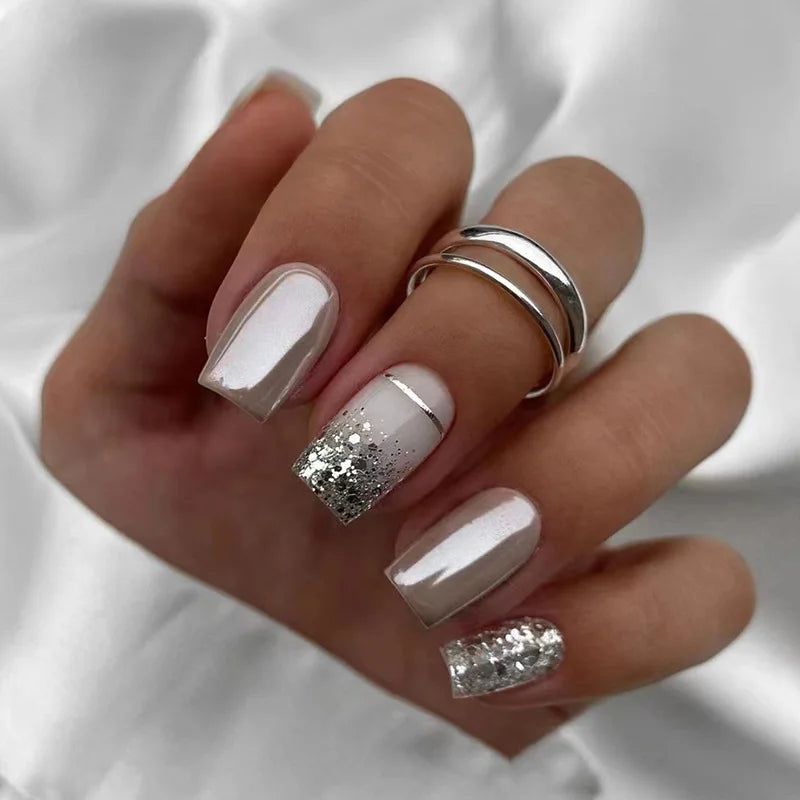
“Stylish Gradient White French Fake Nails, Short Square Design, Finished Manicure Press On Nails”
Christmas Nail
10 months ago
description for your logo design service:
“Unique and elegant logo design for beauty studios, nail salons, boutique businesses, and photographers.”
Christmas Nail
10 months ago
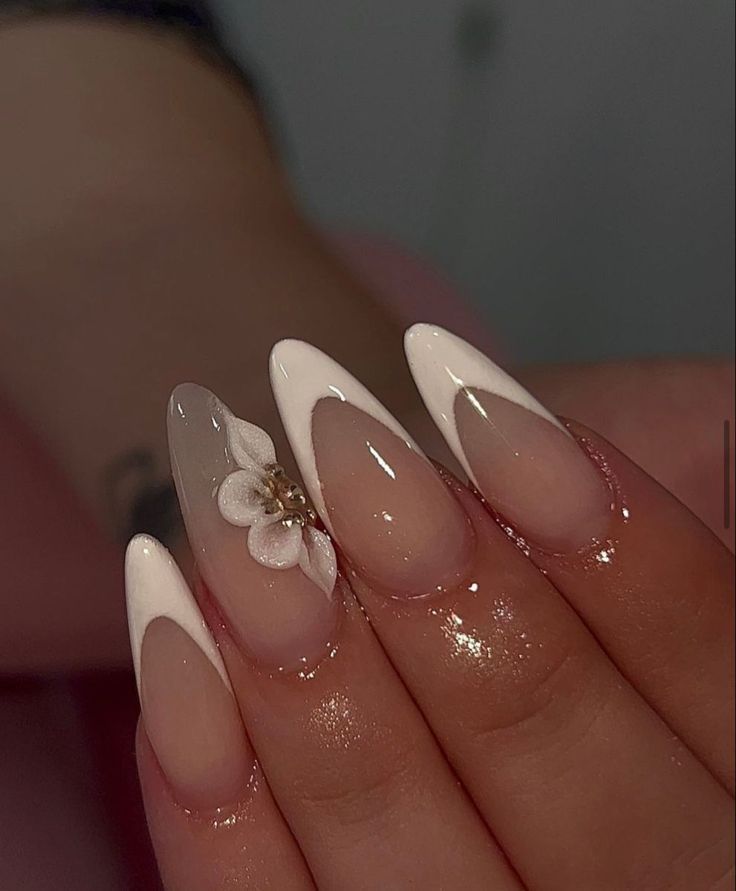
Custom flower nails, pink hand-painted nail art, 3D design, gel or acrylic options, perfect gift for girls.
Christmas Nail
10 months ago
The Best Manicure for Your Zodiac Sign: Choose the perfect nail design based on astrology.
Christmas Nail
10 months ago
Leopard Print Nail Art: Trendy and Easy DIY Manicure Design for Fashionistas.
Christmas Nail
10 months ago
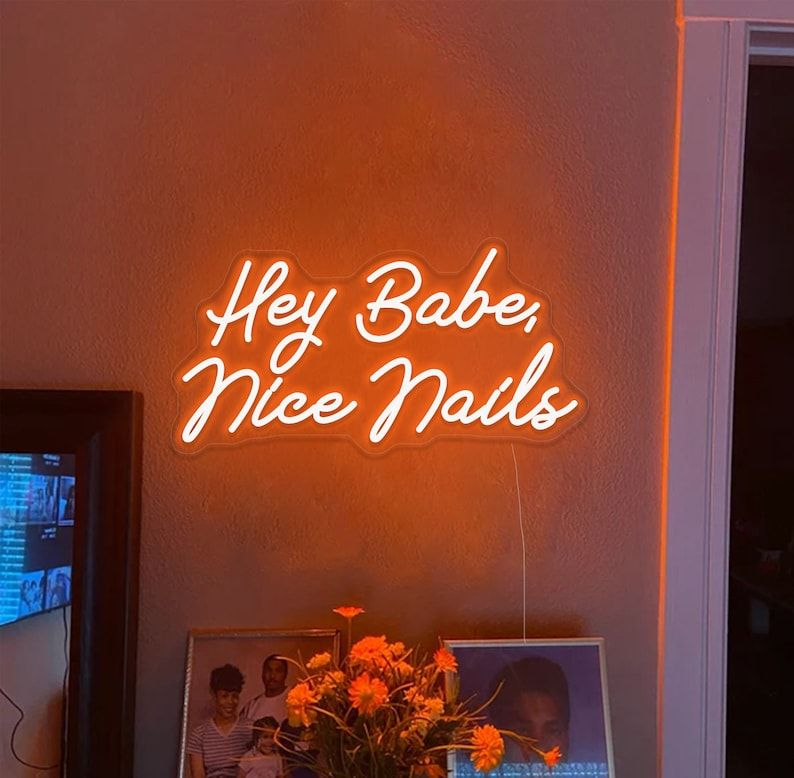
Custom LED neon sign for nail salon with “Hey Babe Nice Nails” store logo design. Perfect wall art.
Christmas Nail
10 months ago
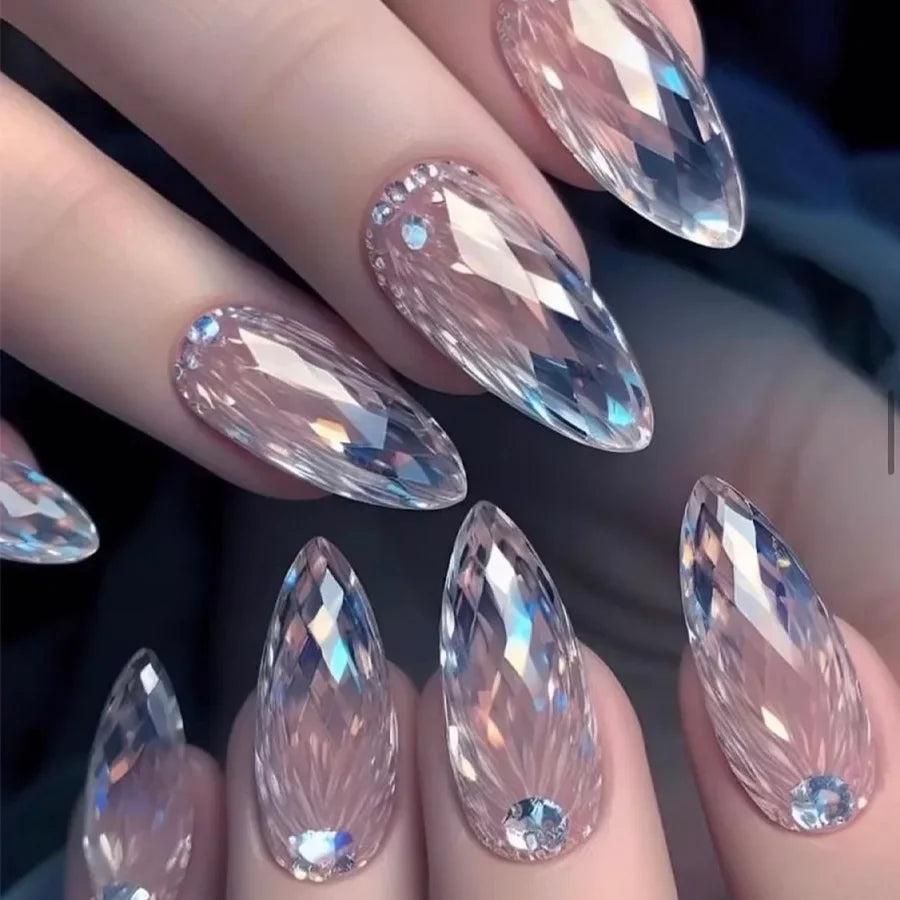
Almond Water Drop Crystal Press-On Nails – Removable French tips with full coverage design.
Christmas Nail
10 months ago
“Stunning almond nails: the perfect shape for a chic and elegant nail design.”
Christmas Nail
10 months ago
1
2
3
4
5
6
7
…
32
Search
Search
Ads
Recent Posts
Stunning nude chrome nail designs for any event, perfect inspiration for your next manicure.
11 months ago
headline that captures the essence of the article: “Steal Rihanna’s athleisure style with these trendy tips for a comfortable and chic look.”
11 months ago
“Top 24 Hair Colors for Afro-Textured Hair in 2022 – Find Your Perfect Shade Today!”
11 months ago
Categories
Beauty
Celebrity
Christmas Nail
Fashion
Hair Style
Holiday
Photography
Recipes
Follow Us
We use cookies to ensure that we give you the best experience on our website. If you continue to use this site we will assume that you are happy with it.
Ok


Follow Us