Home
Blog
About
Contact
Home
Blog
About
Contact
What are you looking for?
Search results will appear here
TAG: Creative
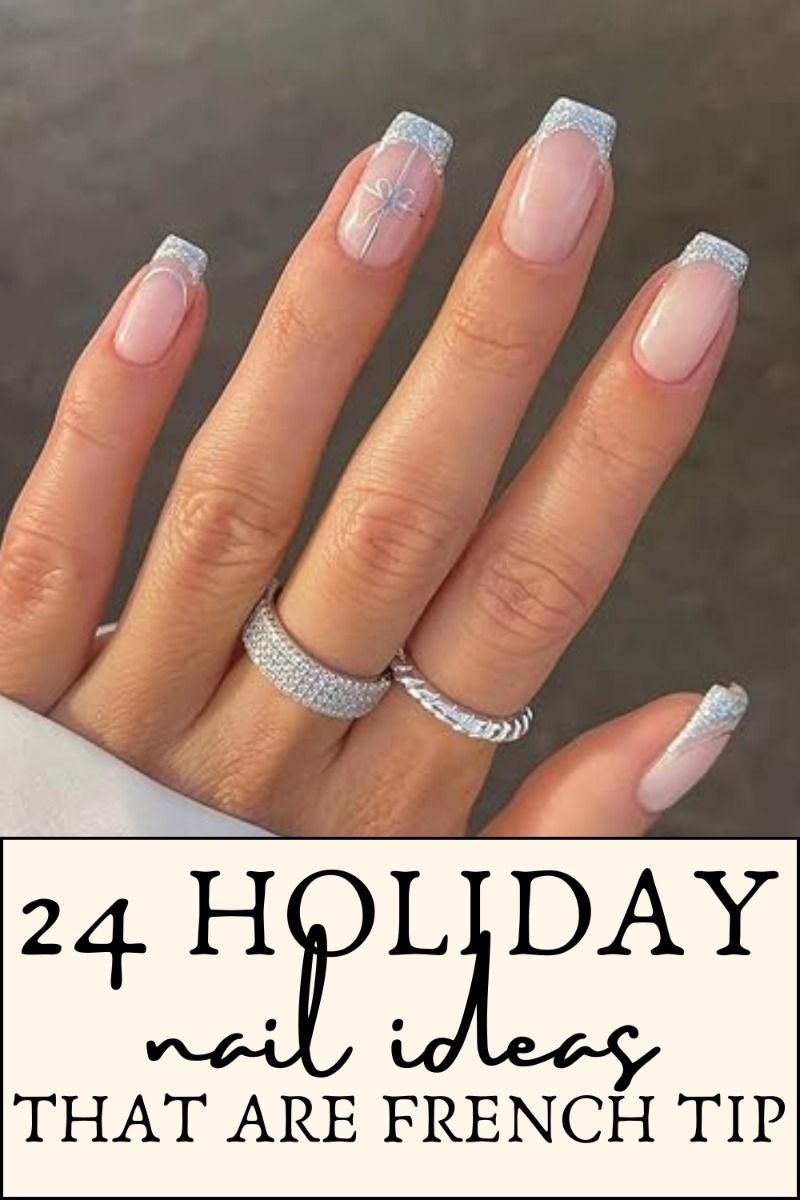
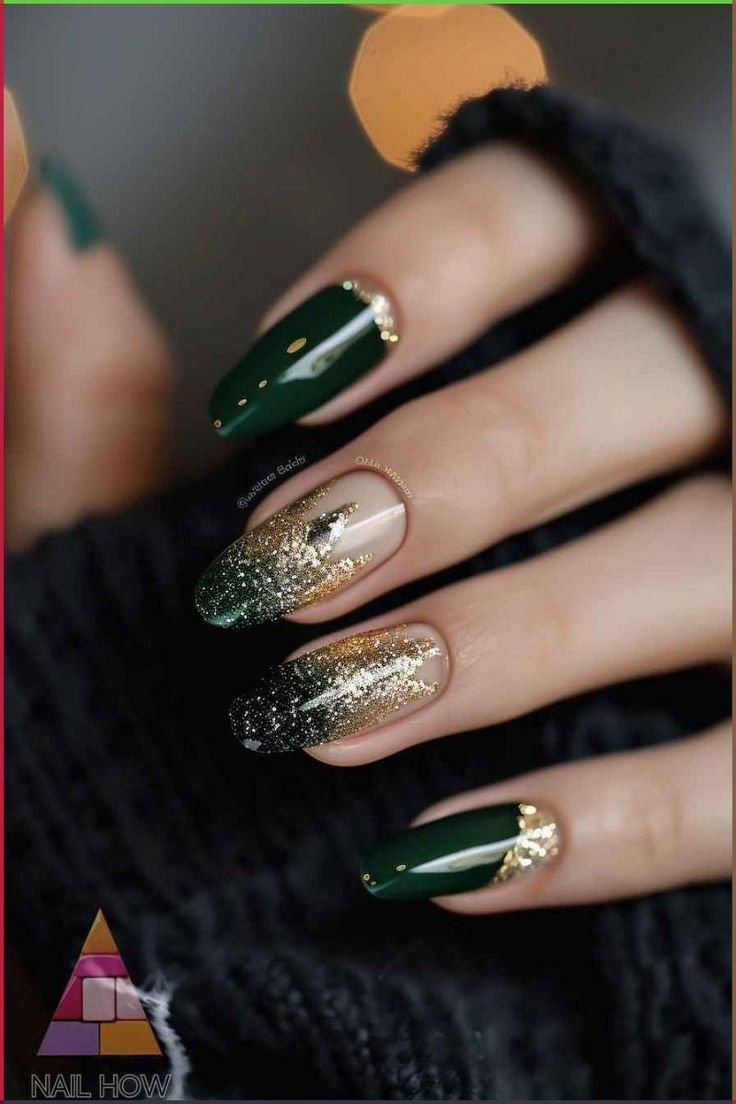
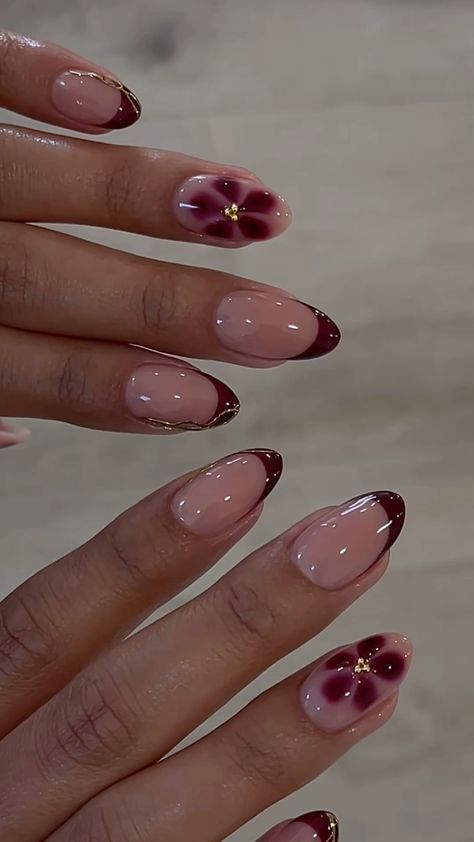
“Elegant Christmas nail art with festive French tips for a stylish holiday look. Get creative!”
Christmas Nail
10 months ago
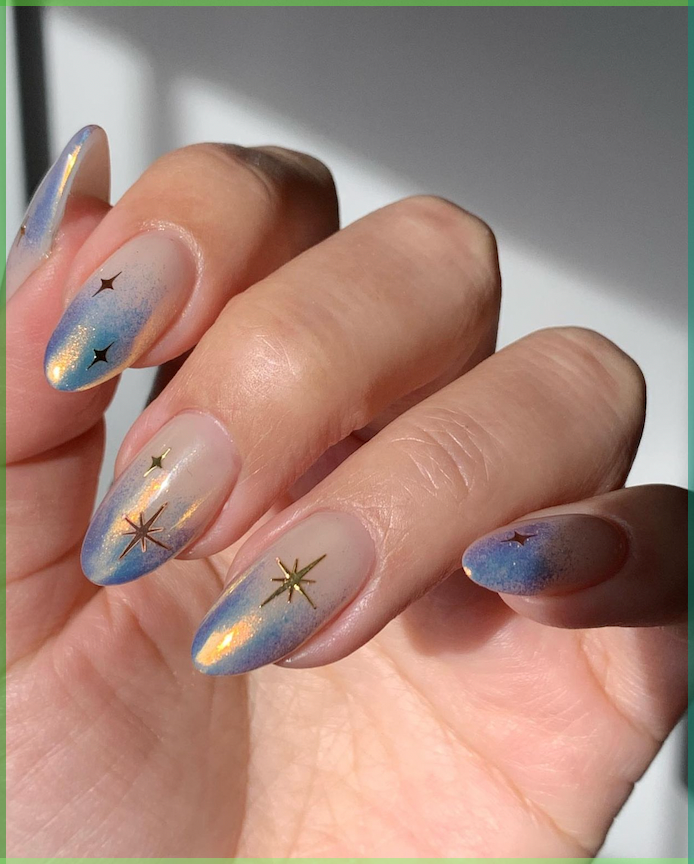
“10 Creative Nail Designs for Aesthetic Enthusiasts – Get inspired with these unique trends!”
Christmas Nail
10 months ago
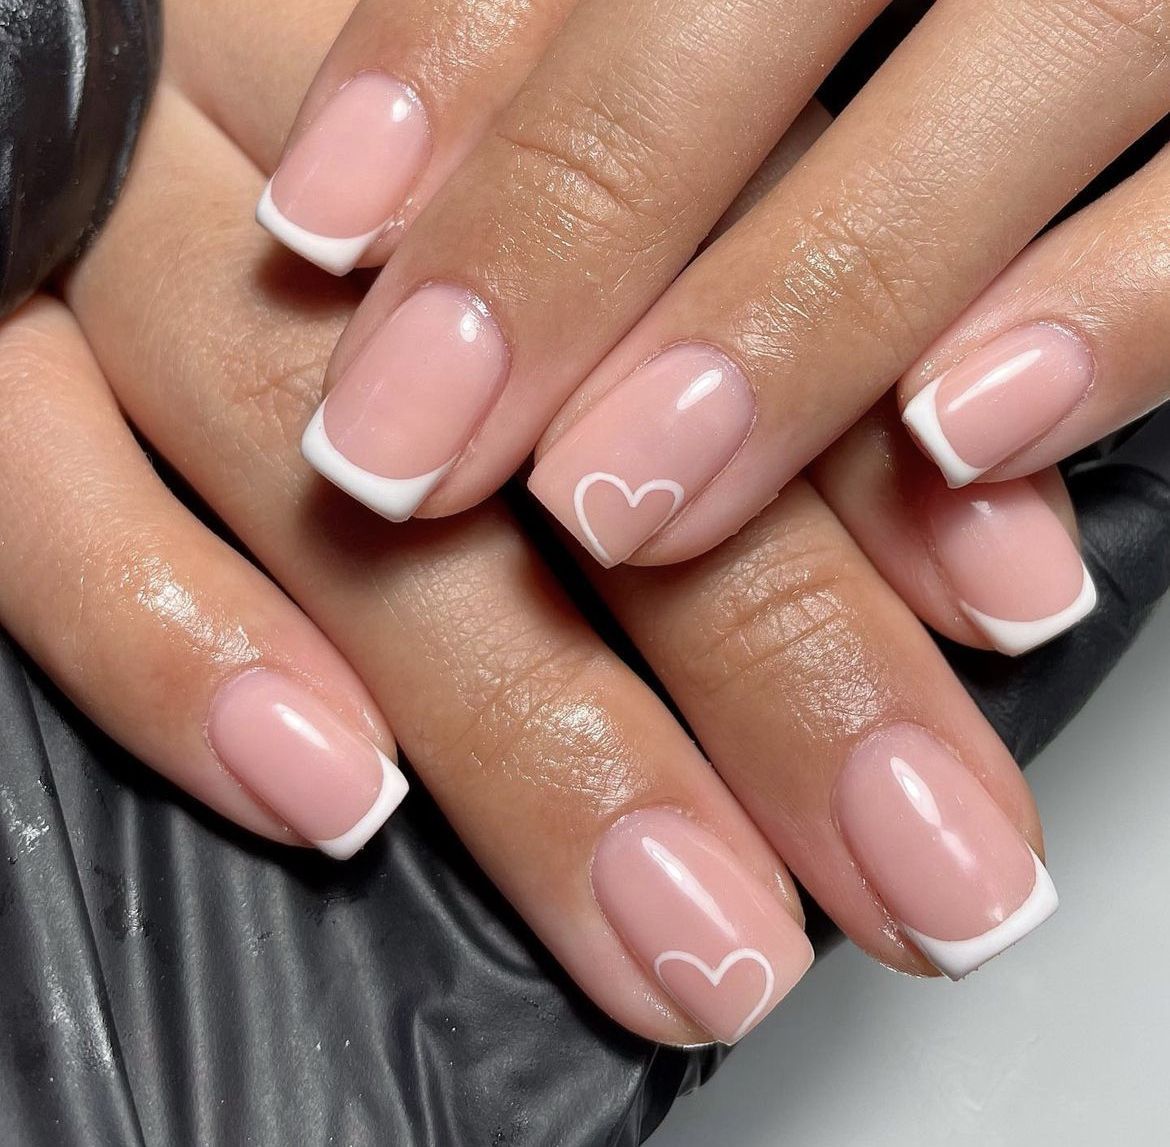
Spring Nail Designs for 2021: 69 stunning ideas to inspire your next manicure. Get creative!
Christmas Nail
10 months ago
“Summer nail art ideas: 53 creative designs for a trendy and fun seasonal look.”
Christmas Nail
10 months ago
“10 Trendy Nail Art Ideas to Elevate Your Style – Get Inspired and Get Creative!”
Christmas Nail
10 months ago
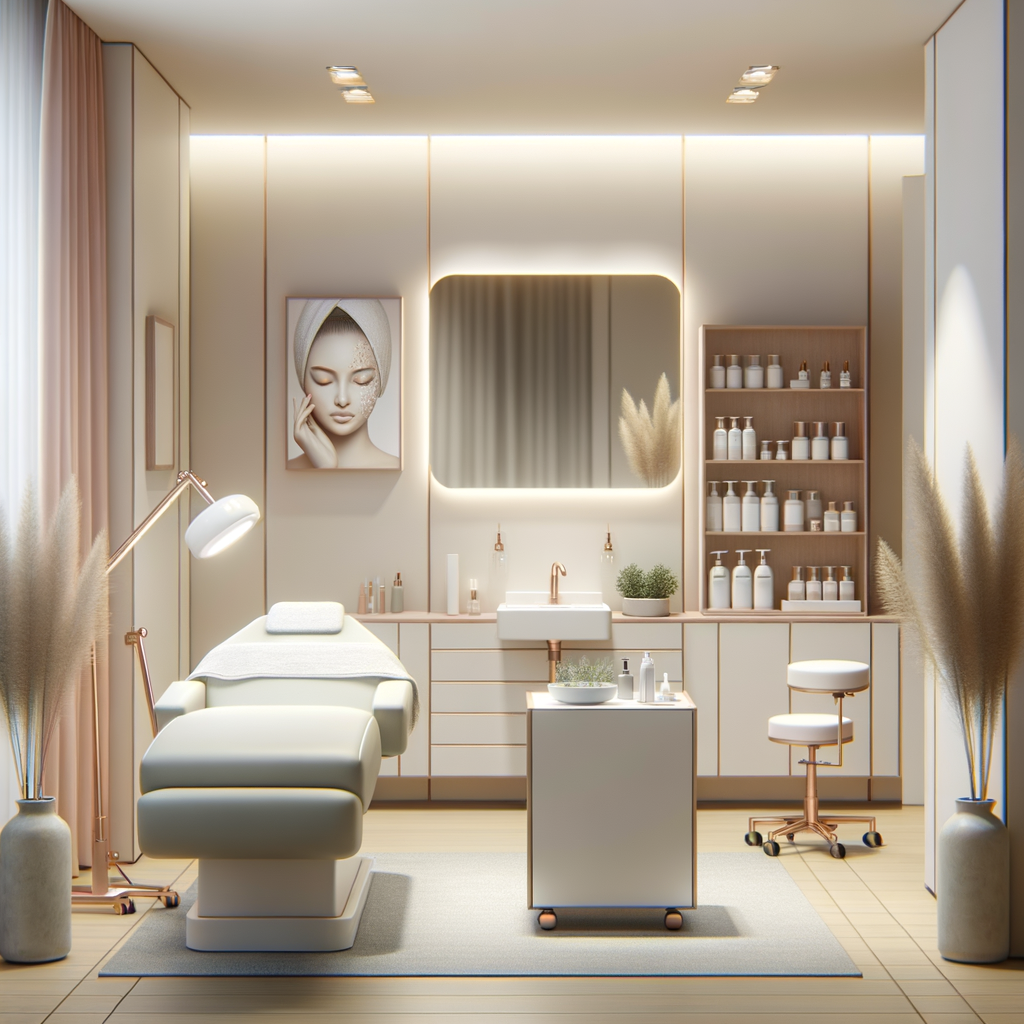
Facial Room Design Solutions: Maximize Space in a Compact Treatment Area with 13+ Creative Ideas.
Christmas Nail
10 months ago
Gel nail designs have become increasingly popular in recent years, thanks to their long-lasting and durable finish. Whether you prefer a classic French manicure or a bold and vibrant design, gel nails offer endless possibilities for creativity and customization. In this article, we’ll explore some of the trendiest gel nail designs that are sure to turn heads and inspire your next manicure.
Marble Madness
One of the hottest trends in gel nail designs is the marble pattern. This chic and sophisticated look can be achieved using a variety of colors, from soft pastels to bold neons. To create a marble effect, simply dab a few different shades of gel polish onto your nails and swirl them together with a thin brush or toothpick. The result is a stunning and unique design that mimics the natural beauty of marble.
Ombre Obsession
Ombre nails have been a popular trend for quite some time, and they show no signs of slowing down. This gradient effect can be achieved using two or more colors that blend seamlessly from light to dark. With gel polish, you can create a flawless ombre look that lasts for weeks without chipping or fading. Whether you opt for a subtle pastel ombre or a bold and bright design, ombre nails are a stylish and versatile option for any occasion.
Glitter Glam
For those who love a touch of sparkle, glitter gel nails are the perfect choice. From subtle shimmer to full-on glitter bomb, there are endless ways to incorporate glitter into your gel nail designs. You can opt for a simple glitter accent nail, or go all out with a full set of glittery nails. Either way, glitter gel nails are sure to add a touch of glamour and sophistication to any look.
Abstract Art
If you’re feeling bold and creative, why not try an abstract gel nail design? This trend allows you to experiment with different shapes, lines, and colors to create a one-of-a-kind look that reflects your personal style. Whether you opt for geometric patterns, floral motifs, or random splashes of color, abstract gel nails are a fun and playful way to express your creativity.
Summary List of Gel Nail Designs:
– Marble Madness
– Ombre Obsession
– Glitter Glam
– Abstract Art
In conclusion, gel nail designs offer a wide range of options for those looking to elevate their manicure game. Whether you prefer a classic and elegant look or a bold and daring design, there is a gel nail style to suit every taste and occasion. So why not step out of your comfort zone and try something new with your next manicure? With gel polish, the possibilities are endless, and the results are sure to impress.
Christmas Nail
10 months ago
“Fun and Creative Nail Art: Cartoon, Movie, and Snack-Inspired Designs for a Unique Look!”
Christmas Nail
10 months ago
Aquarius nail designs for the zodiac enthusiast, featuring unique and creative styles to express individuality.
Christmas Nail
10 months ago
“Get creative with 30 cute bow nail designs that are perfect for any occasion.”
Christmas Nail
10 months ago
1
2
3
4
5
6
7
…
16
Search
Search
Ads
Recent Posts
Stunning nude chrome nail designs for any event, perfect inspiration for your next manicure.
11 months ago
headline that captures the essence of the article: “Steal Rihanna’s athleisure style with these trendy tips for a comfortable and chic look.”
11 months ago
“Top 24 Hair Colors for Afro-Textured Hair in 2022 – Find Your Perfect Shade Today!”
11 months ago
Categories
Beauty
Celebrity
Christmas Nail
Fashion
Hair Style
Holiday
Photography
Recipes
Follow Us
We use cookies to ensure that we give you the best experience on our website. If you continue to use this site we will assume that you are happy with it.
Ok


Follow Us