Home
Blog
About
Contact
Home
Blog
About
Contact
What are you looking for?
Search results will appear here
TAG: Create
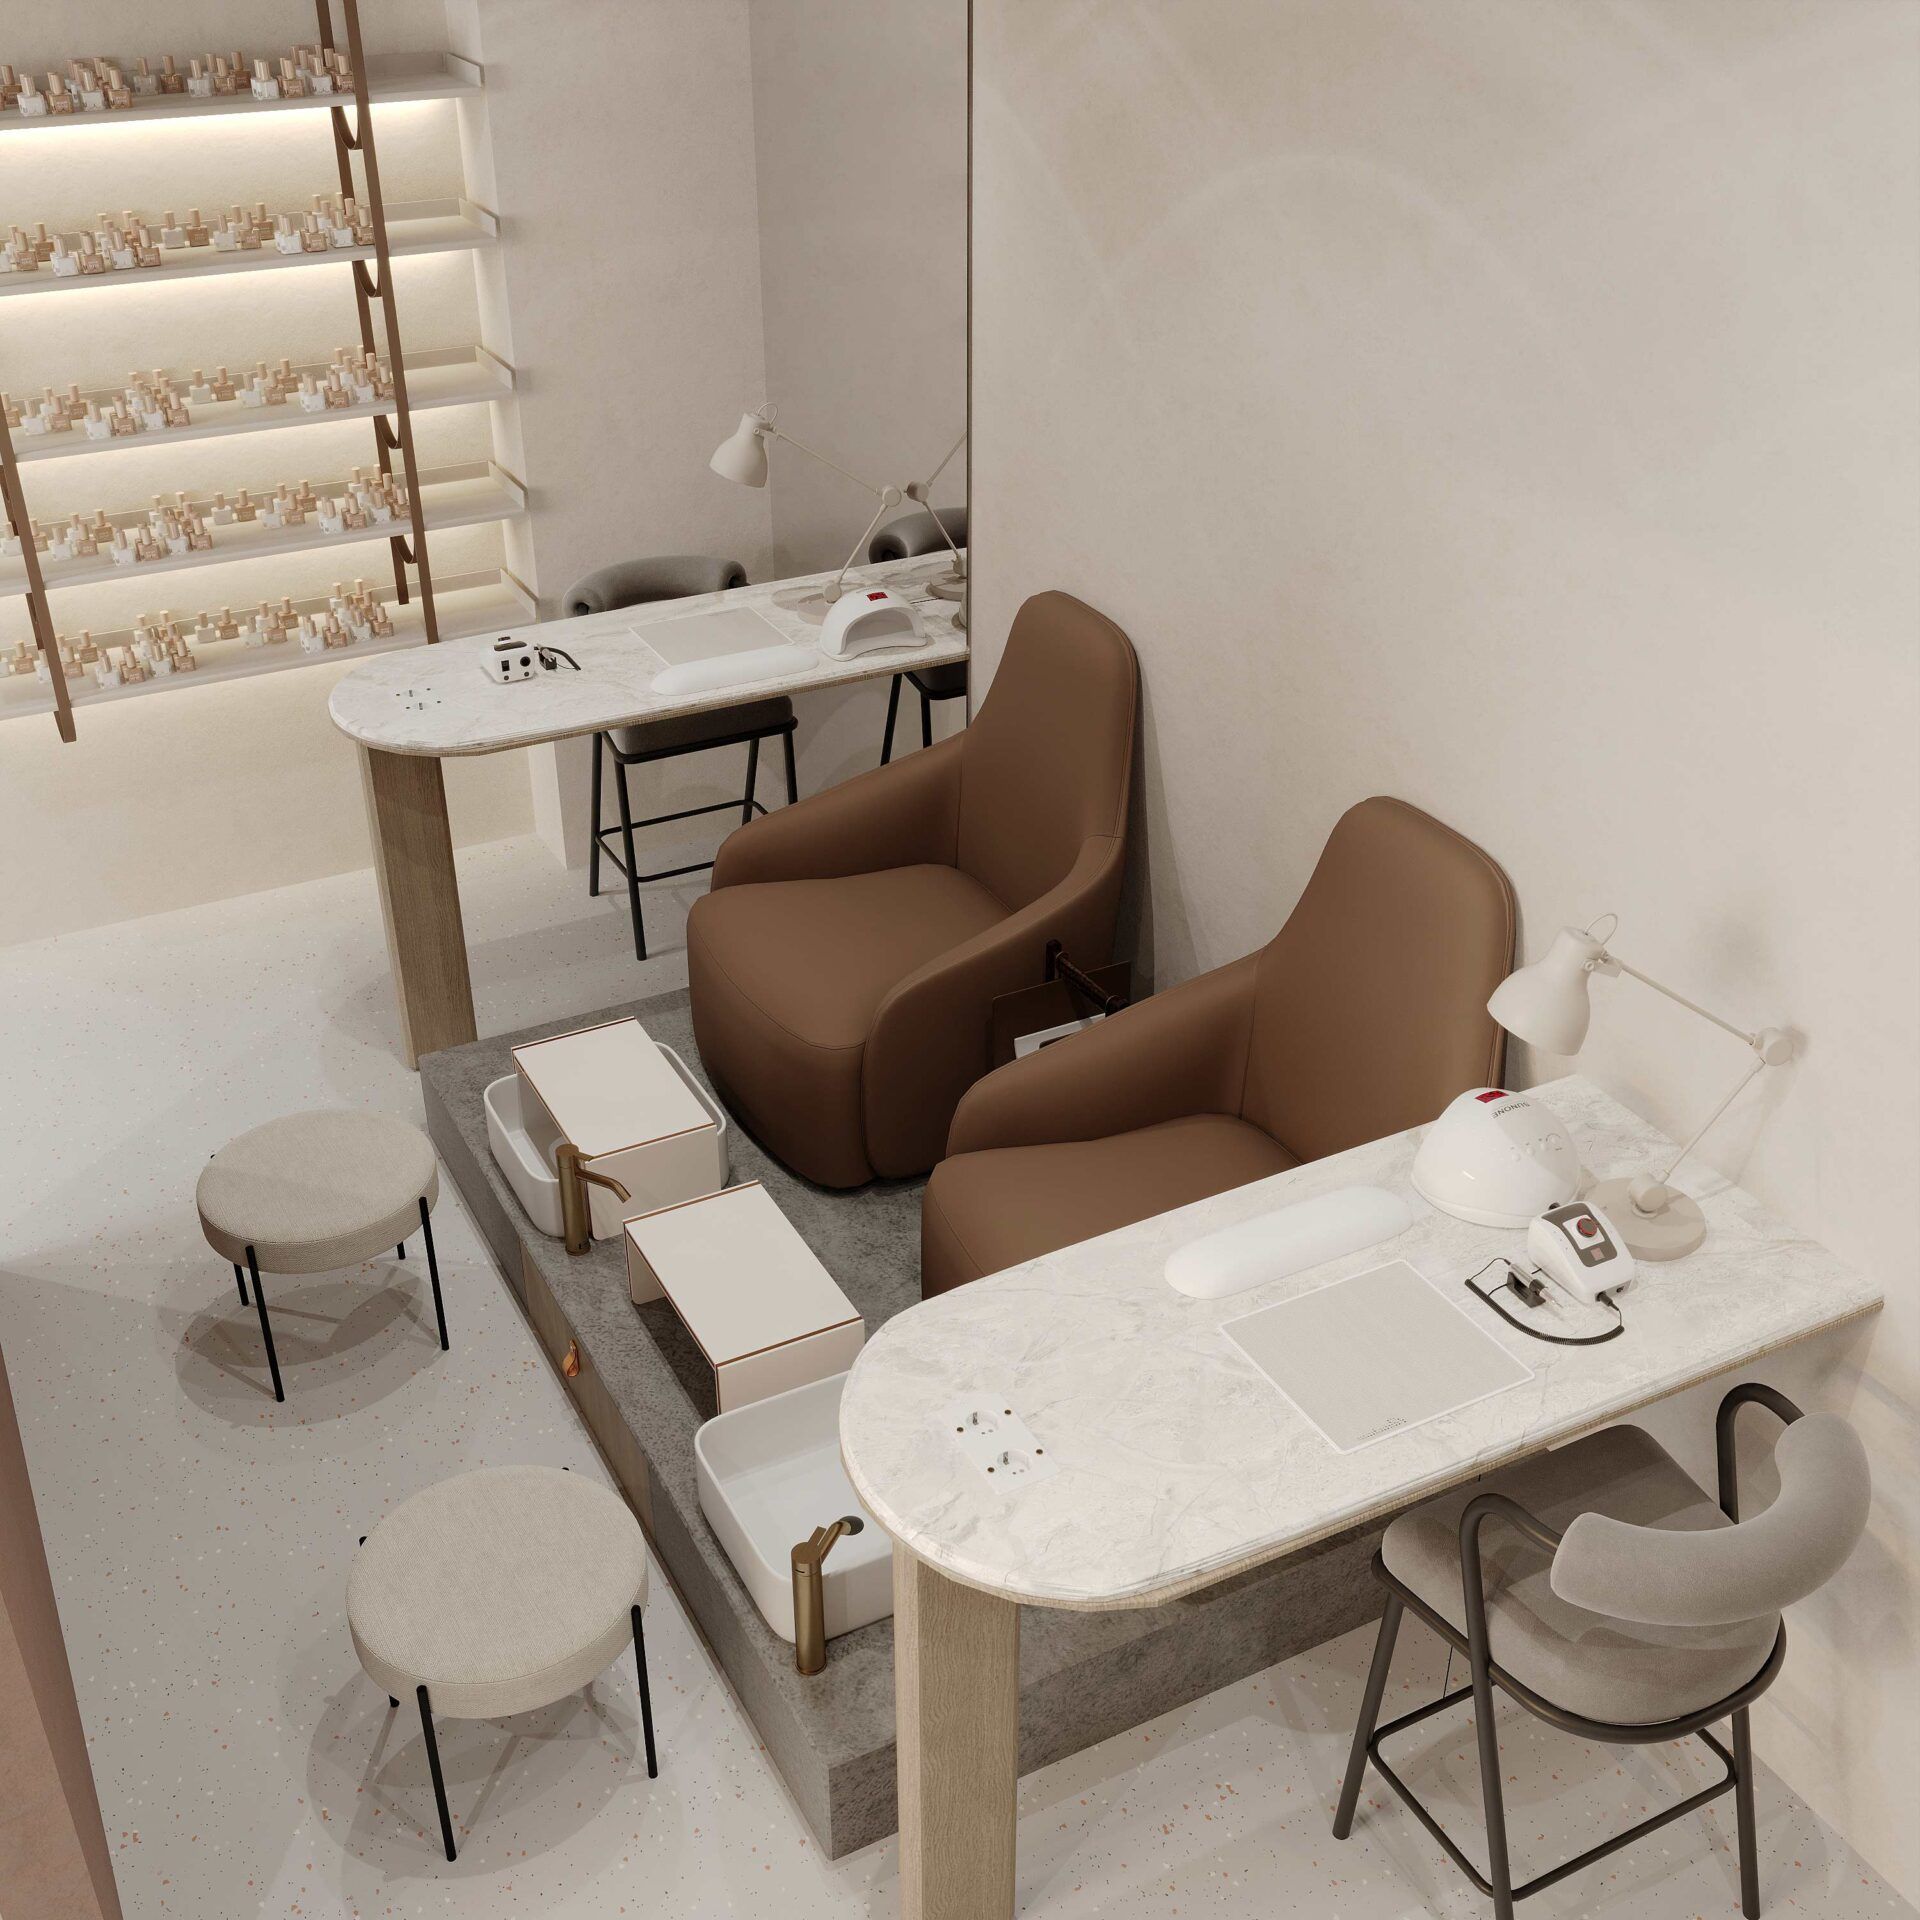
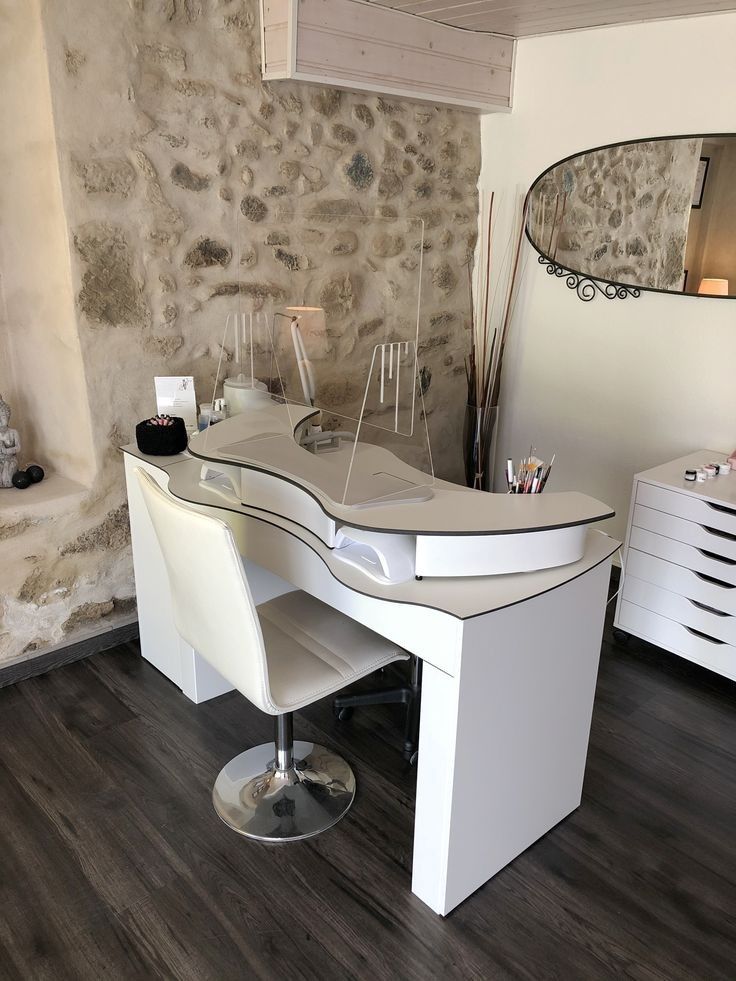
URB – A New Space of Beauty and Aesthetics for You to Shine Bright
URB is a breath of fresh air in the world of beauty and aesthetics. With its sophisticated and stylish design, this space is sure to make you feel beautiful inside and out. Originally a small room measuring only 70 square meters with a ceiling height of 6 meters, URB has been transformed into a stunning space that maximizes every inch.
Unique Design and Layout
One of the key features of URB is its unique design and layout. The space has been carefully divided and organized to create separate areas for different beauty treatments and services. From hair styling to skincare, each section of URB is designed to cater to your specific needs.
Luxurious Atmosphere
Step into URB and you will instantly be transported to a world of luxury and relaxation. The sleek and modern decor creates a chic atmosphere that is perfect for pampering yourself. Whether you’re getting a manicure, a facial, or a massage, every treatment at URB is designed to make you feel like royalty.
Professional Staff
At URB, we believe that beauty is not just about how you look, but also about how you feel. That’s why our team of professional staff is dedicated to providing you with the highest quality of service. From expert hairstylists to experienced estheticians, every member of our staff is trained to help you look and feel your best.
Wide Range of Services
URB offers a wide range of services to cater to all of your beauty needs. Whether you’re looking for a quick touch-up or a full day of pampering, we have everything you need to look and feel your best. From haircuts and color to facials and massages, URB has it all.
State-of-the-Art Equipment
In order to provide you with the best possible experience, URB is equipped with state-of-the-art equipment and technology. From cutting-edge hair styling tools to advanced skincare machines, we spare no expense in ensuring that you receive top-notch treatment.
Personalized Consultations
At URB, we understand that every person is unique, which is why we offer personalized consultations for all of our clients. Whether you’re unsure of what hairstyle to choose or need advice on the best skincare products, our experts are here to help. We will work with you to create a customized beauty plan that fits your individual needs and preferences.
In conclusion, URB is more than just a beauty salon – it’s a sanctuary for self-care and rejuvenation. With its stylish design, luxurious atmosphere, professional staff, wide range of services, state-of-the-art equipment, and personalized consultations, URB is the perfect place to pamper yourself and unleash your inner beauty. Visit us today and let us help you shine bright!
Christmas Nail
10 months ago
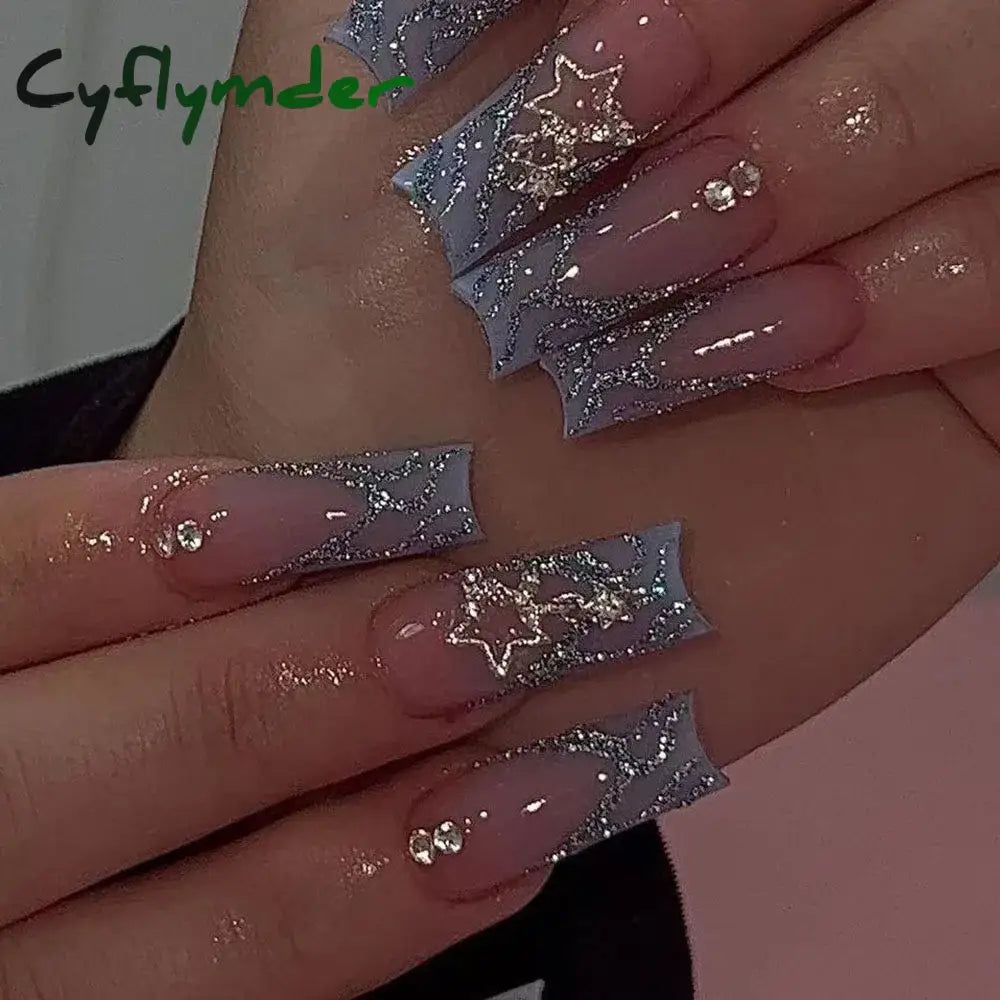
Are you looking to add a touch of sweetness and coolness to your nails? Look no further than these 24pcs wearable y2k purple fake nails with black stars designs. These long ballet press on nails are the perfect choice for anyone looking to enhance their nail game with a trendy and unique design.
Stand Out with Unique Designs
One of the standout features of these artificial nails is their eye-catching black stars designs. The combination of purple and black creates a striking contrast that is sure to turn heads. Whether you’re heading to a party, a special event, or just want to add some flair to your everyday look, these nails are the perfect choice.
Easy Application with Long-Lasting Results
Applying these press on nails is a breeze, thanks to the included glue. Simply apply the glue to the back of the nail and press it onto your natural nail for a secure fit. These nails are designed to last, so you can enjoy your stylish manicure for days on end without worrying about them coming loose.
High-Quality Acrylic Material
These false nails are made from high-quality acrylic, ensuring durability and a natural look. The material is lightweight and comfortable to wear, making it easy to go about your daily activities without any discomfort. Whether you’re typing on a keyboard, texting on your phone, or doing household chores, these nails will stay put and look flawless.
Perfect for Nail Professionals and DIY Enthusiasts
Whether you’re a nail professional looking for a new addition to your supplies or a DIY enthusiast who loves experimenting with nail art, these acrylic false nails are a must-have. The set of 24pcs gives you plenty of options to mix and match designs to create your own unique look. From geometric patterns to long French ballerina styles, the possibilities are endless.
Summary List:
– Stand out with unique black stars designs
– Easy application with included glue
– High-quality acrylic material for durability and comfort
– Perfect for nail professionals and DIY enthusiasts
Overall, these y2k purple fake nails with black stars designs are a fun and stylish choice for anyone looking to elevate their nail game. With their easy application, long-lasting results, and high-quality material, these nails are sure to become a staple in your beauty routine. Whether you’re heading to a special event or just want to add some flair to your everyday look, these nails are the perfect accessory. Try them out today and enjoy a trendy and unique manicure that will make you stand out from the crowd.
Christmas Nail
10 months ago
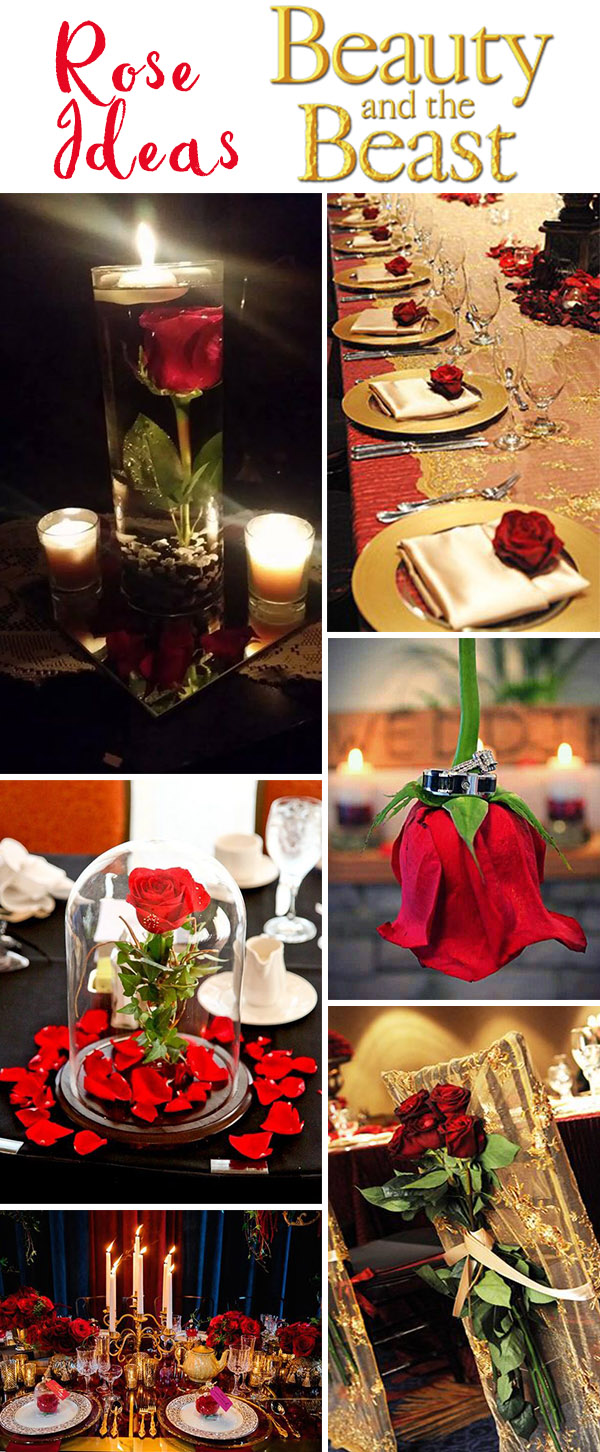
Title: How to Add Beauty and the Beast-Inspired Details to Your Wedding
Summary:
– The new live-action Beauty and the Beast movie has reignited our childhood dreams of being a princess.
– Incorporating details from the classic movie into your wedding can add a touch of magic and romance.
– From decorations to fashion, there are numerous ways to bring the enchantment of Beauty and the Beast to your special day.
Heading: Enchanting Decor
One of the easiest ways to incorporate Beauty and the Beast-inspired details into your wedding is through enchanting decor. Consider adding touches of gold, red, and blue throughout your venue to mimic the opulent style of the Beast’s castle. Opt for ornate candelabras, rose centerpieces, and elegant chandeliers to create a truly magical atmosphere. Don’t forget to include nods to iconic elements from the movie, such as enchanted roses, teapots, and clocks, to transport your guests into the world of Beauty and the Beast.
Heading: Fairytale Fashion
For brides who want to channel their inner Belle, fairytale fashion is a must. Look for wedding gowns with delicate lace, intricate beading, and flowing skirts to capture the essence of Belle’s iconic yellow ballgown. Consider adding a touch of blue to your ensemble with a sapphire necklace or earrings, reminiscent of the enchanted rose in the movie. For grooms, a classic tuxedo paired with a red rose boutonniere is a subtle nod to the Beast’s transformation into a prince.
Heading: Whimsical Stationery
Set the tone for your Beauty and the Beast-inspired wedding with whimsical stationery. Choose invitations adorned with gold foil, rose motifs, and elegant calligraphy to create a sense of enchantment from the moment your guests receive their save-the-dates. Consider incorporating quotes from the movie or lyrics from the iconic songs to add a touch of whimsy to your wedding stationery suite.
Heading: Tale as Old as Time Cake
No fairytale wedding is complete without a show-stopping cake. For a Beauty and the Beast-inspired dessert, consider a tiered confection adorned with cascading roses, gold accents, and intricate detailing. Opt for flavors like rose petal, lemon, or vanilla to capture the essence of Belle’s love of books and roses. Top your cake with a miniature enchanted rose or a figurine of Belle and the Beast to add a touch of magic to your dessert table.
Heading: Magical Favors
Thank your guests for being a part of your fairytale wedding with magical favors inspired by Beauty and the Beast. Consider giving out mini teacups filled with rose petals, enchanted rose candles, or personalized bookmarks with quotes from the movie. For a fun twist, opt for edible favors like gold-dusted macarons or enchanted rose cake pops for a sweet ending to your enchanted celebration.
Heading: A Happily Ever After Send-Off
As you and your partner embark on your happily ever after, treat your guests to a magical send-off that captures the spirit of Beauty and the Beast. Consider a grand exit with sparklers, rose petals, or even a horse-drawn carriage to whisk you away in style. Let your guests shower you with love and well wishes as you ride off into the sunset, just like Belle and the Beast in their own fairytale ending.
Incorporating Beauty and the Beast-inspired details into your wedding is a whimsical way to add a touch of magic and romance to your special day. From enchanting decor to fairytale fashion, there are countless ways to bring the timeless story to life on your wedding day. Whether you’re a fan of the classic animated film or the new live-action adaptation, channeling the spirit of Belle and the Beast is sure to make your wedding day a tale as old as time.
Christmas Nail
10 months ago
Ultimate guide to holistic spa branding: create a unique logo for your wellness business.
Christmas Nail
10 months ago
guide on how to create stunning nail art designs at home for beginners.
Christmas Nail
10 months ago
Gel nail designs have become increasingly popular in recent years, thanks to their long-lasting and durable finish. Whether you prefer a classic French manicure or a bold and vibrant design, gel nails offer endless possibilities for creativity and customization. In this article, we’ll explore some of the trendiest gel nail designs that are sure to turn heads and inspire your next manicure.
Marble Madness
One of the hottest trends in gel nail designs is the marble pattern. This chic and sophisticated look can be achieved using a variety of colors, from soft pastels to bold neons. To create a marble effect, simply dab a few different shades of gel polish onto your nails and swirl them together with a thin brush or toothpick. The result is a stunning and unique design that mimics the natural beauty of marble.
Ombre Obsession
Ombre nails have been a popular trend for quite some time, and they show no signs of slowing down. This gradient effect can be achieved using two or more colors that blend seamlessly from light to dark. With gel polish, you can create a flawless ombre look that lasts for weeks without chipping or fading. Whether you opt for a subtle pastel ombre or a bold and bright design, ombre nails are a stylish and versatile option for any occasion.
Glitter Glam
For those who love a touch of sparkle, glitter gel nails are the perfect choice. From subtle shimmer to full-on glitter bomb, there are endless ways to incorporate glitter into your gel nail designs. You can opt for a simple glitter accent nail, or go all out with a full set of glittery nails. Either way, glitter gel nails are sure to add a touch of glamour and sophistication to any look.
Abstract Art
If you’re feeling bold and creative, why not try an abstract gel nail design? This trend allows you to experiment with different shapes, lines, and colors to create a one-of-a-kind look that reflects your personal style. Whether you opt for geometric patterns, floral motifs, or random splashes of color, abstract gel nails are a fun and playful way to express your creativity.
Summary List of Gel Nail Designs:
– Marble Madness
– Ombre Obsession
– Glitter Glam
– Abstract Art
In conclusion, gel nail designs offer a wide range of options for those looking to elevate their manicure game. Whether you prefer a classic and elegant look or a bold and daring design, there is a gel nail style to suit every taste and occasion. So why not step out of your comfort zone and try something new with your next manicure? With gel polish, the possibilities are endless, and the results are sure to impress.
Christmas Nail
10 months ago
“20 nail salon decorating ideas to create a stylish and inviting space for clients.”
Christmas Nail
10 months ago
“DIY Nail Polish Water Marbling Tutorial: Create stunning marbled designs with just a few drops!”
Christmas Nail
10 months ago
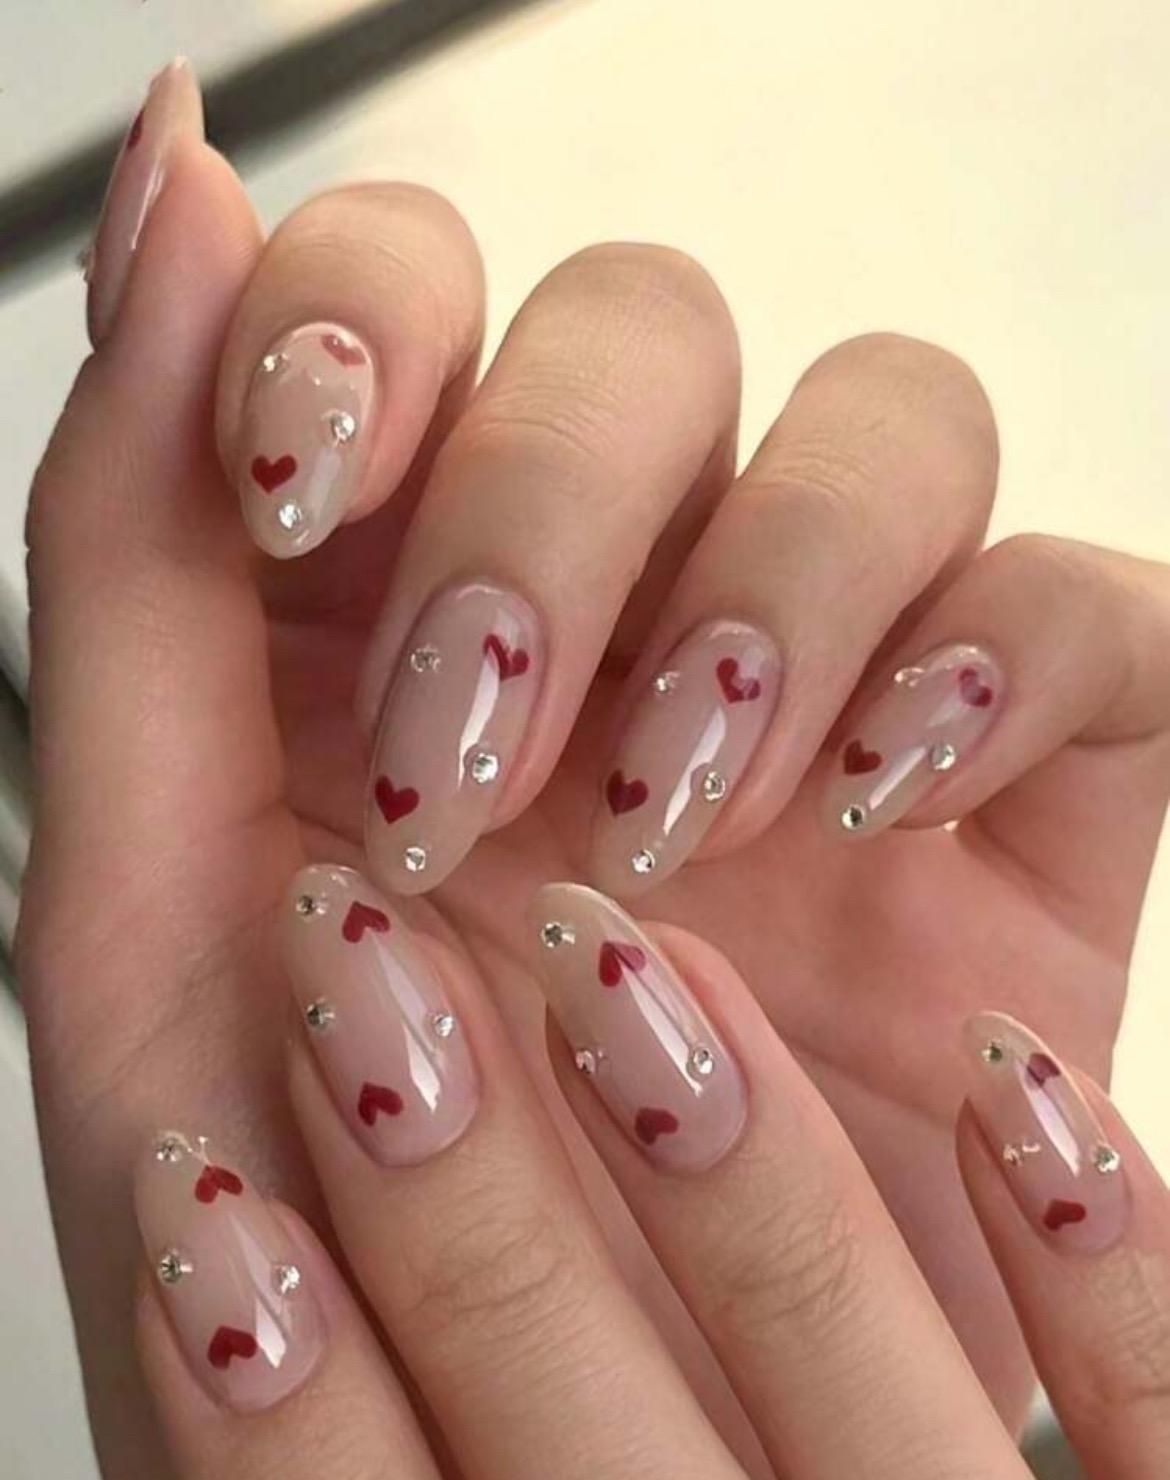
Are you looking for the perfect set of press-on nails for Valentine’s Day? Look no further than Sugarcoated Nail Shop! Our Valentine Glam style is sure to add a touch of glamour to your look. Each set includes 10 salon quality gel nails that are made with the highest quality polishes and gel nail tips for a long-lasting, glossy finish.
**Quality Guarantee**
At Sugarcoated Nail Shop, we take pride in using only the best materials for our press-on nails. Our SNS sets have multiple layers of gel to ensure durability and longevity. Each set comes with a nail prep kit and application instructions at no extra cost, so you can easily apply them at home.
**Long-Lasting Wear**
Our press-on nails are designed to last 1-3 weeks or longer with proper care and maintenance. We use tried and true glue that is sure to keep your nails in place. If you prefer adhesive tabs for short-term wear, they can be purchased as an add-on. Please keep in mind that adhesive tabs are ideal for single events or short-term wear.
**Quick Turnaround Time**
We understand that you want your press-on nails as soon as possible. That’s why we offer a quick turnaround time to create your order compared to most press-on shops. Typically, orders are processed and handed over to the post office within 1-5 business days from the date of purchase.
**Shipping Information**
We offer shipping within Canada and the USA. Orders over $35 USD include free tracked shipping within the USA. Shipping time is typically 2-8 business days for both countries. Shipping upgrades are also available at checkout for faster delivery.
**Sizing Kit Recommendations**
To ensure the perfect fit and optimal comfort, we highly recommend using our sizing kit before making your selection. The sizing kit includes every size of nail in your desired shape, allowing you to determine the best fit for each finger. Using the sizing kit will help you achieve beautiful, long-lasting sets with the correct measurements.
**Design and Lighting Disclaimer**
Please note that designs may vary slightly as each set is hand-painted and unique. Different screens may distort the lighting and color of photos. Rest assured that each set is made-to-order and handcrafted to your specific preferences for a salon-quality look.
**Made to Order**
Each set is uniquely custom-made and hand-painted to your specifications. The finished product will be similar to the inspiration photo, but may not be exact due to the custom nature of the order. All sets are made from scratch by the seller at Sugarcoated Nail Shop for a truly personalized touch.
**No Refunds/Exchanges**
Due to the custom nature of our products, we do not accept returns or allow cancellations. Once an order is placed, we begin working on it immediately. Please ensure that your shipping address is correct to avoid any issues with delivery.
**Contact Us**
If you have any questions or concerns, feel free to reach out to us at
[email protected]
. Let’s be friends on Instagram! Follow us @sugarcoated.nailshop for more nail inspiration and updates.
**Conclusion**
Sugarcoated Nail Shop is your go-to destination for high-quality, custom press-on nails. With our Valentine Glam style, you can achieve a glamorous look for any occasion. Each set is made with care and attention to detail, ensuring a perfect fit and long-lasting wear. Order your set today and elevate your nail game with Sugarcoated Nail Shop!
Christmas Nail
10 months ago
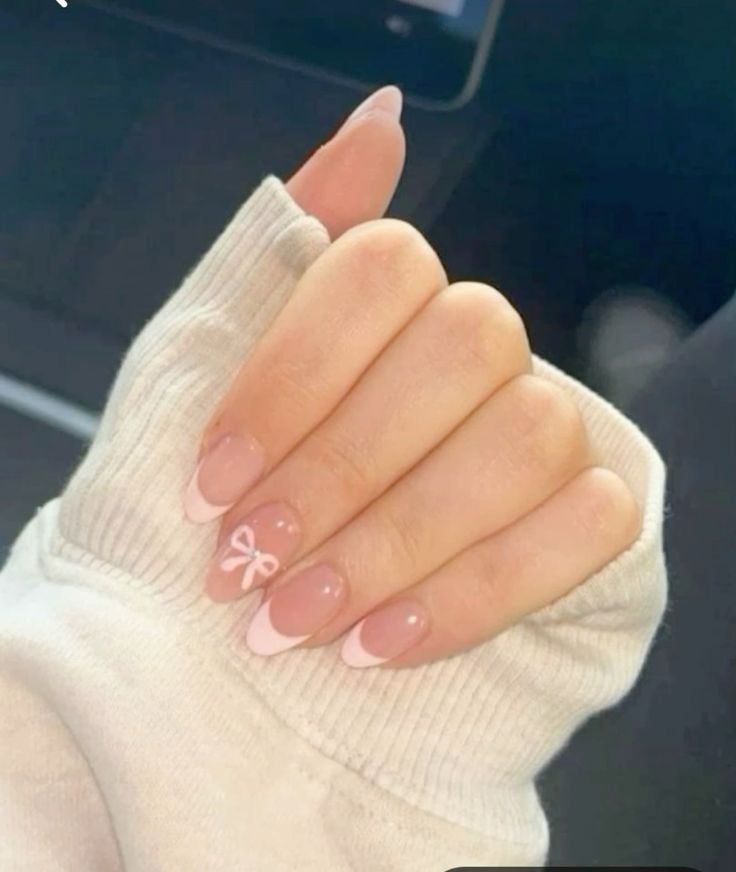
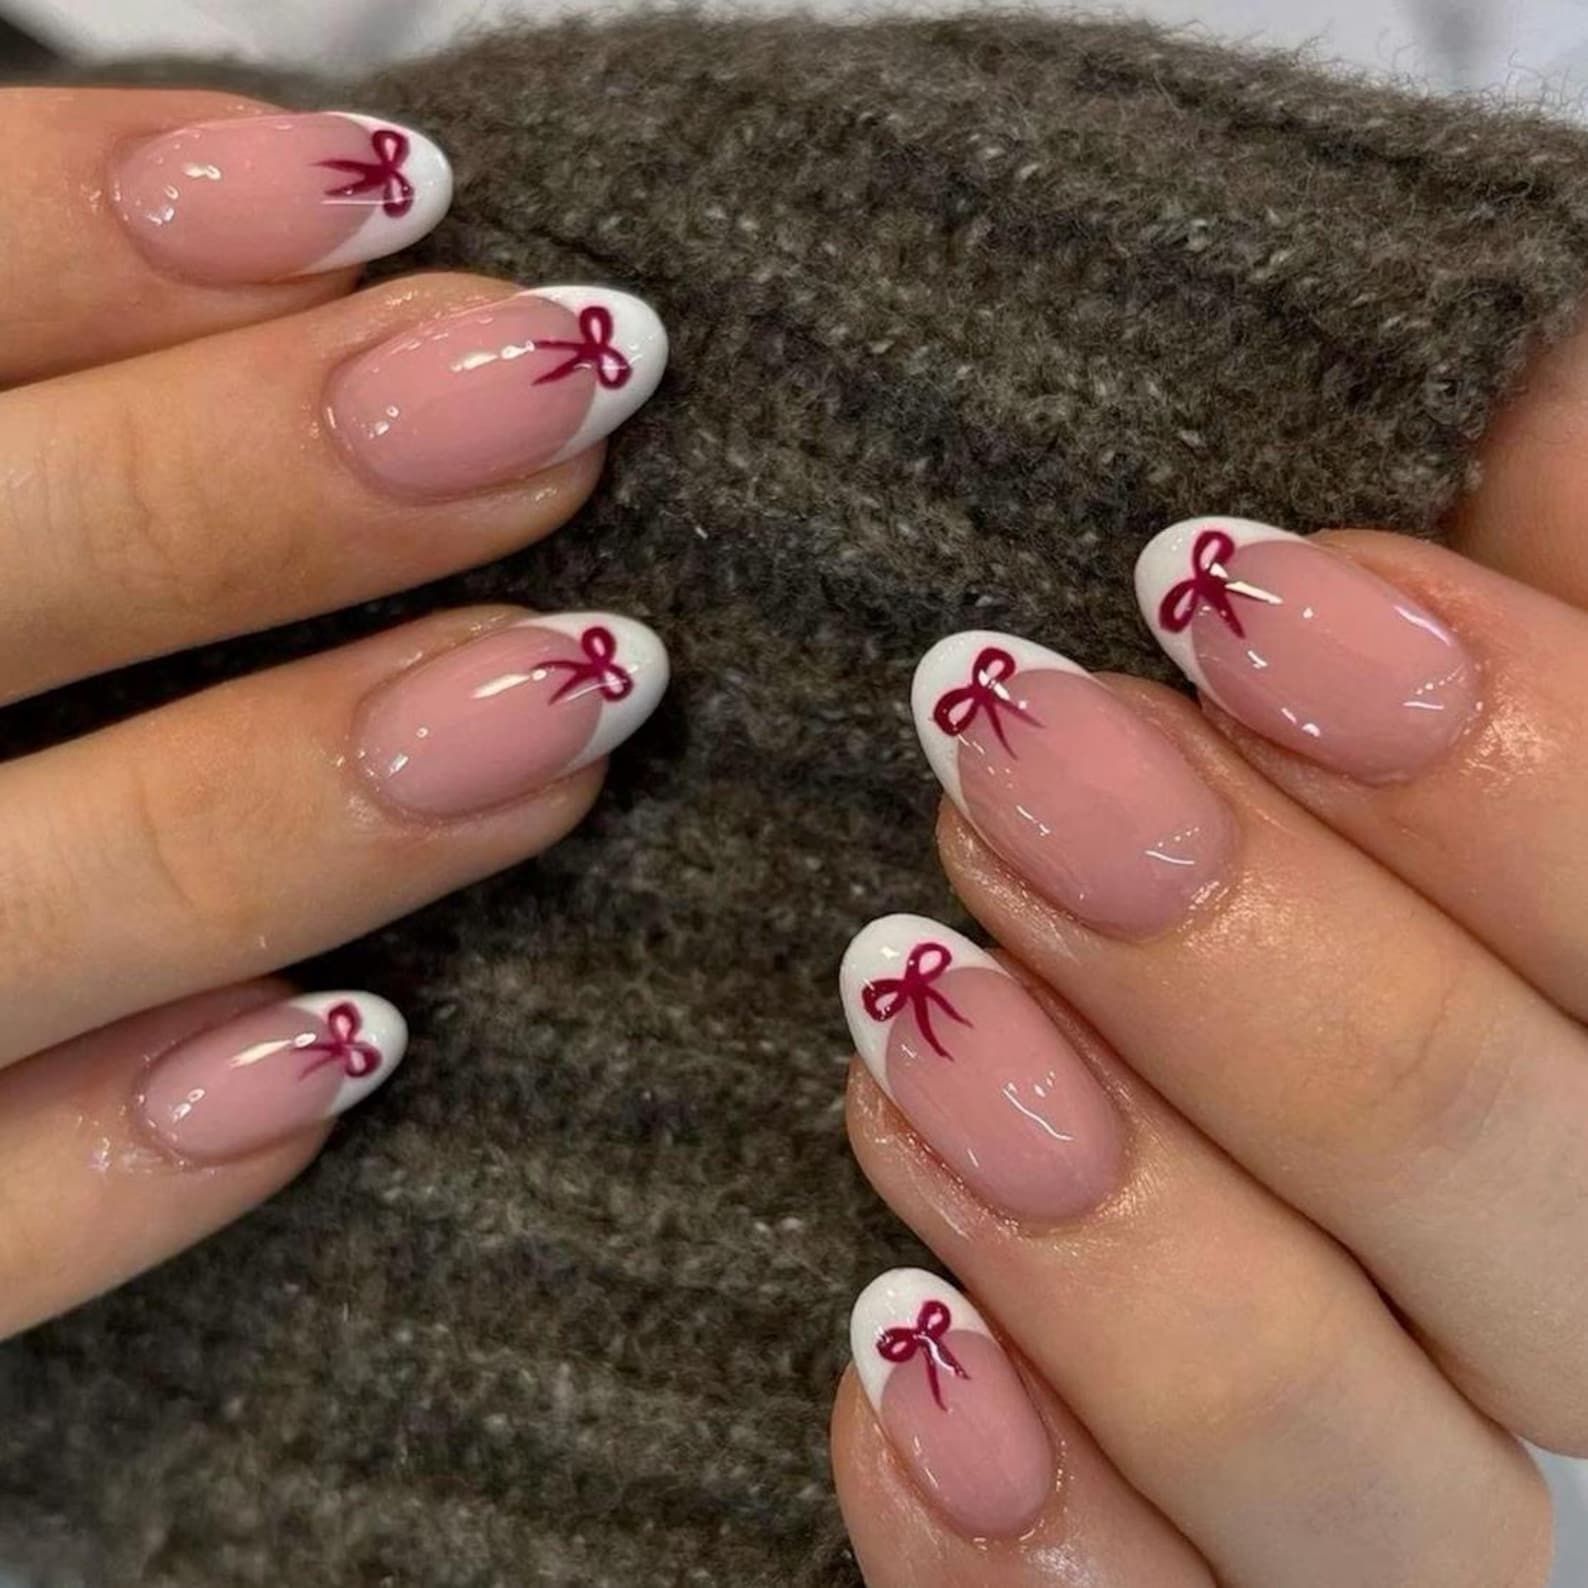
**Welcome to Sugarcoated Nail Shop**
At Sugarcoated Nail Shop, we offer a variety of salon-quality gel nails in different styles and designs. Our Berry Bows set includes 10 gel nails that are durable and long-lasting, with multiple layers of gel for added strength and glossiness.
**Quality and Durability**
All our gel nails are made using the highest quality polishes and gel nail tips to ensure a professional finish. Our sets can last 1-3 weeks or longer with proper care and maintenance. We provide a nail prep kit with application instructions at no extra cost to help you achieve the best results.
**Quick Turnaround Time**
We take pride in our quick turnaround time to create and ship your order. Typically, orders are processed within 1-5 business days from the date of purchase. You can check the estimated arrival date at checkout for the most accurate delivery time.
**Shipping Information**
We offer shipping within Canada and the USA. Orders over $35USD within the USA include free tracked shipping. Shipping time is typically 2-8 business days. Shipping upgrades are available at checkout for faster delivery.
**Sizing Kit Recommendations**
To ensure the perfect fit and comfort, we recommend using a sizing kit before making your selection. This will help you determine the right size for each finger, especially if you are trying a new shape or length for the first time. Sizing kits are essential for achieving the best results with our Extra Short Almond shape/length.
**How to Size Your Own Nails**
If you choose not to use a sizing kit, you can measure your own nails using transparent tape and a ruler. Follow the instructions provided in the listing images to determine the correct size for each finger. Please note that we cannot be held responsible for sizing errors if you choose to size your own nails.
**Design and Lighting Disclaimer**
Due to the hand-painted nature of our nails, designs may vary slightly, making each set unique. Different screens may also affect the lighting and color of photos. Rest assured that we strive to provide accurate representations of our products.
**Made to Order**
Each set is custom-made and hand-painted according to your preferences and sizes. The images serve as inspiration for the finished product you will receive. Please note that since each set is made to order, there may be slight variations from the inspiration photo.
**No Refunds/Exchanges**
As all sets are custom-made, we do not accept returns or cancellations once the order is placed. We begin working on your set as soon as we receive the order, and we cannot make changes once the package is shipped. Please ensure the shipping address is correct to avoid any issues.
**Contact Us**
If you have any questions or need assistance, you can reach out to us at
[email protected]
. Follow us on Instagram @sugarcoated.nailshop to stay updated on our latest designs and promotions.
**Conclusion**
At Sugarcoated Nail Shop, we are dedicated to providing high-quality gel nails in a variety of styles to suit your preferences. Our Berry Bows set is perfect for adding a touch of sweetness to your manicure. With quick processing times and shipping options, you can enjoy your new nails in no time. Order your custom set today and experience the beauty of handcrafted gel nails from Sugarcoated Nail Shop.
Christmas Nail
10 months ago
1
2
3
4
5
6
7
…
12
Search
Search
Ads
Recent Posts
Stunning nude chrome nail designs for any event, perfect inspiration for your next manicure.
11 months ago
headline that captures the essence of the article: “Steal Rihanna’s athleisure style with these trendy tips for a comfortable and chic look.”
11 months ago
“Top 24 Hair Colors for Afro-Textured Hair in 2022 – Find Your Perfect Shade Today!”
11 months ago
Categories
Beauty
Celebrity
Christmas Nail
Fashion
Hair Style
Holiday
Photography
Recipes
Follow Us
We use cookies to ensure that we give you the best experience on our website. If you continue to use this site we will assume that you are happy with it.
Ok


Follow Us