Home
Blog
About
Contact
Home
Blog
About
Contact
What are you looking for?
Search results will appear here
TAG: Colors
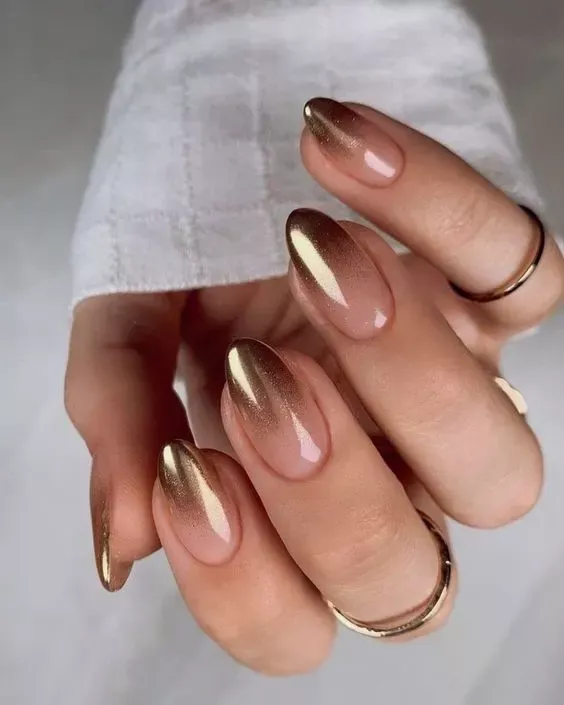
“Top 27 Trending Fall Nail Colors 2024 for Chic Autumn Manicures – Get Inspired Now!”
Christmas Nail
10 months ago
Winter acrylic nails: trendy designs to make your nails sparkle this season with seasonal colors.
Christmas Nail
11 months ago
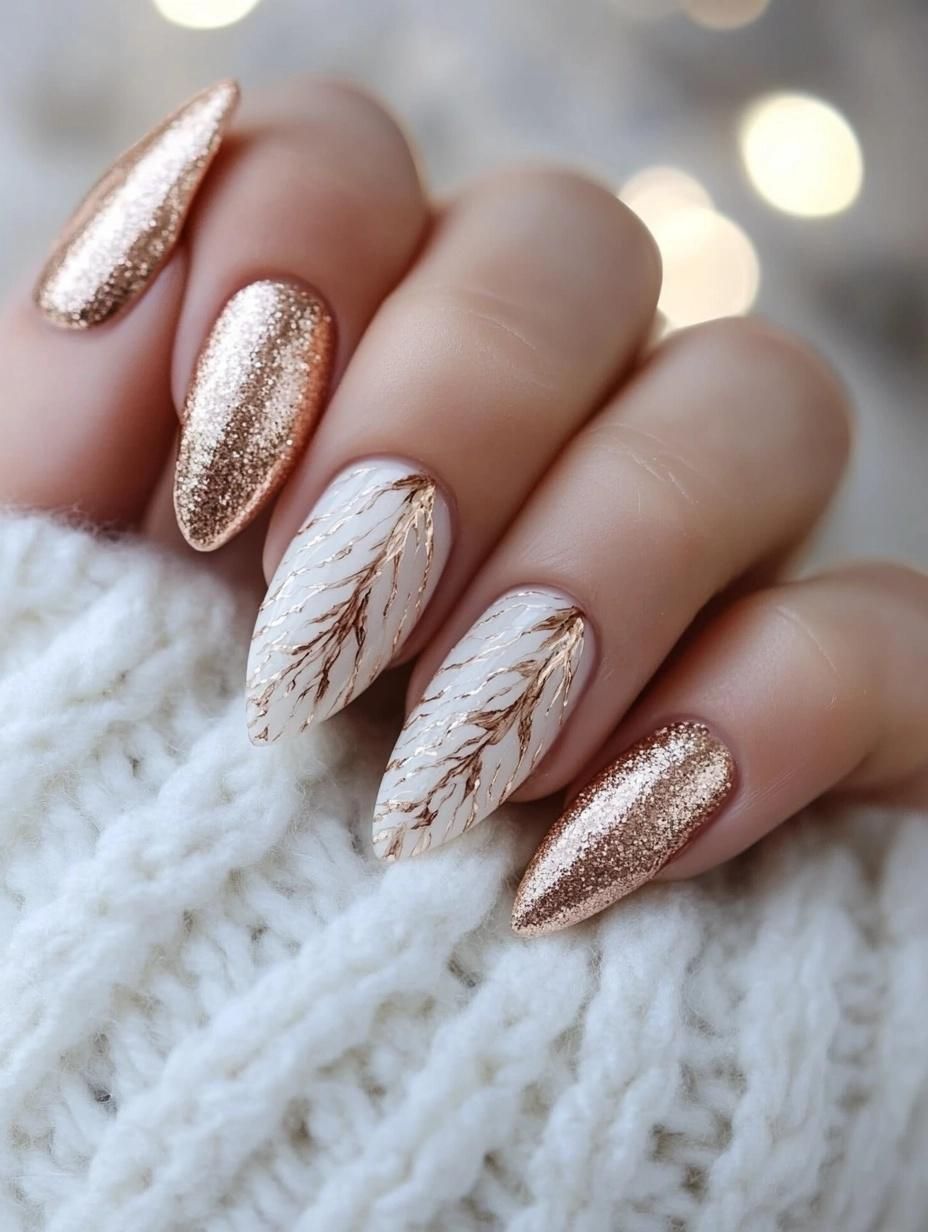
“Get ready for Fall with these stunning nail art ideas and trendy autumn colors!”
Christmas Nail
11 months ago
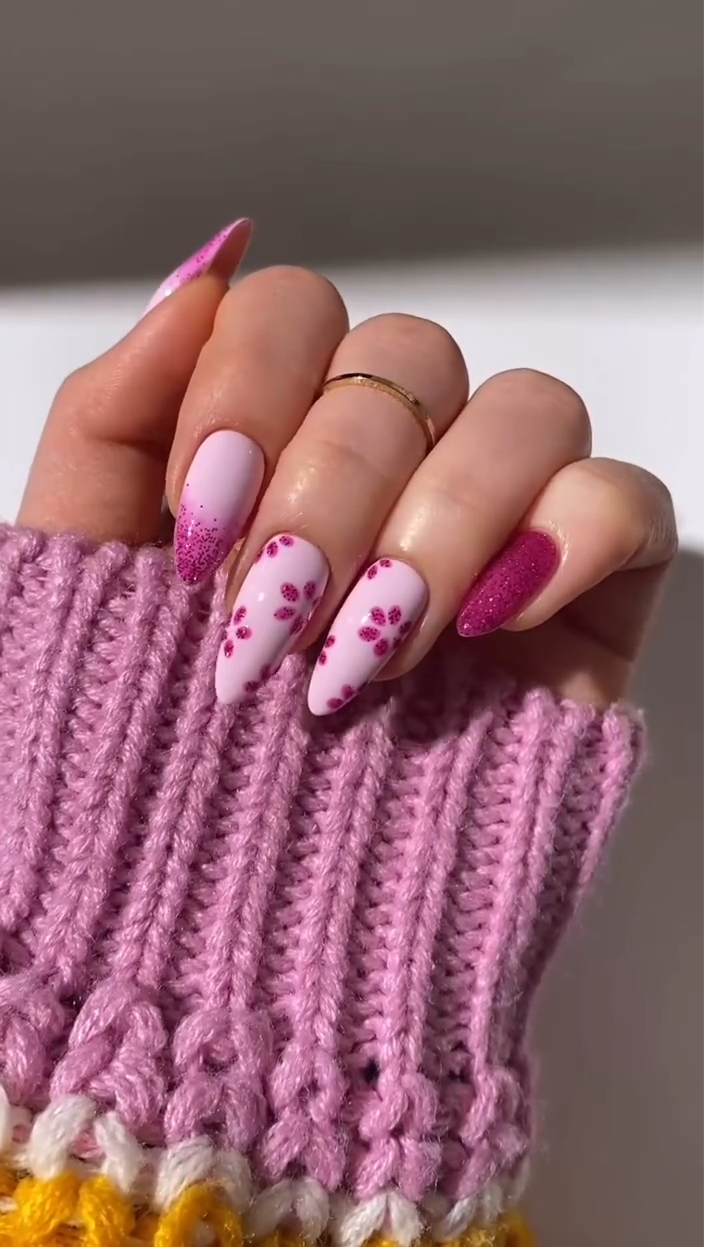
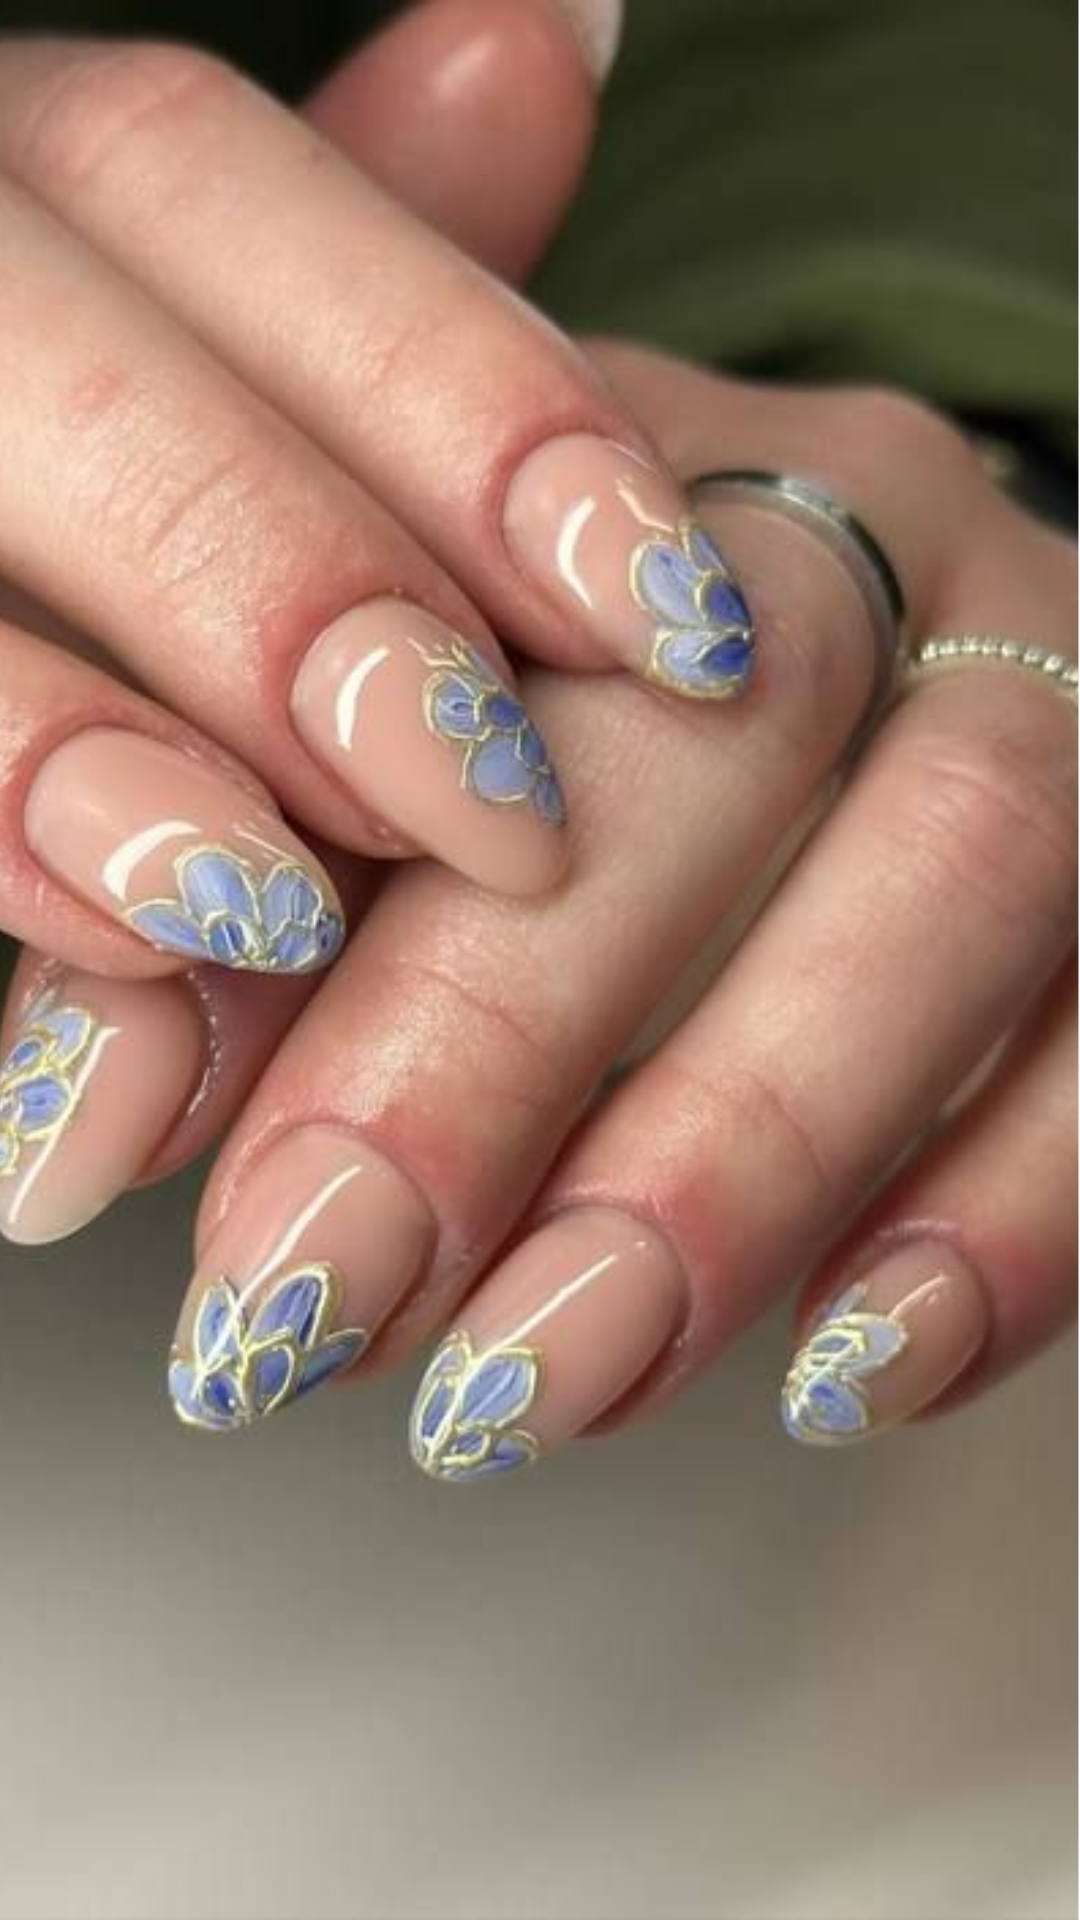
Floral Summer Pink Nails: Cute 2024 Inspo with Fresh Designs and Vibrant Colors for You!
Christmas Nail
11 months ago
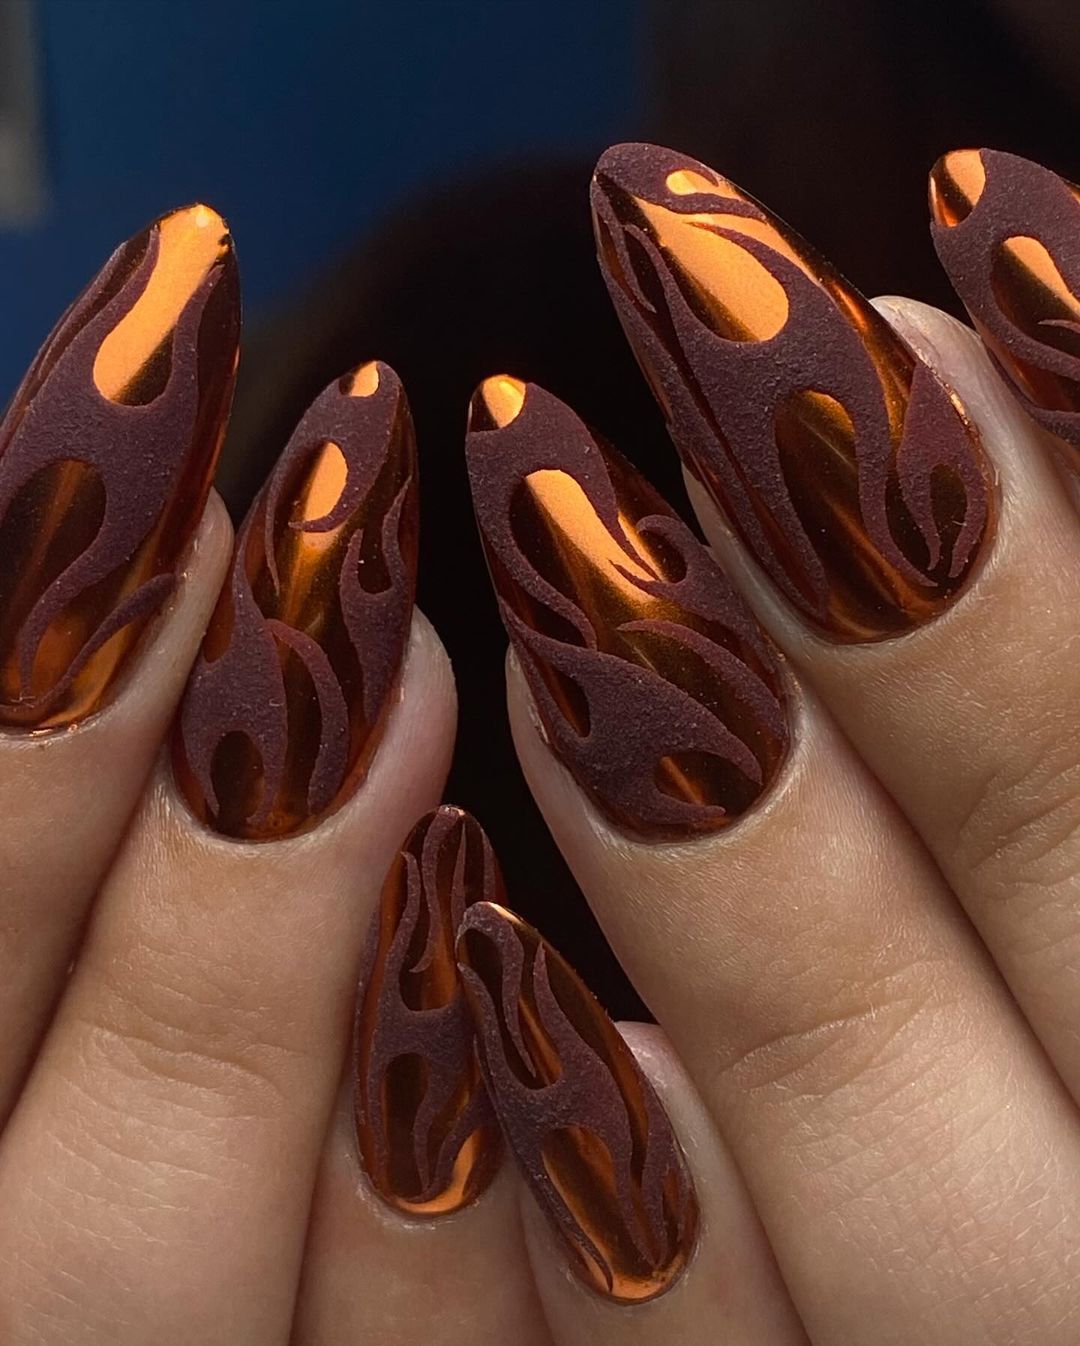
“Get inspired with these 30+ fall nail art ideas featuring smokin’ autumn colors for 2024.”
Christmas Nail
11 months ago
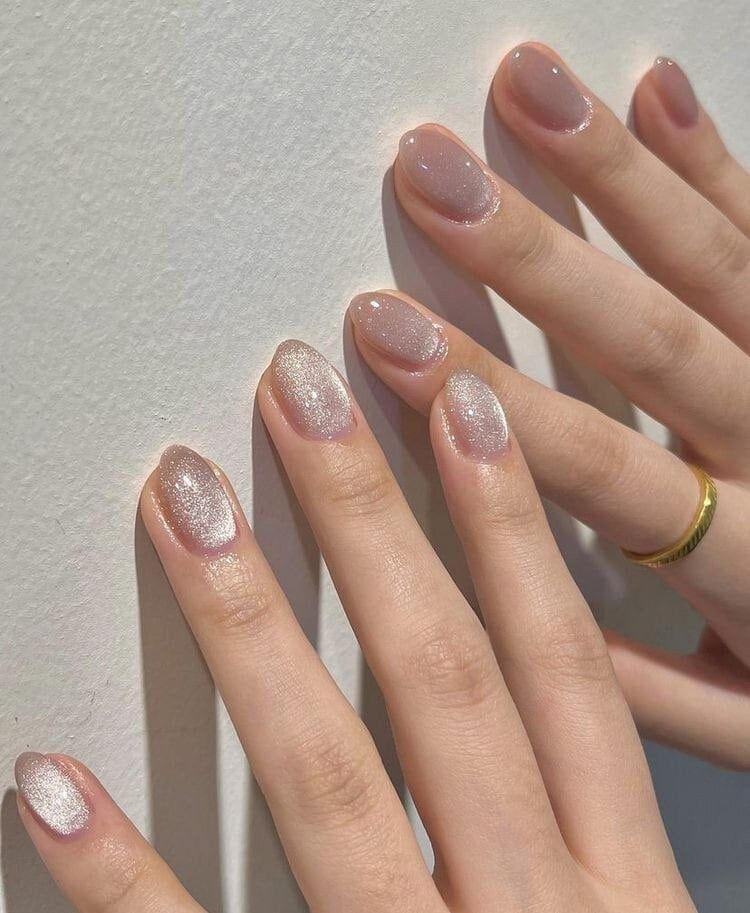
Handmade almond-shaped oval cat eye press-on acrylic nails, available in 6 colors for selection.
Christmas Nail
11 months ago
Winter Nails 2021: Trendy designs and colors for your next manicure inspiration on Pinterest.
Christmas Nail
11 months ago
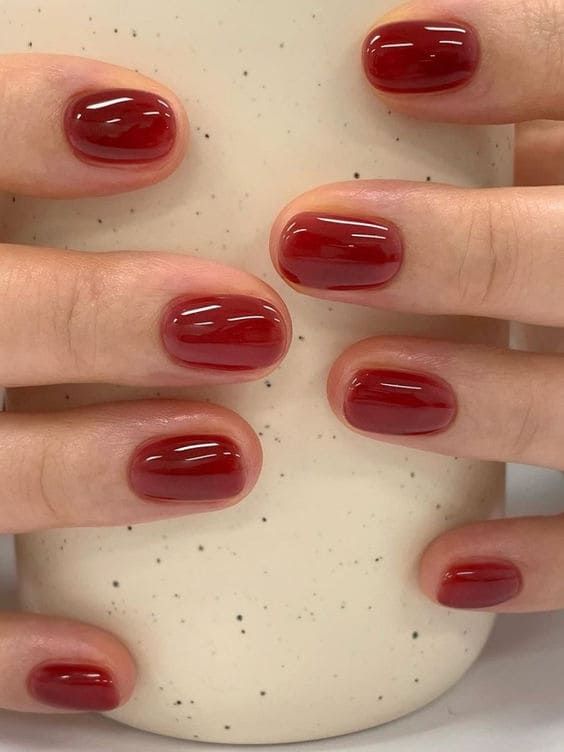
“Classic and elegant nail colors and natural nail ideas for a timeless aesthetic.” (15 words)
Christmas Nail
11 months ago
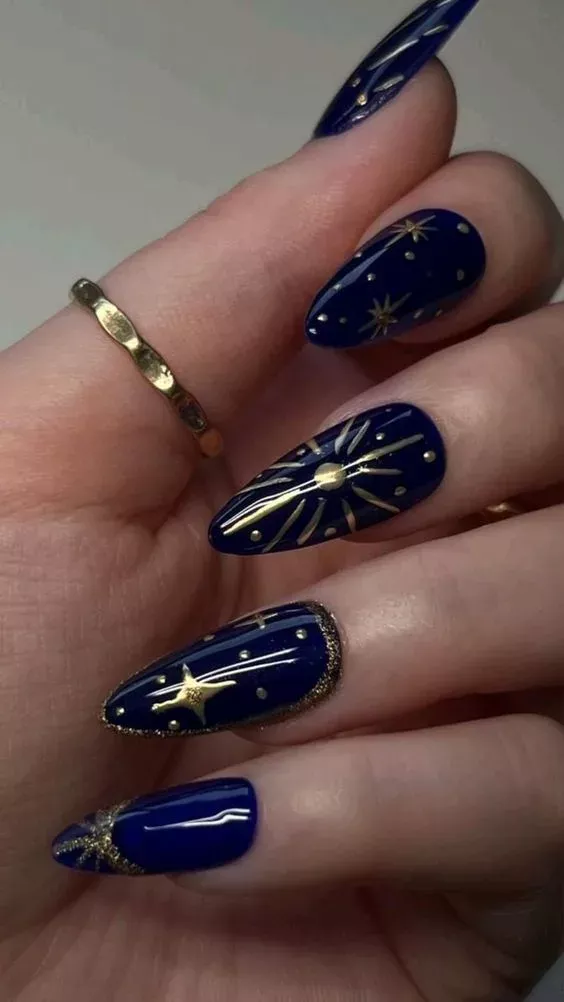
Fall nail ideas to try now! Moody colors and designs for trendy autumn manicures.
Christmas Nail
11 months ago
Cute Winter Nail Colors to Love all season long. Perfect for staying stylish in the cold.
Christmas Nail
11 months ago
1
2
3
4
5
6
7
…
16
Search
Search
Ads
Recent Posts
Stunning nude chrome nail designs for any event, perfect inspiration for your next manicure.
11 months ago
headline that captures the essence of the article: “Steal Rihanna’s athleisure style with these trendy tips for a comfortable and chic look.”
11 months ago
“Top 24 Hair Colors for Afro-Textured Hair in 2022 – Find Your Perfect Shade Today!”
11 months ago
Categories
Beauty
Celebrity
Christmas Nail
Fashion
Hair Style
Holiday
Photography
Recipes
Follow Us
We use cookies to ensure that we give you the best experience on our website. If you continue to use this site we will assume that you are happy with it.
Ok


Follow Us