Home
Blog
About
Contact
Home
Blog
About
Contact
What are you looking for?
Search results will appear here
TAG: Body
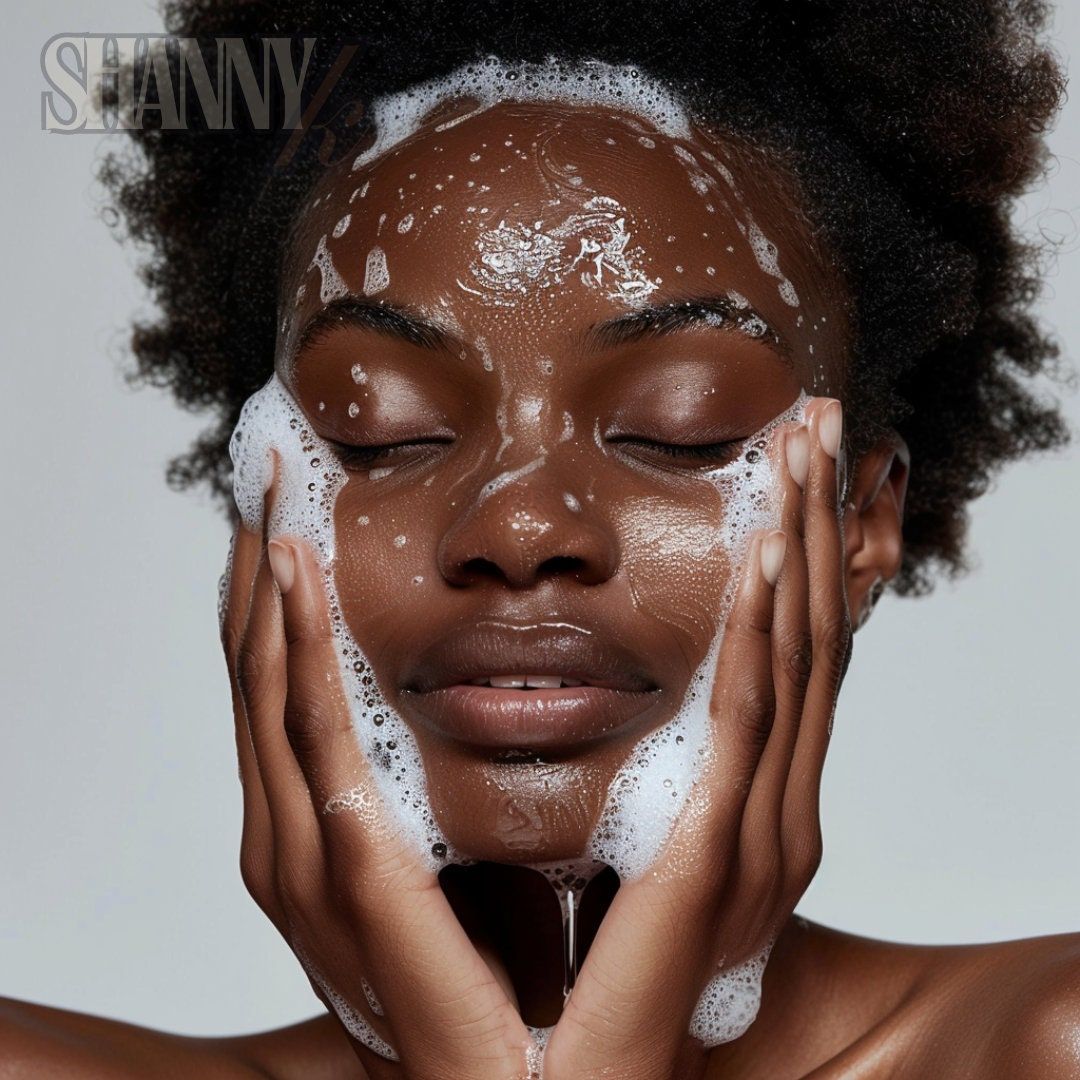
“6 High-Quality Skincare Products for Black Girls: Must-Have Items for Radiant Skin Care Routine”
1. Image of a luxurious hydrating face mask specifically formulated for black girls.
2. Image of a nourishing hair oil enriched with natural ingredients for healthy locks.
3. Image of a brightening serum designed to even out skin tone and reduce dark spots.
4. Image of a gentle exfoliating scrub that helps to reveal smooth and radiant skin.
5. Image of a moisturizing body lotion that provides long-lasting hydration for soft skin.
6. Image of a soothing lip balm infused with shea butter and essential oils for smooth lips.
Beauty
10 months ago
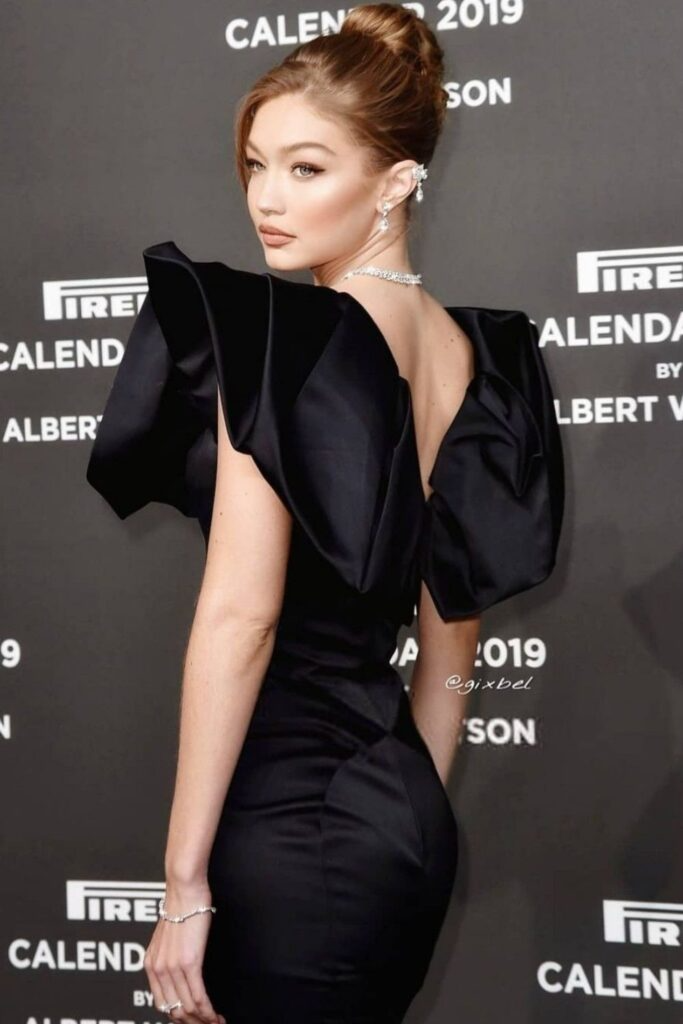
Gigi Hadid: Flamboyant Natural Style Icon with a Fit Body and Effortless Beauty. Fashion Inspo!
Celebrity
11 months ago
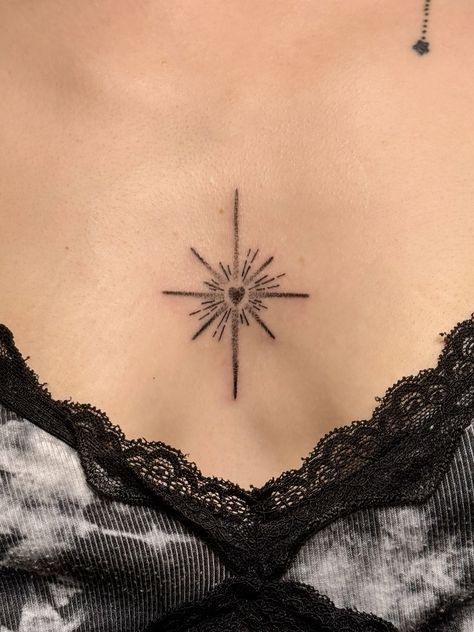
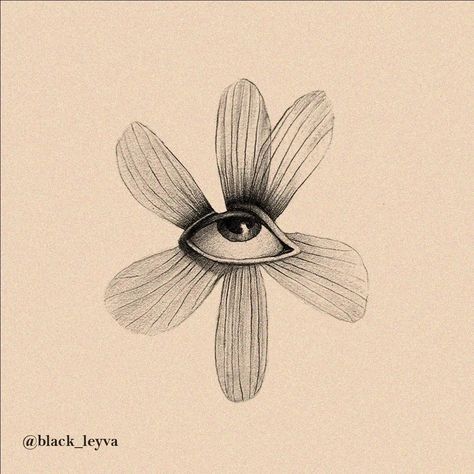
Title: Elegant typographic tattoos by Léo Gavaggio showcase delicate and sophisticated designs for body art enthusiasts.
Description: Explore the intricate and refined world of Léo Gavaggio’s typographic tattoos, perfect for those seeking unique body art.
Beauty
11 months ago
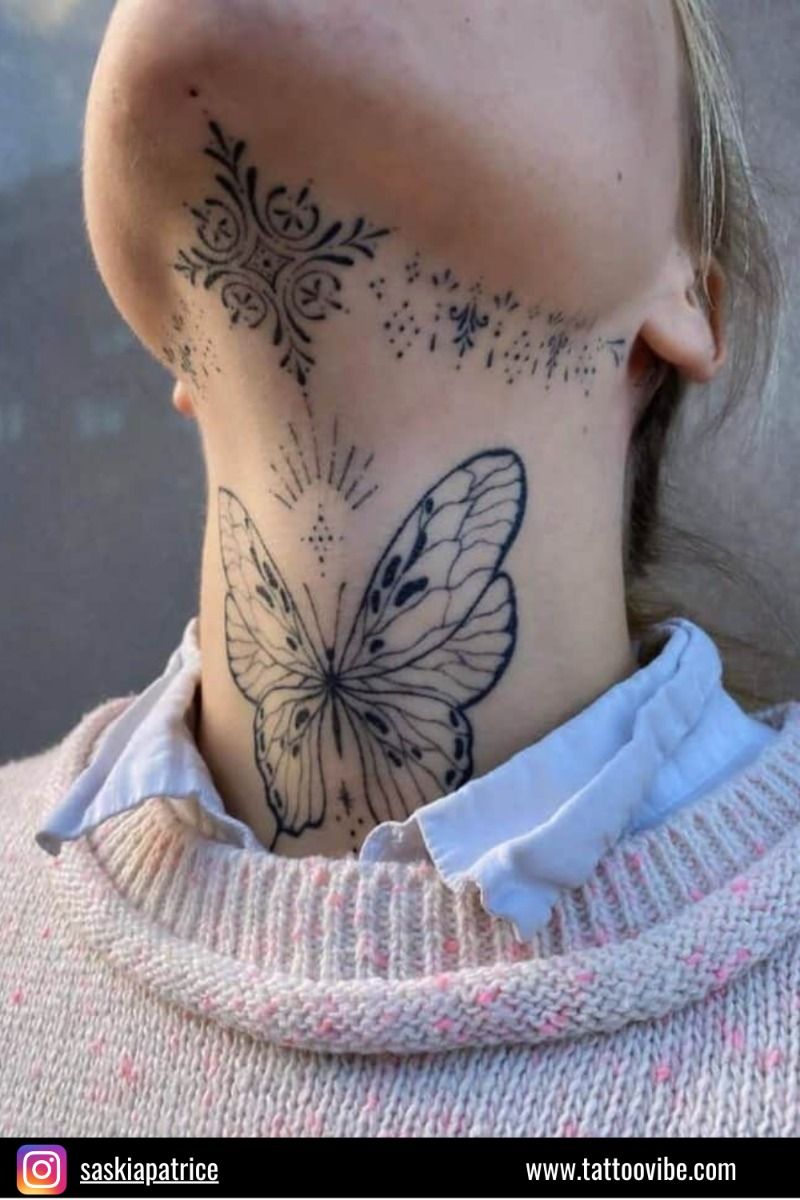
“35 Beautiful Tattoos by Buoy That Will Capture Your Heart and Imagination” – Intricate, charming designs that showcase Buoy’s talent in creating stunning body art.
Beauty
11 months ago
Chin Tattoos: Elevate Your Style With Ornamental Designs – Unique Body Art Ideas.
Beauty
11 months ago
Short hairstyles for women over 60 have become increasingly popular in recent years, as they offer a chic and contemporary look while also helping to revive thinning hair without volume. With the right techniques and styling tips, women can achieve a youthful and stylish appearance that enhances their natural beauty.
When it comes to maintaining a soft and sophisticated look with short hair, stylist Gregga Prothero recommends incorporating wispy bangs or layers around the face. These subtle details help to frame the face and highlight key features, creating a flattering and feminine look that is perfect for women of all ages.
Wispy Bangs and Layers
One of the key elements of a stylish short hairstyle for women over 60 is the addition of wispy bangs and layers. These soft, feathery details help to add texture and volume to the hair, creating a more youthful and modern look. Wispy bangs can also help to soften the appearance of fine lines and wrinkles around the forehead, making them a great option for women looking to achieve a fresh and youthful appearance.
Low Maintenance Cuts
For women over 60, low maintenance hairstyles are often the best choice. Short haircuts that require minimal styling and upkeep are ideal for busy women who want to look stylish without spending hours in front of the mirror. A simple, chic bob or pixie cut can be easily styled with a quick blow dry or a few swipes of a styling product, making it the perfect choice for women who are always on the go.
Soft and Natural Colors
When it comes to choosing a hair color for women over 60, soft and natural shades are often the most flattering. Lighter tones like blonde, caramel, or ash brown can help to brighten the face and create a more youthful appearance. These subtle hues also help to blend seamlessly with gray hair, creating a natural and sophisticated look that is easy to maintain.
Embracing Gray Hair
Many women over 60 choose to embrace their natural gray hair, rather than trying to cover it up with dye. Gray hair can be a beautiful and elegant feature, adding a touch of sophistication to any hairstyle. By embracing their natural hair color, women can create a unique and stylish look that reflects their personality and confidence.
Adding Texture and Volume
To create a fuller and more voluminous look with short hair, adding texture and volume is key. Using styling products like mousse or texturizing spray can help to add body and movement to the hair, creating a more dynamic and youthful appearance. Adding layers or a textured cut can also help to enhance the natural volume of the hair, making it appear thicker and more luxurious.
In conclusion, short hairstyles for women over 60 can be a chic and stylish choice that helps to revive thinning hair without volume. By incorporating wispy bangs, low maintenance cuts, soft and natural colors, and embracing gray hair, women can achieve a youthful and sophisticated look that enhances their natural beauty. With the right styling techniques and products, women can create a flattering and fashionable hairstyle that is perfect for any occasion.
Hair Style
2 years ago
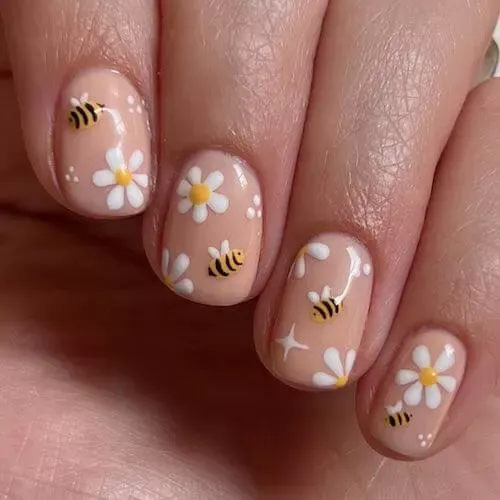
70+ Bee Nail Designs for Buzzworthy Nails
Creating bee nail designs is a fun and unique way to show off your love for these buzzy creatures. Whether you’re a beekeeper, nature enthusiast, or just appreciate their important role in the ecosystem, bee nail designs are a great way to make a statement. Here are over 70 bee nail designs to inspire your next manicure:
Classic Bee Nail Designs
1. Start by painting your nails with a yellow base color.
2. Use black nail polish to create stripes on your nails to mimic a bee’s abdomen.
3. Add white dots to represent the bee’s wings.
4. Finish off with a small black dot for the bee’s head.
Abstract Bee Nail Designs
1. Paint each nail a different shade of yellow, black, or white.
2. Use a thin brush to create abstract bee-inspired designs on each nail.
3. Play around with different patterns and shapes to create a unique look.
Honeycomb Nail Designs
1. Start by painting your nails with a nude or yellow base color.
2. Use a thin brush to create honeycomb patterns on each nail using black nail polish.
3. Add small gold or yellow dots to represent honey in the honeycomb.
4. Finish off with a glossy top coat to give your nails a shiny finish.
3D Bee Nail Designs
1. Start by painting your nails with a yellow base color.
2. Use black nail polish to create a 3D bee design on one or two of your nails.
3. You can use small rhinestones or nail art stickers to create the bee’s wings and stripes.
4. Finish off with a clear top coat to seal in your design.
Gradient Bee Nail Designs
1. Paint each nail with a gradient of yellow and black nail polish.
2. Use a sponge to create a smooth transition between the two colors.
3. Add a bee-inspired accent nail using black and white nail polish.
4. Finish off with a matte top coat for a modern look.
Glitter Bee Nail Designs
1. Start by painting your nails with a yellow or black base color.
2. Use glitter nail polish to create a sparkly bee design on one or two of your nails.
3. You can add rhinestones or glitter accents to enhance your bee design.
4. Finish off with a glossy top coat to make your nails shine.
French Tip Bee Nail Designs
1. Paint your nails with a clear base coat.
2. Use yellow nail polish to create a French tip on each nail.
3. Add black stripes and white dots to mimic a bee’s body and wings.
4. Finish off with a clear top coat to seal in your design.
Watercolor Bee Nail Designs
1. Paint each nail with a white base color.
2. Use watercolor nail polish to create a bee-inspired design on each nail.
3. Play around with different colors and patterns to create a unique watercolor effect.
4. Finish off with a clear top coat to protect your design.
Conclusion
Next time you’re looking to spice up your manicure, consider trying out one of these bee nail designs. Whether you’re a beginner or a nail art expert, there’s a bee-inspired design for everyone. Show off your love for these important pollinators with buzzworthy nails that will surely turn heads.
Christmas Nail
2 years ago
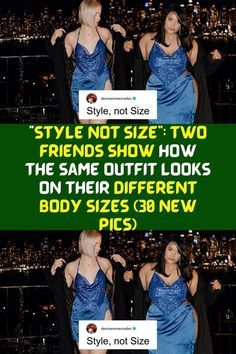
“Style Not Size: Friends Showcase Same Outfit on Different Body Types in 30 New Pics”
Christmas Nail
2 years ago
“Why I Embrace My Body: Gracie Francesca’s Journey to Body Positivity”
Fashion
2 years ago
Summary:
Feeling beautiful is a combination of outer appearance and inner confidence. Positive beauty affirmations can help boost self-esteem and make you feel more attractive. This article explores affirmations, sayings, and quotes for physical appearance and inner beauty.
1. The Power of Positive Affirmations
Positive affirmations are powerful statements that can help shift your mindset and boost your self-confidence. By repeating affirmations daily, you can rewire your brain to focus on the positive aspects of yourself and your appearance.
Benefits of Positive Affirmations
Positive affirmations can help improve your self-esteem, boost your confidence, and create a more positive self-image. By focusing on the good qualities you possess, you can feel more beautiful and attractive from within.
2. Affirmations for Physical Appearance
When it comes to physical appearance, it’s important to embrace your unique features and celebrate your individuality. Affirmations can help you appreciate your body and feel more confident in your skin.
Affirmations for Physical Beauty
“I am beautiful just the way I am.”
“My body is strong and healthy.”
“I radiate beauty and confidence.”
3. Affirmations for Inner Beauty
Inner beauty is just as important as outer beauty. Embracing your inner qualities and values can help you feel beautiful from within.
Affirmations for Inner Beauty
“I am kind, compassionate, and loving.”
“I am confident in who I am.”
“I am worthy of love and respect.”
4. Sayings and Quotes for Beauty
In addition to affirmations, sayings and quotes can also inspire and uplift you. Here are some timeless quotes about beauty that can remind you of your worth and uniqueness.
Timeless Quotes for Beauty
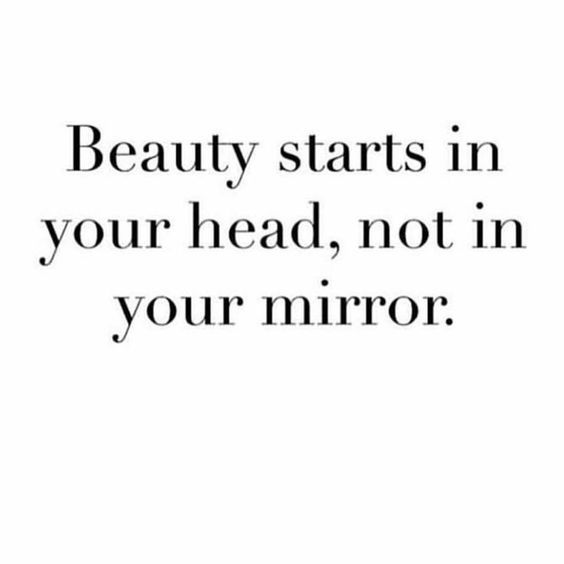
“Beauty begins the moment you decide to be yourself.” – Coco Chanel
“Beauty is when you can appreciate yourself. When you love yourself, that’s when you’re most beautiful.” – Zoe Kravitz
“True beauty is about who you are as a human being, your principles, your moral compass.” – Ellen DeGeneres
5. Embracing Your Beauty
Remember, beauty comes in all shapes, sizes, and forms. Embrace your uniqueness and celebrate what makes you beautiful. By practicing positive affirmations and surrounding yourself with uplifting quotes, you can cultivate a sense of beauty and confidence that radiates from within.
Embracing Your Beauty
“Beauty is not in the face; beauty is a light in the heart.” – Kahlil Gibran
“Beauty is being the best possible version of yourself on the inside and out.” – Audrey Hepburn
“Beauty is how you feel inside, and it reflects in your eyes. It is not something physical.” – Sophia Loren
In conclusion, feeling beautiful is a holistic experience that involves both outer appearance and inner confidence. By practicing positive affirmations, embracing your unique qualities, and surrounding yourself with uplifting quotes, you can cultivate a sense of beauty that shines from within. Remember, true beauty comes from self-love, acceptance, and embracing all that makes you uniquely beautiful.
Beauty
2 years ago
1
2
3
4
Search
Search
Ads
Recent Posts
Stunning nude chrome nail designs for any event, perfect inspiration for your next manicure.
10 months ago
headline that captures the essence of the article: “Steal Rihanna’s athleisure style with these trendy tips for a comfortable and chic look.”
10 months ago
“Top 24 Hair Colors for Afro-Textured Hair in 2022 – Find Your Perfect Shade Today!”
10 months ago
Categories
Beauty
Celebrity
Christmas Nail
Fashion
Hair Style
Holiday
Photography
Recipes
Follow Us
We use cookies to ensure that we give you the best experience on our website. If you continue to use this site we will assume that you are happy with it.
Ok


Follow Us