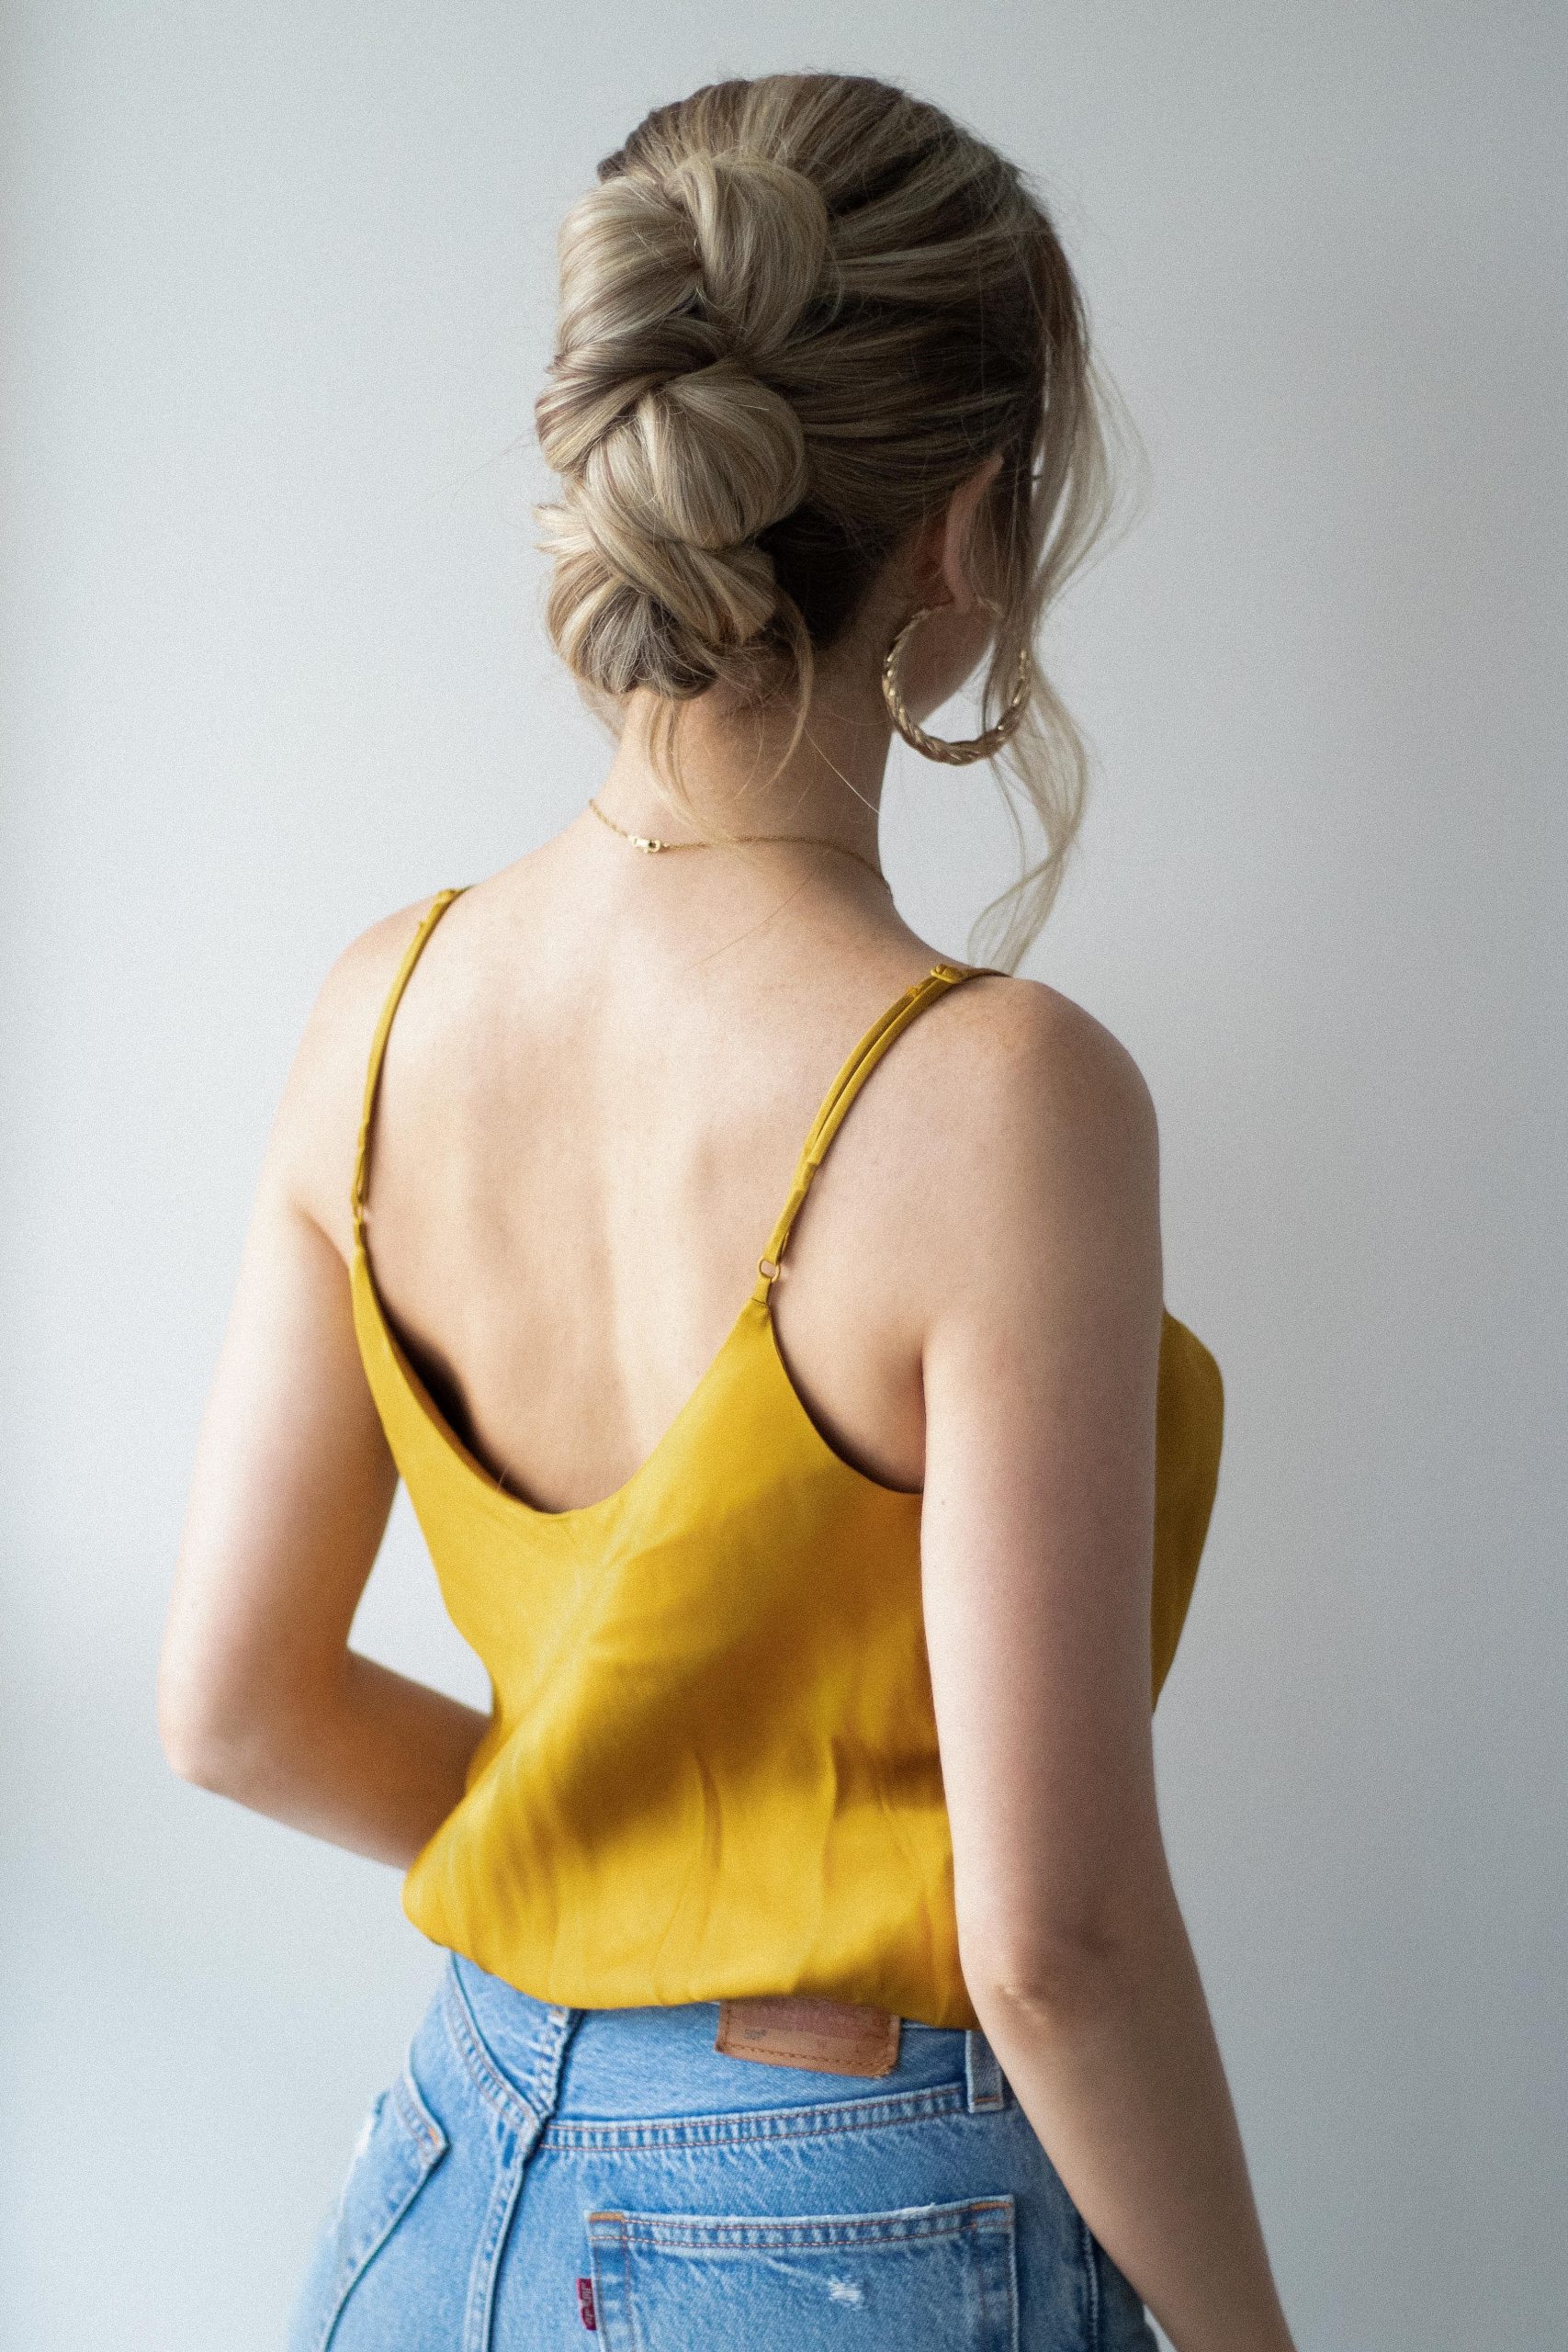
Are you looking for a new hairstyle to try out? Look no further! Today, I’m excited to share a simple and elegant knotted braid updo tutorial that’s perfect for medium-length to long hair. Whether you’re heading out for a casual night, attending a wedding, or have a special event coming up, this hairstyle is sure to turn heads. Read on to learn how to recreate this stunning look in just a few easy steps.
Step 1: Prep Your Hair
Before starting the braiding process, it’s essential to prep your hair. Begin by brushing out any tangles and applying a small amount of texturizing spray or dry shampoo to add some grip and texture to your hair. This will help the braids hold better and give your updo some added volume and dimension.
Step 2: Create Two Sections
Next, divide your hair into two equal sections. You can part your hair down the middle or slightly off-center, depending on your preference. Once you have your sections, tie one side off to keep it out of the way while you work on the other side.
Step 3: Begin Braiding
Start on one side by taking a small section of hair near the temple and divide it into three equal parts. Begin braiding the hair by crossing the right section over the middle, then the left section over the middle. Continue this pattern, adding small sections of hair from the outer edges as you go, to create a French braid effect. Continue braiding all the way down to the ends of your hair and secure the braid with a small elastic.
Step 4: Repeat on the Other Side
Once you’ve finished braiding one side, repeat the same process on the other side. Create a second French braid with the remaining section of hair, making sure to match the placement and size of the first braid. Secure the second braid with an elastic when finished.
Step 5: Knot the Braids
Now that you have two braids, it’s time to create the knotted updo. Take the two braids and tie them together at the nape of your neck, securing them with another elastic. To add some extra visual interest, gently pull apart the braids to create a more voluminous and textured look.
Step 6: Tuck and Pin
Once the braids are secured, tuck the ends of the braids under the knot and pin them in place using bobby pins. Make sure to hide the ends of the braids to create a seamless look.
Step 7: Finishing Touches
To finish off the look, carefully tug on the edges of the braids to loosen them and create a softer, more relaxed appearance. You can also pull out a few wisps of hair around your face to frame it and add a touch of femininity to the style.
In just a few simple steps, you’ll have a beautiful knotted braid updo that’s perfect for any occasion. Whether you’re headed out for a night on the town or attending a formal event, this hairstyle is sure to impress. Give it a try and show off your stunning new hairstyle to friends and family!
Summary Lists:
– Prep your hair by brushing out tangles and applying texturizing spray or dry shampoo for added grip and texture.
– Divide your hair into two equal sections and tie one side off to keep it out of the way while you work on the other.
– Braid each section of hair by creating French braids from the top down to the ends and secure each braid with a small elastic.
– Tie the two braids together at the nape of your neck, creating a knot, and secure with another elastic.
– Tuck the ends of the braids under the knot and pin in place with bobby pins for a seamless look.
– Finish off the look by gently tugging on the edges of the braids to loosen them and create a softer, relaxed appearance.
You can review our digital products by following us on Etsy.


