

Creating an ice lantern is a fun and easy activity that anyone can do, especially in cold climates. All you need is a bucket and water to get started. The colder the temperature, the better the lantern will turn out. In this article, we’ll go over the steps to create your own ice lantern, as well as some tips and tricks to make it even more impressive.
What you’ll need:
To make an ice lantern, you’ll need a few simple materials. These include:
- A plastic bucket or container
- Water
- A freezing outdoor temperature
- Optional: food coloring, decorative items such as berries or leaves
Step 1: Choose a Container
The first step in making an ice lantern is to choose a plastic bucket or container. You can use any size or shape, depending on how big you want your lantern to be. Keep in mind that the larger the container, the longer it will take for the water to freeze, so choose wisely. You can also get creative and use different shaped containers for a unique look.
Step 2: Fill with Water
Once you’ve chosen your container, fill it with water. You can use regular tap water, or for a fun twist, add some food coloring to the water to create a colorful effect. Be sure to leave some space at the top of the container, as the water will expand as it freezes. If you’d like, you can also add some decorative items to the water, such as berries or leaves, for an added touch.
Step 3: Freeze
Now comes the easiest part – letting nature do its work! Place the filled container outside in the freezing temperatures and let it sit for at least 24 hours. The colder the temperature, the faster the water will freeze, so be patient. If the weather is extremely cold, your ice lantern may be ready in as little as 12 hours. Keep an eye on it and wait for the water to completely freeze solid.
Step 4: Unmold the Ice Lantern
Once the water has frozen solid, it’s time to unmold your ice lantern. To do this, simply run some warm water on the outside of the container to loosen the ice. Then, gently tap the bottom and sides of the container to release the ice. It should slide right out, leaving you with a beautiful, transparent ice lantern. If it’s stubborn, you can also try submerging the container in warm water for a few seconds to help release the ice.
Tips and Tricks for Making an Ice Lantern:
Making an ice lantern is a simple process, but there are a few tips and tricks that can help you create a more impressive finished product. Here are some ideas to consider:
- Use boiling water for a crystal-clear ice lantern
- Add food coloring for a colorful effect
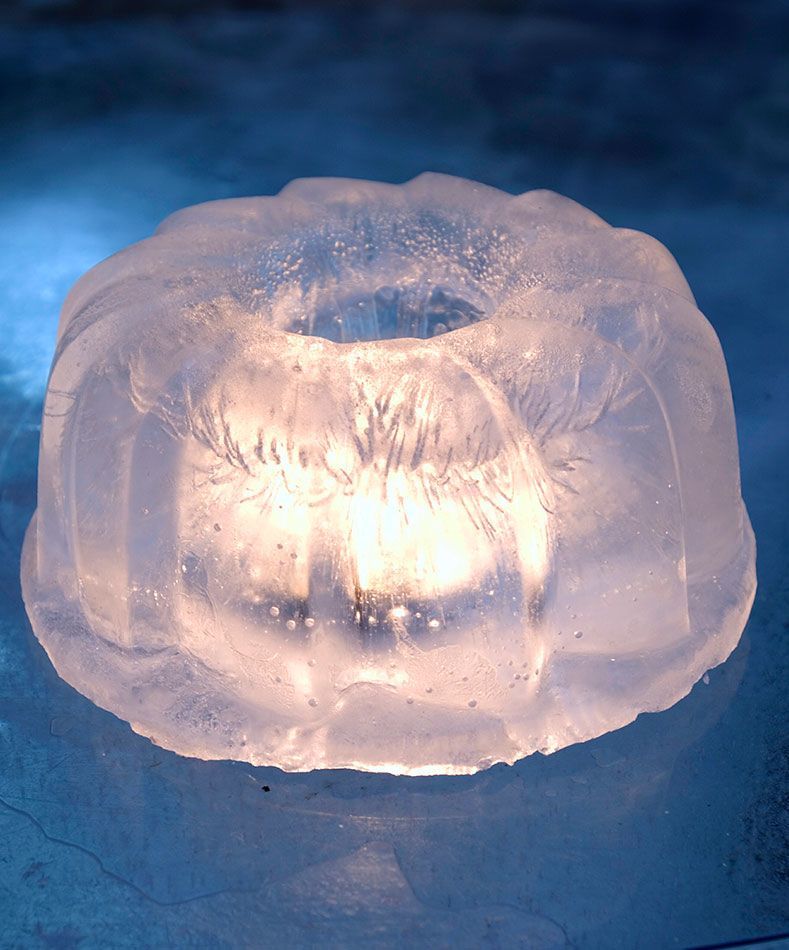
- Place a smaller container inside a larger one to create a hollow center for a candle
- Experiment with different shapes and sizes of containers for unique lantern designs
- Decorate your ice lantern with berries, leaves, or other natural items for an added touch
- Use battery-operated tea lights inside your ice lantern for a safe and long-lasting glow
Overall, creating an ice lantern is a fun and creative way to embrace the winter season. Whether you’re making them for a special event or simply for your own enjoyment, these beautiful ice creations are sure to impress. With just a few simple materials and some freezing temperatures, you can create a stunning ice lantern that will light up any winter night.
You can review our digital products by following us on Etsy.


