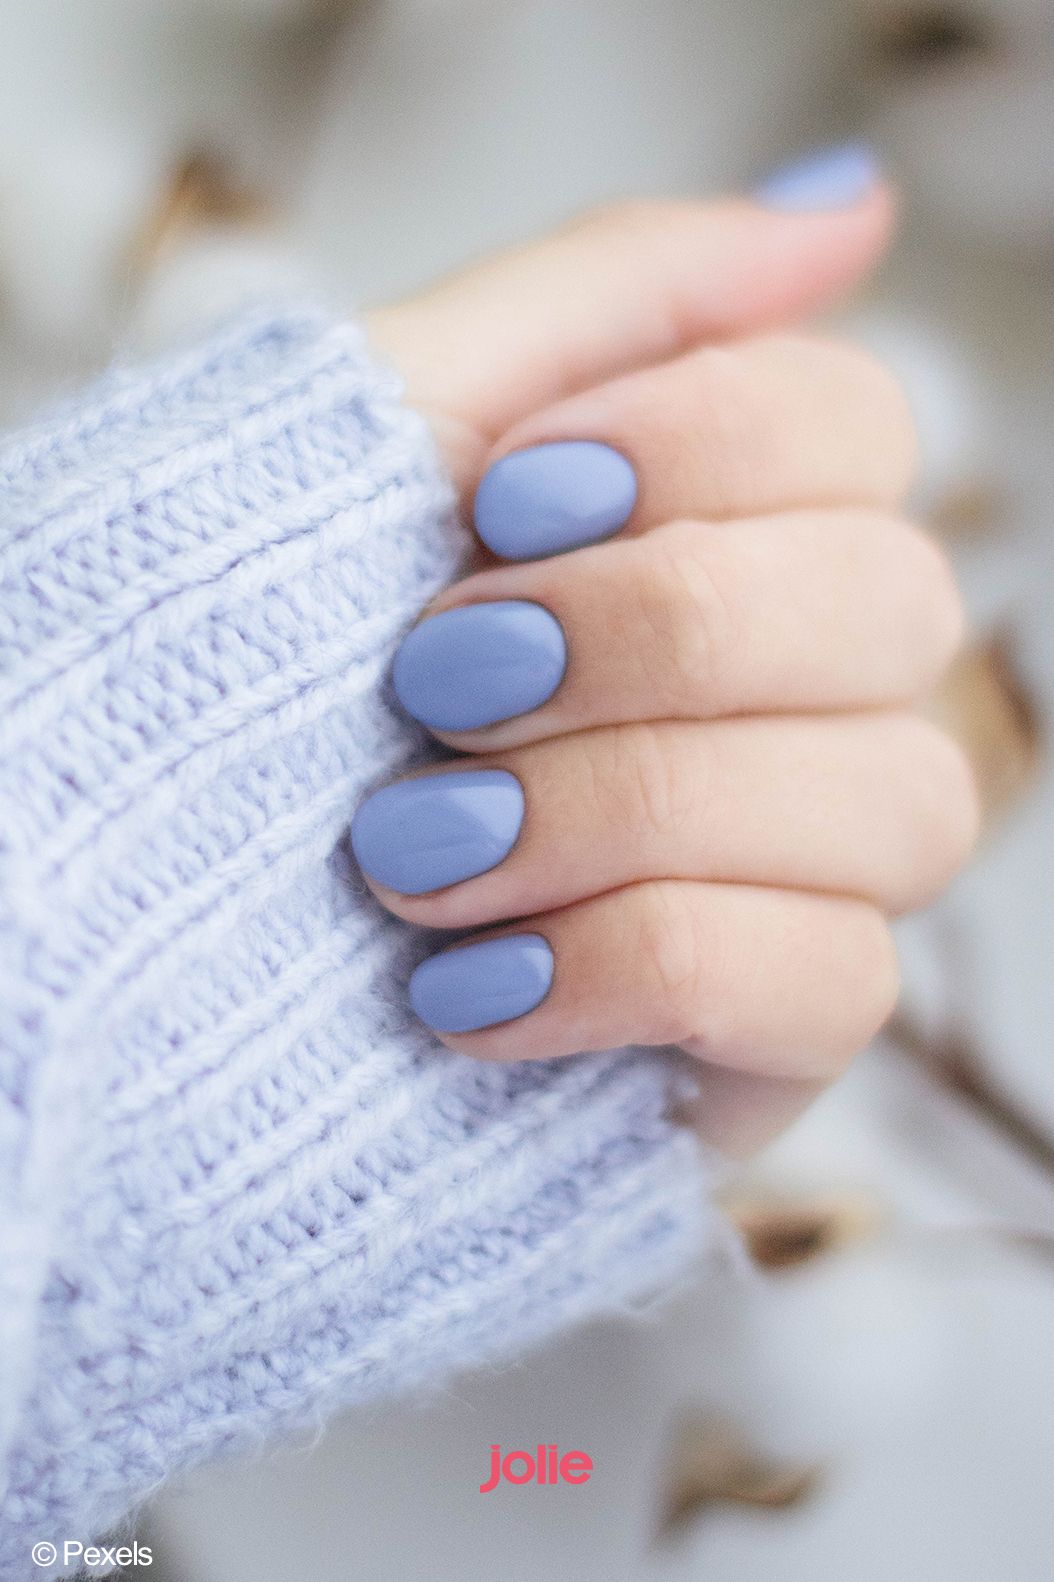
Gel Nails in Quarantine: Safe Removal at Home
During quarantine, many people have found themselves unable to visit a nail salon for regular maintenance, including the removal of gel nails. But fret not, as it is possible to safely remove gel nails at home without causing damage to your natural nails. In this guide, we will provide you with step-by-step instructions on how to safely remove gel nails at home during quarantine.
Materials You Will Need:
- Acetone
- Cotton balls
- Aluminum foil
- Nail file
- Cuticle oil
Step 1: Prepare Your Materials
Before you begin the gel nail removal process, make sure you have all the necessary materials on hand. This includes acetone, cotton balls, aluminum foil, a nail file, and cuticle oil. Having everything ready will make the process go smoother.
Step 2: File the Top Coat
Using a nail file, gently file the top coat of the gel nails. This will help the acetone penetrate the gel layers more effectively.
Step 3: Soak Cotton Balls in Acetone
Soak cotton balls in acetone and place them on top of each nail. Make sure the cotton balls are fully saturated with acetone.
Step 4: Wrap Nails in Aluminum Foil
Wrap each nail in aluminum foil to secure the acetone-soaked cotton balls in place. This will help the acetone work more effectively in breaking down the gel nails.
Step 5: Wait for 15-20 Minutes
Allow the acetone to work on your nails for about 15-20 minutes. You can use this time to relax and unwind while the acetone does its job.
Step 6: Remove Foil and Cotton Balls
After 15-20 minutes, remove the aluminum foil and cotton balls from your nails. The gel nails should now be softened and ready for removal.
Step 7: Gently Push Off Gel Nails
Using a cuticle pusher or an orange stick, gently push off the softened gel nails from your natural nails. Be careful not to force or damage your natural nails during this process.
Step 8: Moisturize with Cuticle Oil
Once all the gel nails have been removed, apply cuticle oil to moisturize and nourish your natural nails. This will help restore moisture and health to your nails after the removal process.
Step 9: Buff and Shape Your Nails
Use a nail buffer to smooth out any rough edges on your nails and shape them to your desired length and style. This will give your nails a polished finish after the gel nail removal process.
Step 10: Finish with Nail Polish or Clear Coat
Lastly, you can finish off the gel nail removal process by applying a fresh coat of nail polish or a clear coat to protect and strengthen your natural nails. This will also give your nails a polished look until you can visit a salon for a new gel manicure.
Conclusion
With these step-by-step instructions, you can safely remove gel nails at home during quarantine without causing damage to your natural nails. By following these simple steps and using the right materials, you can maintain the health and beauty of your nails until you can visit a nail salon again.
You can review our digital products by following us on Etsy.


