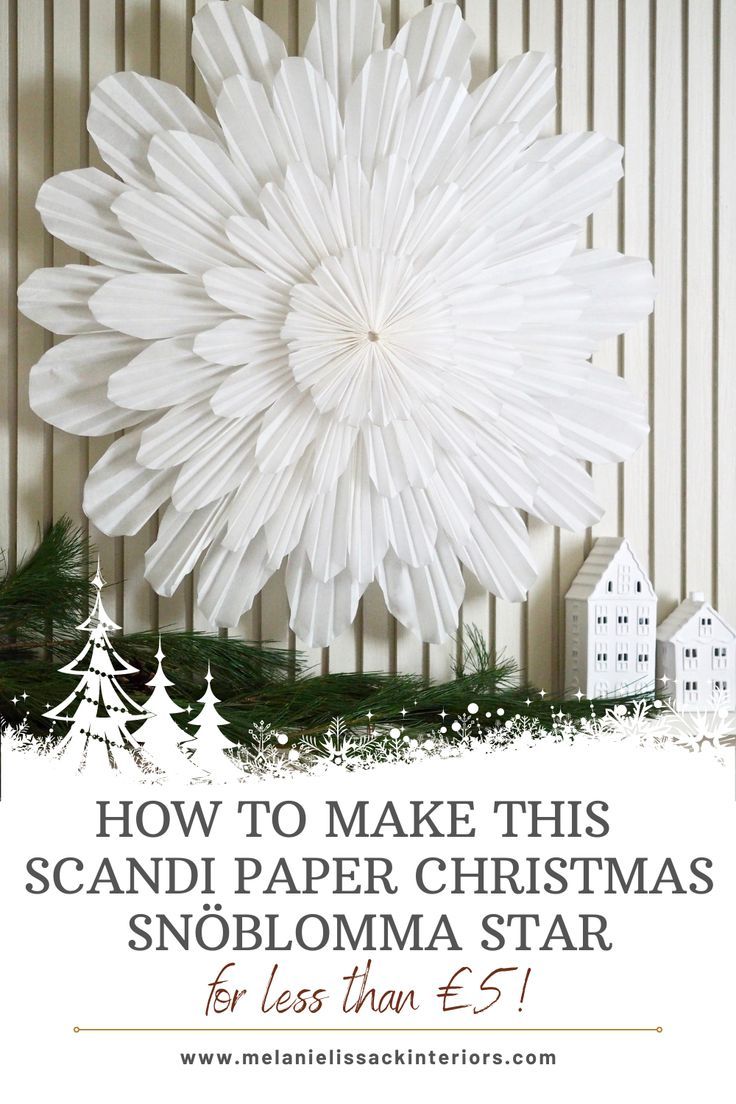
Looking for a fun and simple Christmas craft to do with the kids? This Scandi star Christmas decoration is the perfect holiday project to get everyone in the festive spirit. Using just a few materials, including baking paper, you can create beautiful decorations to hang around the house or on the Christmas tree. Follow along with this easy step-by-step guide to make your very own Scandi star Christmas decoration.
Materials Needed:
– Baking paper
– Scissors
– Pencil
– Ruler
– Ribbon or string
– Glue
Step 1: Prepare the Baking Paper
Start by laying out a sheet of baking paper on a flat surface. Use a ruler to measure and mark out a square shape on the paper. A smaller square will create a smaller star, and a larger square will create a larger star. Once you have your square marked out, carefully cut it out using scissors.
Step 2: Fold the Paper
With your square of baking paper ready, fold it in half to create a triangle shape. Then, fold it in half again to create a smaller triangle. Once you have your folded triangle, use a pencil to lightly draw a diagonal line across the triangle, going from the top corner to the bottom corner. This will help guide your cutting in the next step.
Step 3: Cut the Paper
Carefully cut along the drawn diagonal line, stopping about an inch or so before reaching the opposite side. Repeat this process across the entire triangle, creating evenly spaced cuts along the folded paper. Be sure to cut all the way to the line without going through the paper.
Step 4: Unfold the Paper
Once you have finished cutting, carefully unfold the paper to reveal the intricate pattern you have created. As you unfold the paper, gently separate the layers to give the star more dimension and volume. Take your time with this step to ensure that the cuts are fully separated and the star shape is well-defined.
Step 5: Form the Star Shape
To form the star shape, gently fold the paper along the original creases to create a 3D effect. Take care to fold the paper in such a way that the points of the star are well-defined and the shape holds together. Use a small amount of glue to secure the points and keep the star in place.
Step 6: Add a Loop for Hanging
To hang your Scandi star Christmas decoration, cut a piece of ribbon or string and create a small loop. Attach the loop to one of the points of the star using a small dab of glue. Once the glue has dried, your decoration is ready to be hung on the Christmas tree or around the house.
This Scandi star Christmas decoration is a fun and easy craft project that the whole family can enjoy. It’s a great way to get into the holiday spirit and add a personal touch to your Christmas decor. So gather your materials and get ready to create some festive fun with this simple DIY project.
Summary:
– Step 1: Prepare a sheet of baking paper and cut out a square.
– Step 2: Fold the paper into a triangle and draw a diagonal line across it.
– Step 3: Carefully cut along the diagonal line, leaving an inch at the opposite side.
– Step 4: Unfold the paper and separate the layers to reveal the star shape.
– Step 5: Form the star shape by folding the paper and securing the points with glue.
– Step 6: Attach a loop for hanging with a piece of ribbon or string and glue.
So, why not give this Scandi star Christmas decoration a try and add a touch of Scandinavian charm to your holiday decor? It’s a simple and enjoyable craft activity that the kids will love, and the results are sure to bring a festive cheer to your home. Happy crafting and happy holidays!
You can review our digital products by following us on Etsy.


