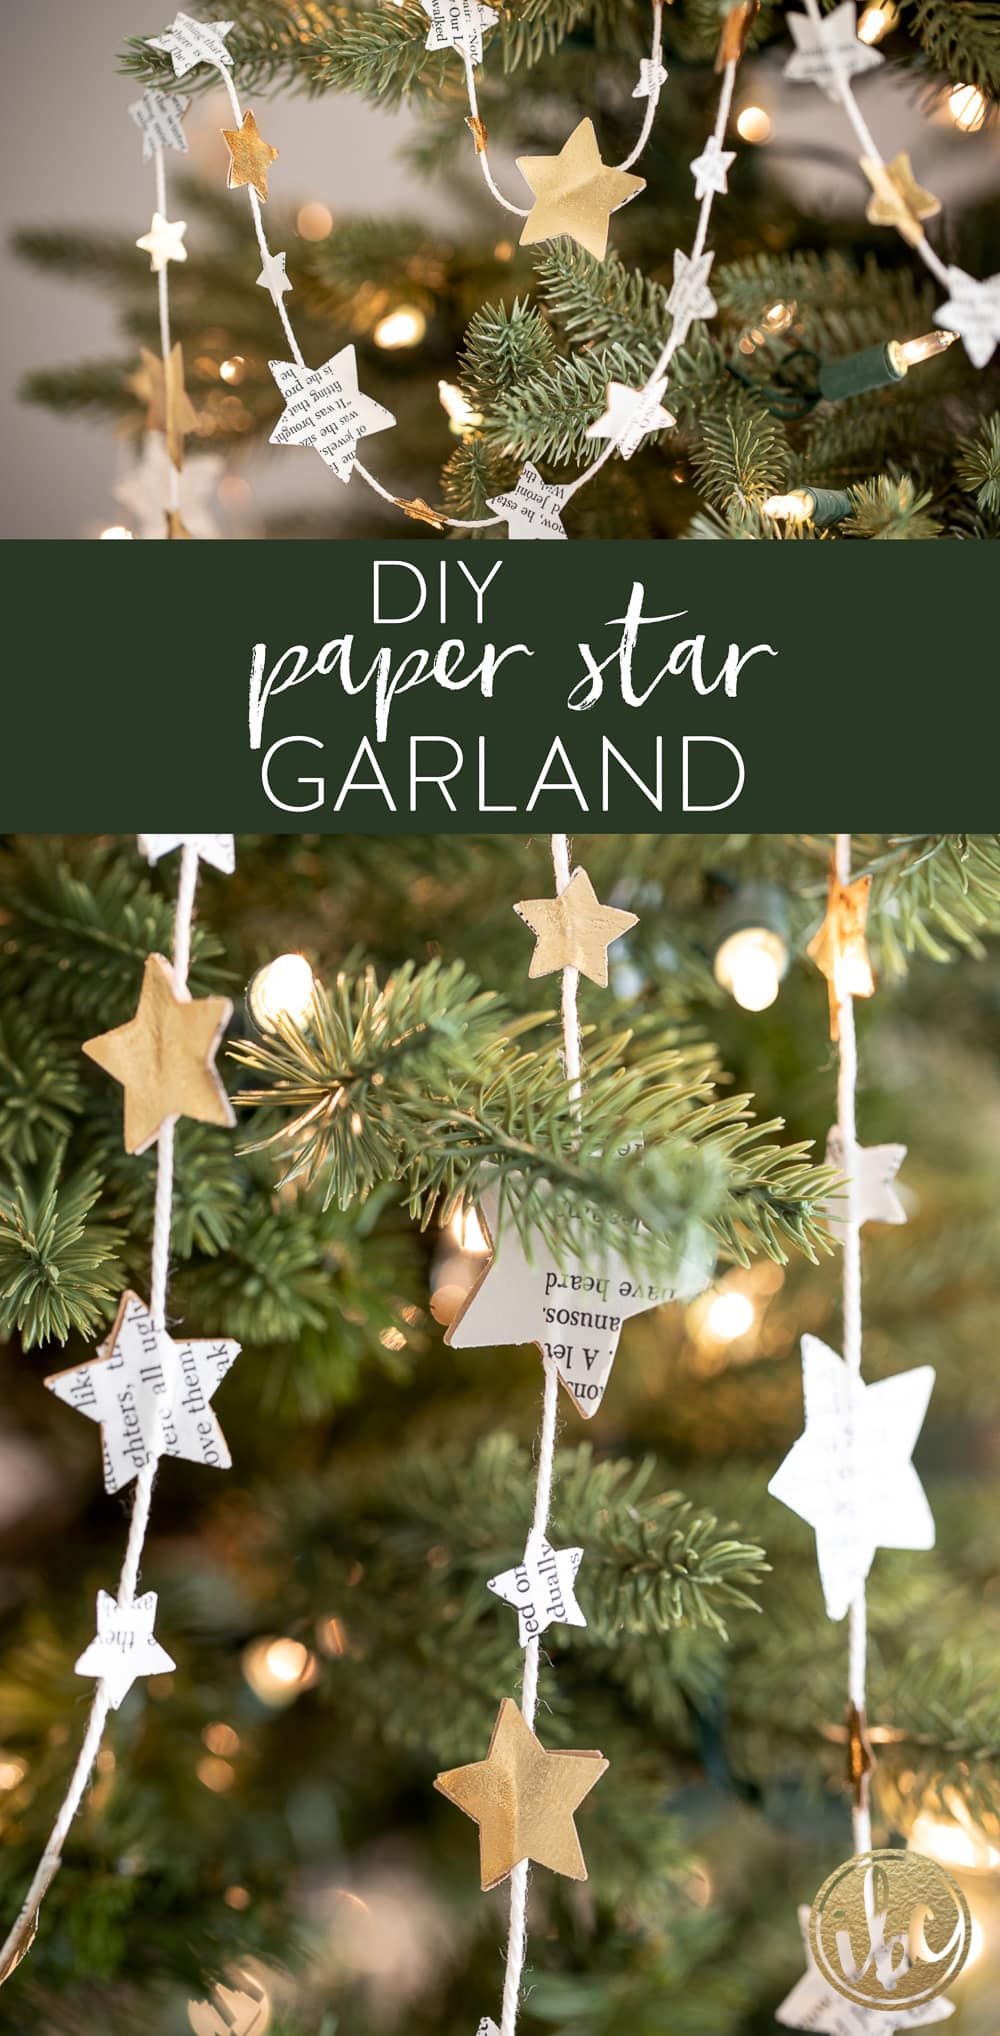

When it comes to holiday decorating, adding some handmade charm can really make your space feel warm and inviting. One way to add character and sparkle to your decor is by creating a DIY Paper Star Garland. This budget-friendly project is perfect for adding a touch of whimsy to your holiday decorations, and it’s easy enough for the whole family to join in on the fun. In this article, we’ll show you how to make your own paper star garland and offer some tips for incorporating it into your holiday decor.
Materials Needed
To create your own paper star garland, you’ll need a few simple materials. Here’s what you’ll need to gather before getting started:
- Colored or patterned cardstock paper
- Scissors
- Glue or double-sided tape
- String or twine
- Hole punch
- Optional: Glitter, sequins, or other embellishments
Once you’ve gathered your materials, you’re ready to start creating your garland.
Step 1: Cut Out Your Stars
Using your scissors, cut out several stars from the cardstock paper. You can find star templates online to use as a guide, or you can freehand your stars for a more whimsical look. If you’re creating a themed garland, consider using colors or patterns that complement your overall holiday decor scheme. You can also mix and match colors and patterns for a more eclectic look.
Step 2: Add Some Sparkle
If you want to add some extra sparkle to your paper stars, now is the time to do so. You can use glitter, sequins, or other embellishments to give your stars a festive touch. Simply apply a small amount of glue to your stars and sprinkle on the glitter or sequins. Allow them to dry completely before moving on to the next step.
Step 3: Punch Holes in Your Stars
Using a hole punch, create a small hole at the top of each of your paper stars. This is where you’ll thread your string or twine through to create the garland. Make sure to space your holes evenly so that your stars hang at the same level once they’re strung up.
Step 4: String Your Stars
Now it’s time to thread your stars onto your string or twine. You can space them out evenly or cluster them together for a more dynamic look. Experiment with different arrangements until you find one that you like. Once you’re happy with the placement of your stars, tie a knot at each end of the garland to secure them in place.
Step 5: Hang and Enjoy
Once you’ve finished stringing your stars, find the perfect place to hang your garland. Whether it’s draped across the mantel, hung in a doorway, or displayed on the tree, your paper star garland is sure to add a touch of charm to your holiday decor. Step back and admire your handiwork, and enjoy the festive atmosphere that your new garland creates.
Whether you’re decorating for Christmas, Hanukkah, or just want to add some festive flair to your home, a DIY Paper Star Garland is a fun and budget-friendly project that can add a lot of character to your holiday decor. By following these simple steps and adding your own creative touch, you can create a beautiful garland that’s sure to spark joy and spread holiday cheer.
You can review our digital products by following us on Etsy.


