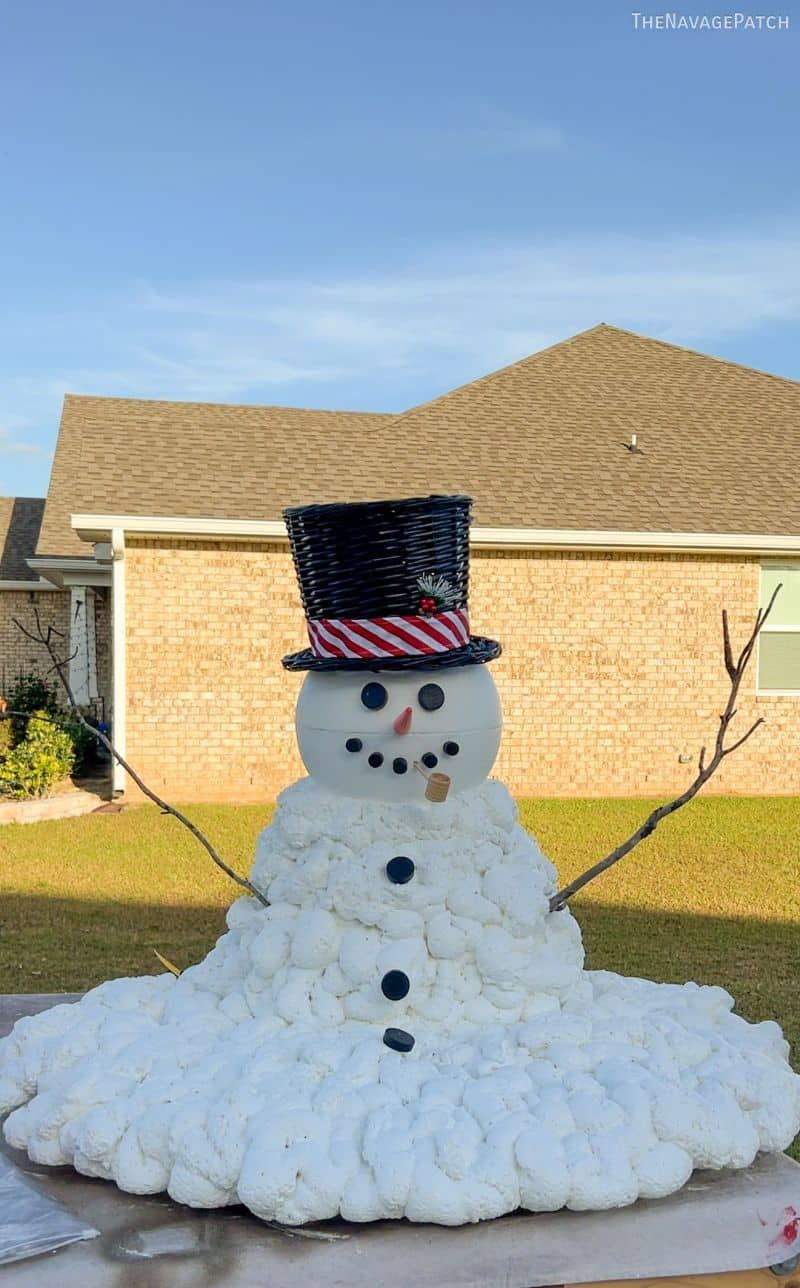

DIY Light-Up Melting Snowman: A Festive Holiday Decoration
As the holiday season approaches, many of us are looking for festive decorations to brighten up our homes. If you’re someone who doesn’t live in a place where snowstorms and blizzards are common, then this DIY light-up melting snowman is the perfect holiday decoration for you. It’s a fun and creative way to bring the holiday spirit into your home, even if you don’t have snow to build a real snowman.
Creating this DIY light-up melting snowman is a simple and enjoyable project that will add a touch of whimsy and charm to your holiday decor. With just a few supplies and a little bit of creativity, you can have a unique and eye-catching decoration that will impress your friends and family.
What You’ll Need:
– A large white Styrofoam ball
– A smaller white Styrofoam ball
– Two black buttons (for the eyes)
– An orange felt or foam sheet (for the nose)
– A black felt or foam sheet (for the mouth)
– A black top hat
– A string of white Christmas lights
– A hot glue gun and glue sticks
– A small plastic bucket or pot
– A black spray paint
– A sharp knife or carving tool
Step-By-Step Instructions:
1. Start by cutting the large white Styrofoam ball in half. This will create the top and bottom halves of your snowman’s body.
2. Using the hot glue gun, attach the smaller white Styrofoam ball to the top of the larger one to create the snowman’s head.
3. Next, attach the two black buttons to the snowman’s face to create the eyes.
4. Cut a small triangle out of the orange felt or foam sheet and attach it to the snowman’s face to create the carrot nose.
5. Use the black felt or foam sheet to cut out a smile and attach it to the snowman’s face with the hot glue gun.
6. Place the black top hat on top of the snowman’s head and secure it with the hot glue gun.
7. Using the sharp knife or carving tool, carve out a hollow space in the bottom of the snowman’s body to fit the plastic bucket or pot.
8. Spray paint the plastic bucket or pot black to create the illusion of melting snow.
9. Once the paint is dry, place the string of white Christmas lights inside the bucket or pot, leaving the end of the string hanging out.
10. Place the snowman’s body on top of the bucket or pot, making sure the lights are visible through the hollow space.
Final Touches:
Once your DIY light-up melting snowman is assembled, you can add some final touches to make it even more festive. Consider adding a scarf around the snowman’s neck or some small decorative ornaments to give it a personalized touch. You can also place the snowman in a prominent spot in your home, such as by the front door or in the living room, to spread holiday cheer to all who see it.
With its whimsical appearance and twinkling lights, this DIY light-up melting snowman is sure to become a beloved addition to your holiday decor. Whether you live in a place where snow is scarce or just want to add a unique touch to your seasonal decorations, this project is a fun and creative way to celebrate the holiday season.
So, gather your supplies and get ready to bring some festive magic into your home with your very own DIY light-up melting snowman. It’s a delightful decoration that will bring joy to your household and create lasting holiday memories for years to come.
You can review our digital products by following us on Etsy.


