

Introduction
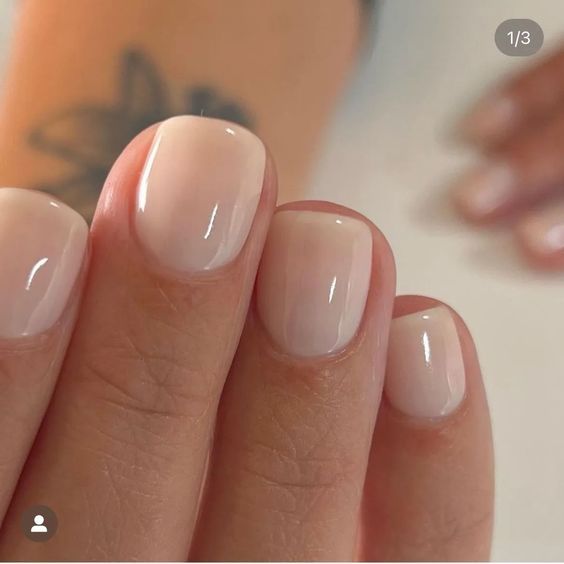
The viral Milky Nails trend has taken the internet by storm, with everyone wanting to achieve the stunning and unique look at home. Luckily, you can easily recreate this trend on a budget with a few simple steps and some basic nail products. In this DIY guide, we’ll walk you through how to achieve Milky Nails at home without breaking the bank.
Materials Needed
Before you get started, make sure you have the following materials on hand:
- Base coat
- White nail polish
- Gel-like top coat
- Small bowl of room temperature water
- Orange stick or toothpick
- Nail polish remover (for clean up)
Step 1: Prep Your Nails
Start by prepping your nails for the Milky Nails trend. Remove any existing nail polish and shape your nails to your desired length and shape. Then, apply a base coat to your nails to protect them and create a smooth surface for the white nail polish to adhere to.
Step 2: Apply White Nail Polish
Once the base coat has dried, it’s time to apply the white nail polish. Use a high-quality, opaque white polish for best results. Apply one or two coats of white polish to ensure full coverage and a solid white base for the Milky Nails effect.
Step 3: Prepare the Water
Fill a small bowl with room temperature water. Make sure the bowl is deep enough to fully submerge your finger and wide enough to allow for movement when dipping your nails.
Step 4: Create the Milky Effect
Now comes the fun part – creating the Milky Nails effect. Take your gel-like top coat and apply a generous amount to the surface of the water. The top coat will spread out and create a thin film on the water’s surface.
Step 5: Dip Your Nails
Once the top coat has been applied to the water, carefully lower your nail into the top coat, submerging it completely. Use an orange stick or toothpick to gather the excess top coat around your nail, creating a marbled effect. Hold your nail in the top coat for a few seconds to allow it to adhere and transfer the design onto your nail.
Step 6: Repeat for Each Nail
Continue the dipping process for each nail, applying more top coat to the water as needed to create the marbled effect. Make sure to clean up any excess top coat on your skin using a cotton swab and nail polish remover.
Step 7: Finish with Top Coat
Once all of your nails have been dipped and the Milky Nails effect has been achieved, let them dry for a few minutes. Then, apply a gel-like top coat over the design to seal in the marbled effect and give your nails a glossy finish.
Conclusion
With just a few simple steps and some basic nail products, you can easily achieve the viral Milky Nails trend at home on a budget. Experiment with different color combinations and designs to create your own unique twist on this popular nail trend. Have fun and show off your stunning Milky Nails to the world!
You can review our digital products by following us on Etsy.


