

If you’re looking for a fun and easy DIY project to spruce up your home for the holidays, finger knitting a garland is a perfect choice. This simple technique requires just a skein of yarn and your fingers, making it a great project for kids and adults alike. In this article, we’ll walk you through the process of finger knitting a garland, step by step.
Materials Needed
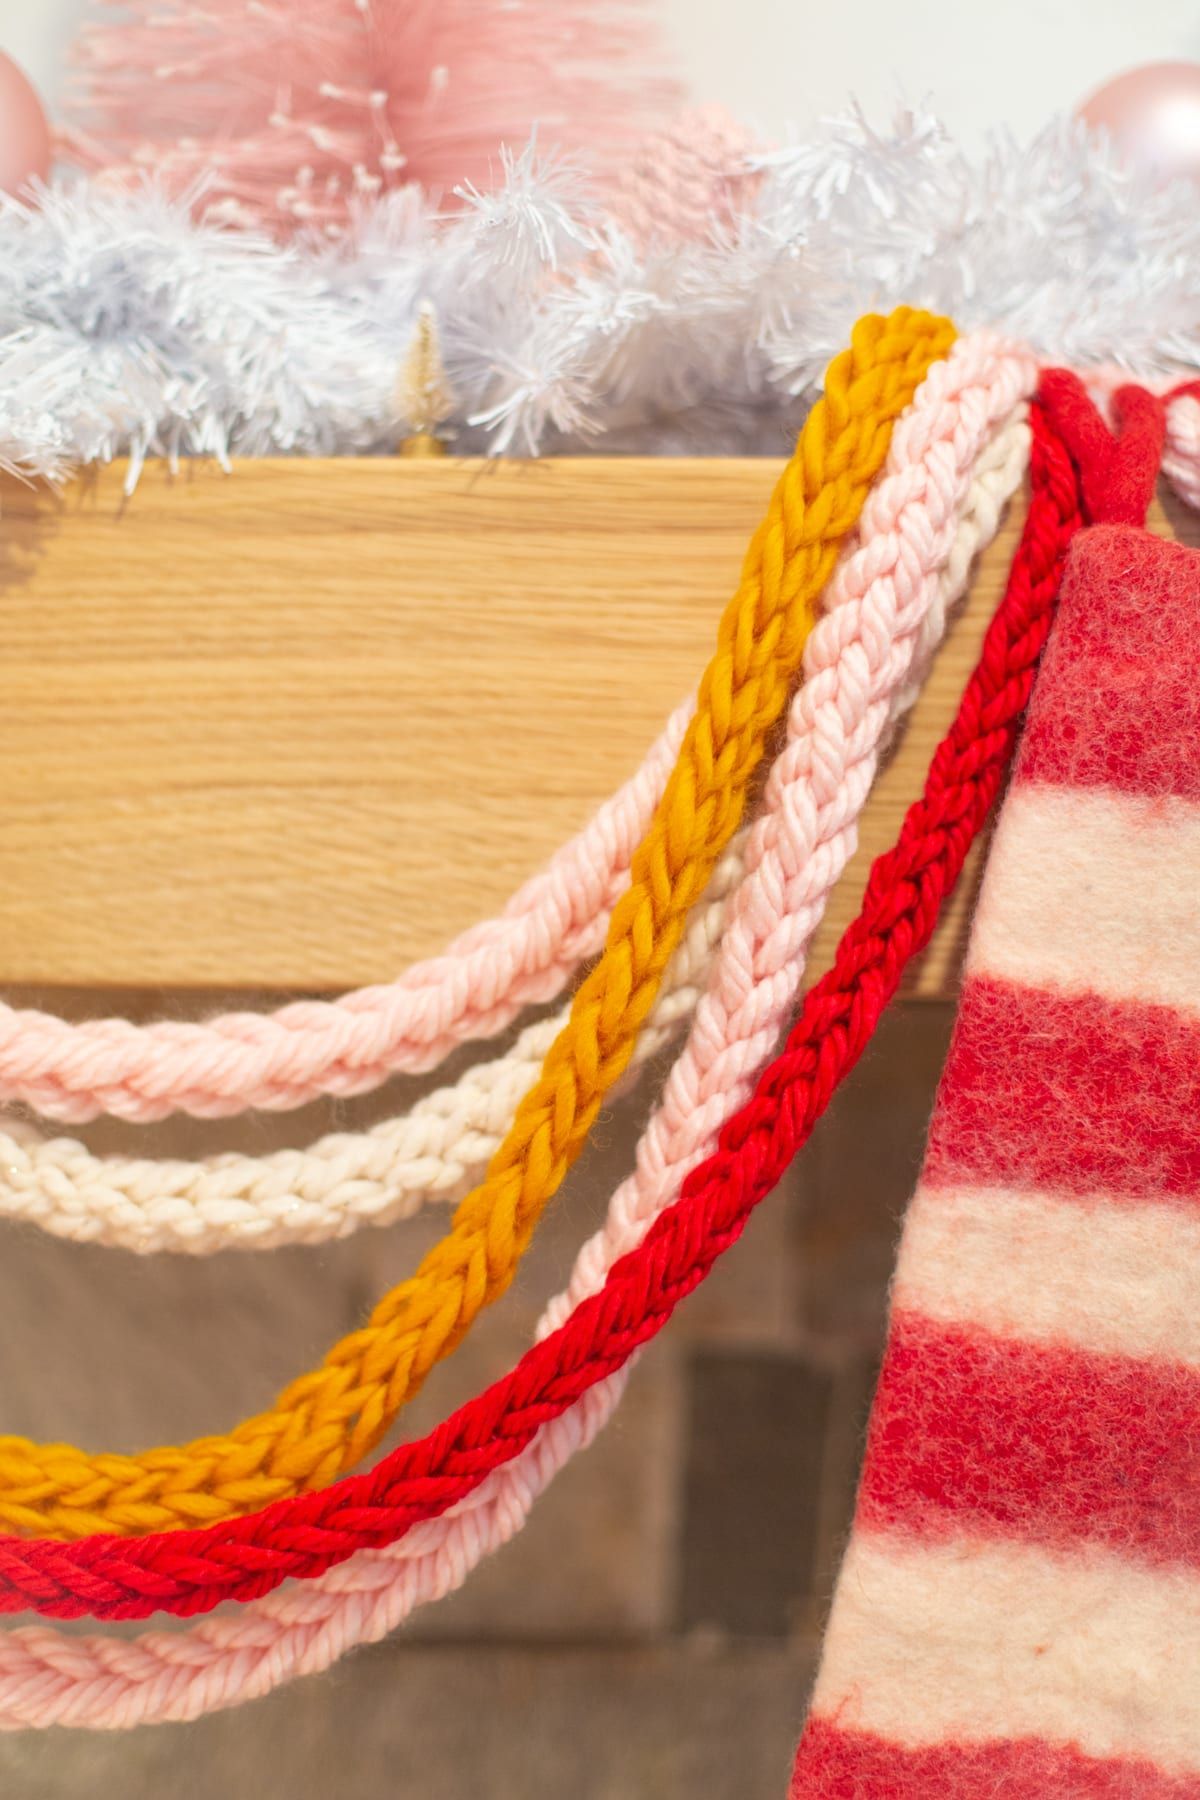
Before you get started, you’ll need a few materials. First, you’ll need a skein of yarn in the color of your choice. You can choose a traditional holiday color like red, green, or white, or go for a more modern look with metallic or pastel yarn. You’ll also need a pair of scissors to cut the yarn, as well as a yarn needle to weave in any loose ends.
Step 1: Create a Slipknot
To begin finger knitting, you’ll need to create a slipknot at the end of your yarn. To do this, make a loop at the end of the yarn and pull the tail through the loop. Pull the loop tight to create a knot that can easily be adjusted.
Step 2: Cast On Stitches
Once you have your slipknot, it’s time to cast on stitches. To do this, place the slipknot on your index finger, leaving a tail of around six inches. Take the working yarn and wrap it around your index finger, then bring it around your middle finger. Continue wrapping the yarn around your other fingers, then wrap it around your index finger once more.
Step 3: Knit the First Row
With your stitches cast on, it’s time to knit the first row. Start by lifting the bottom loop over the top loop and off your finger. Continue this process, working from your pinky to your index finger, until all the loops are off your fingers. You should now have a row of knitted stitches on your hand.
Step 4: Continue Knitting
To continue knitting, repeat the process of casting on stitches and then knitting them off your fingers. Continue until your garland reaches the desired length, keeping in mind that the yarn will stretch once it’s off your fingers.
Step 5: Bind Off
When you’ve reached the desired length, it’s time to bind off your stitches. To do this, knit two stitches onto your hand, then lift the bottom loop over the top loop and off your finger. Continue this process until you have just one loop left on your hand. Cut the working yarn, leaving a tail of around six inches, and pull it through the remaining loop to secure it.
Step 6: Weave in Ends
Finally, use a yarn needle to weave in any loose ends and secure them to the garland. Once all the ends are woven in, your finger knit garland is ready to be displayed.
Whether you’re a seasoned knitter or just looking for a fun holiday craft project, finger knitting a garland is a simple and enjoyable activity that will add a festive touch to your home. So gather your materials, follow these simple steps, and get ready to deck the halls with your handmade garland.
If you’re looking to add a touch of holiday cheer to your home, finger knitting a garland is the perfect DIY project. With just a skein of yarn and your fingers, you can create a beautiful and festive decoration that will make your home feel merry and bright. So why not give it a try and add a personalized touch to your holiday decor this season?
You can review our digital products by following us on Etsy.


