

DIY Charging Station using IKEA’s Fintorp System
If you are looking for a stylish and practical way to organize your charging cables and devices, IKEA’s Fintorp system is the perfect solution. In this tutorial, we will show you how to create your own DIY charging station using the Fintorp rails, hooks, and baskets.
What You’ll Need:
- IKEA Fintorp rails
- IKEA Fintorp hooks
- IKEA Fintorp baskets
- Screws
- Drill
- Charging cables
- Power strip
Step 1: Install the Fintorp Rails
Start by measuring and marking the desired location for your charging station. Use a level to ensure the rails will be installed evenly. Once you have determined the placement, use a drill to attach the Fintorp rails to the wall. Make sure the screws are securely fastened to support the weight of the charging station.
Step 2: Attach the Fintorp Hooks
Once the rails are installed, it’s time to add the Fintorp hooks. These will be used to hold your charging cables and keep them organized. Simply attach the hooks to the rails, making sure to space them evenly to accommodate all of your devices.
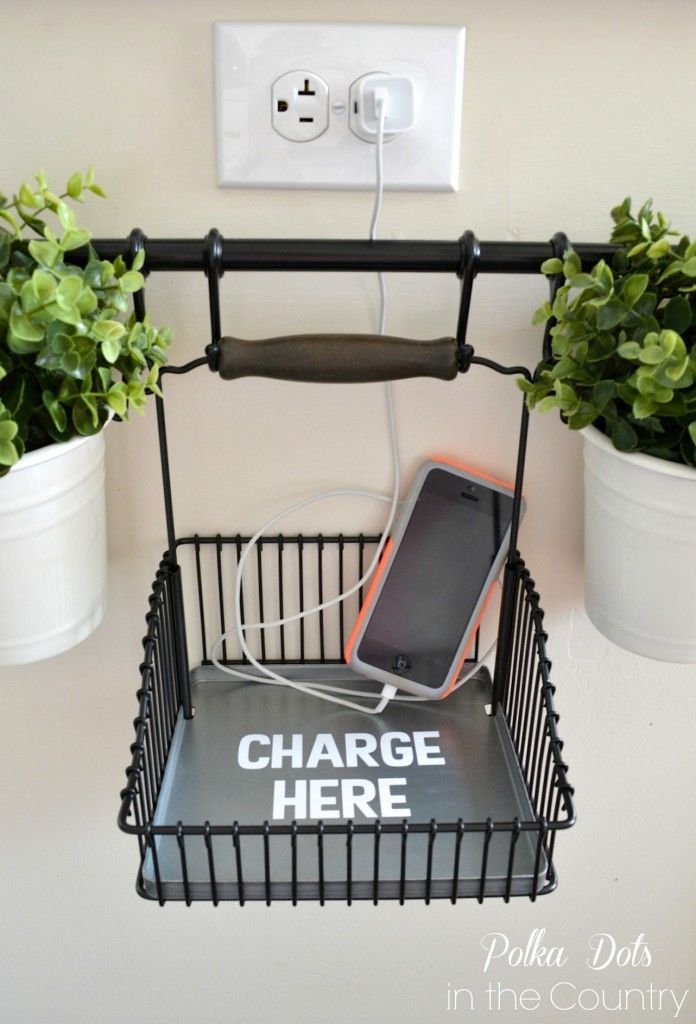
Step 3: Add the Fintorp Baskets
The Fintorp baskets are a great way to store your devices while they are charging. Simply hang the baskets from the Fintorp rails using the hooks. You can use one basket for each device or divide them up based on the type of device (e.g. phones in one basket, tablets in another).
Step 4: Organize Your Charging Cables
Use the Fintorp hooks to keep your charging cables neatly organized. You can group cables together based on the type of device they belong to, or arrange them in a way that makes the most sense for your setup. This will help prevent tangled cords and make it easier to find the cable you need.
Step 5: Connect the Power Strip
Once everything is in place, connect a power strip to one of the outlets near your charging station. This will provide a central location to plug in all of your devices, and keep the cords hidden and out of the way. Make sure the power strip is easily accessible for plugging in new devices and for turning the strip on and off as needed.
Step 6: Enjoy Your New Charging Station
With everything set up, you now have a functional and stylish DIY charging station using IKEA’s Fintorp system. Your devices will be organized, cords will be neatly managed, and everything will be easily accessible when you need it. Say goodbye to cluttered counters and tangled cords!
Conclusion
Creating a DIY charging station using IKEA’s Fintorp system is a simple and effective way to keep your devices organized and charged. With just a few basic materials and some creativity, you can transform a messy charging area into a streamlined and stylish space. So, gather your supplies and get started on your own Fintorp charging station today!
You can review our digital products by following us on Etsy.


