

Introduction
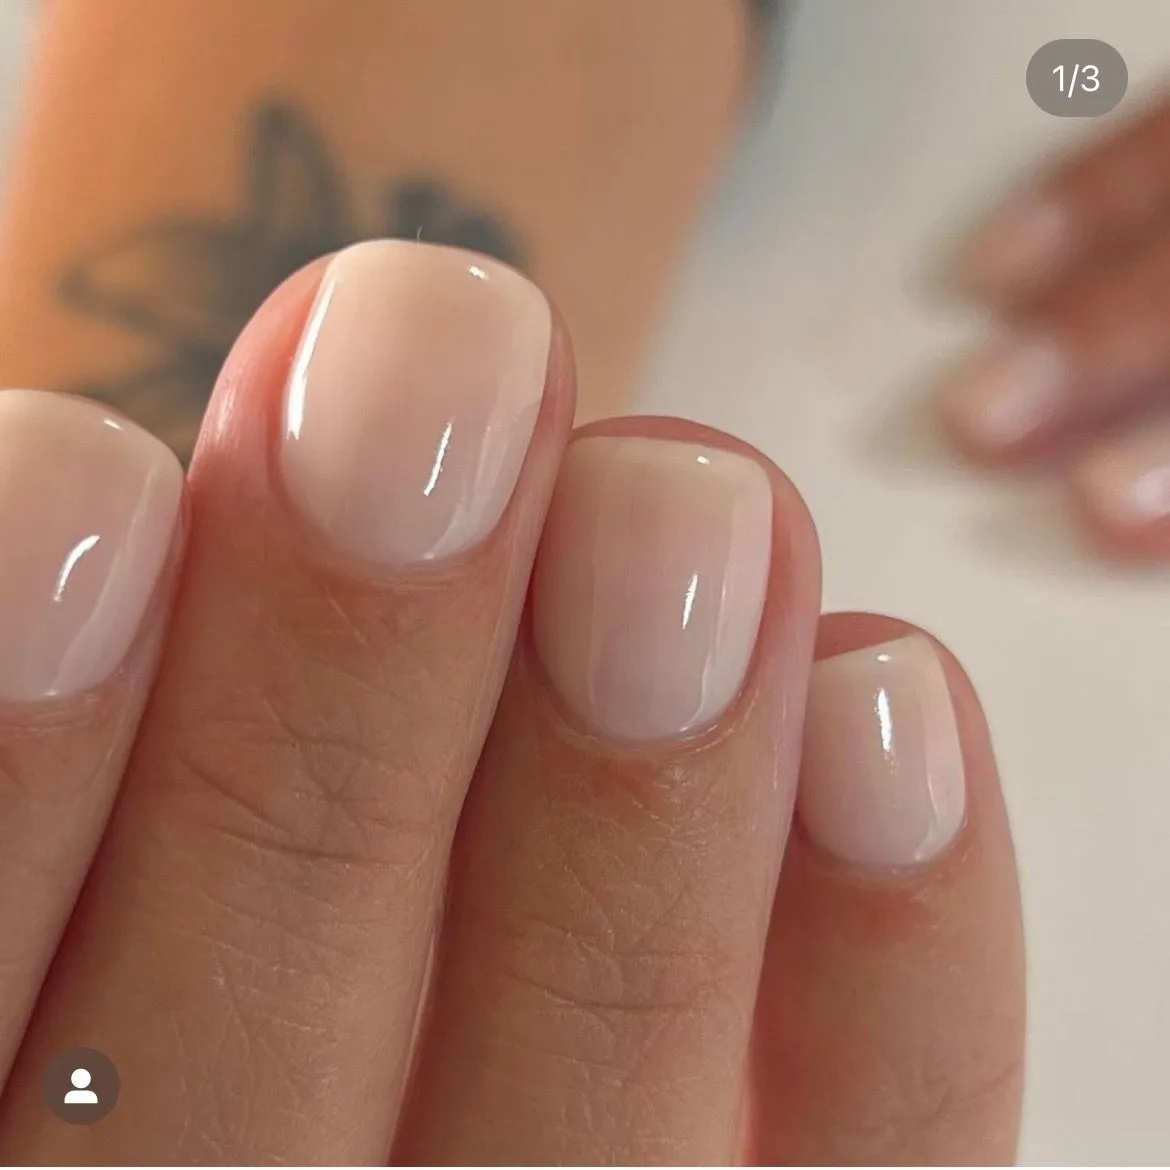
The viral milky nails trend has taken the nail art world by storm, and you can easily recreate this look at home on a budget. With just a few simple steps and affordable supplies, you can achieve the trendy milky nails look that everyone is talking about. Follow this DIY guide to learn how to create your own milky nails at home.
Supplies Needed
- White nail polish
- Clear nail polish
- Nail polish remover
- Cotton balls
- Nail buffer
- Nail file
- Top coat
Step 1: Prepare Your Nails
Start by removing any old nail polish with nail polish remover. Use a nail buffer to smooth out the surface of your nails and shape them with a nail file. Make sure your nails are clean and dry before moving on to the next step.
Step 2: Apply White Nail Polish
Apply a coat of white nail polish to each nail. You may need to apply two coats to achieve a solid, opaque white base. Allow the polish to dry completely before moving on to the next step.
Step 3: Create the Milky Effect
- Take a few drops of clear nail polish and add it to a small container.
- Using a thin nail art brush or toothpick, swirl the clear polish into the white polish on your nails to create a marbled effect.
- You can also use a plastic wrap or sponge to dab the clear polish onto your nails for a more subtle milky effect.
Step 4: Seal the Look
Once you are happy with the milky effect on your nails, apply a top coat to seal in the design and add shine. This will also help your milky nails last longer without chipping.
Step 5: Clean Up
Use a cotton ball dipped in nail polish remover to clean up any excess polish on your skin or around your nails. This will give your milky nails a polished and professional look.
Tips for Success
- Work in thin layers to build up the milky effect gradually.
- Experiment with different techniques, such as using a toothpick or plastic wrap, to create unique milky nail designs.
- Allow each layer of polish to dry completely before moving on to the next step to prevent smudging.
- Finish with a top coat to protect your milky nails and make them last longer.
Conclusion
With just a few simple steps and affordable supplies, you can easily recreate the viral milky nails trend at home on a budget. Follow this DIY guide to achieve the trendy milky nails look that everyone is talking about. Get creative and experiment with different techniques to create your own unique milky nail designs. Have fun and show off your stylish milky nails to the world!
You can review our digital products by following us on Etsy.


