

What You’ll Need
– White nail polish
– Clear nail polish
– Wooden cuticle stick
– Bowl of room temperature water
– Toothpick
– Q-tips
– Rubbing alcohol
– Cotton pads
– Nail file
Step 1: Prep Your Nails
Start by removing any old nail polish and shaping your nails with a file. Push back your cuticles using a wooden cuticle stick and clean your nails with rubbing alcohol to ensure a smooth surface for the nail polish to adhere to.
Step 2: Apply White Nail Polish
Once your nails are prepped, apply a base coat of white nail polish to all of your nails. Allow it to dry completely before moving on to the next step.
Step 3: Prepare the Water
Fill a bowl with room temperature water. Make sure the bowl is big enough to fit your entire finger in it.
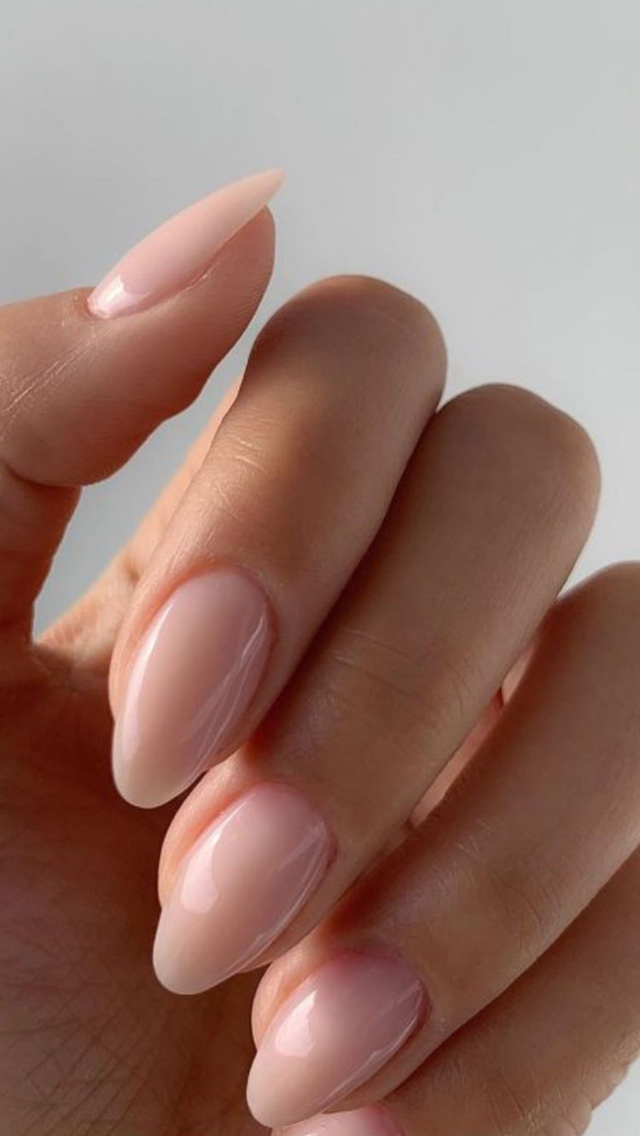
Step 4: Create the Milky Effect
Once the white nail polish is dry, it’s time to create the milky effect. Take your clear nail polish and open the bottle. Hold the brush right above the water and let a few drops fall into the bowl. The clear polish should spread out on the surface of the water, creating a milky pattern.
Step 5: Swirl the Polish
Using a toothpick, gently swirl the clear polish around on the surface of the water to create a marble-like pattern. You can experiment with different swirling techniques to achieve the desired look.
Step 6: Dip Your Nails
With the marble pattern on the water’s surface, carefully lower your nail into the water, allowing the pattern to transfer onto your nail. Hold your finger in the water for a few seconds to ensure the polish adheres to your nail.
Step 7: Clean Up
Once you’ve dipped all of your nails, use a Q-tip dipped in nail polish remover to clean up any excess polish around your nails.
Step 8: Finish with a Top Coat
To lock in the milky design and add shine, finish with a clear top coat. This will also help protect your nails and make the design last longer.
Step 9: Let Your Nails Dry
Allow your nails to dry completely before using your hands. You can speed up the drying process by using a quick-dry nail polish or by dipping your nails in ice-cold water.
Tips and Tricks
– Experiment with different color combinations to achieve a unique milky effect.
– If you make a mistake, simply use a cotton pad and nail polish remover to wipe off the polish and start over.
– Don’t be afraid to get creative with the swirling and dipping process. Each nail can have a slightly different design for a fun and unique look.
By following these simple steps, you can achieve the viral milky nails trend at home on a budget. Have fun experimenting with different colors and patterns to create your own unique look!
You can review our digital products by following us on Etsy.


