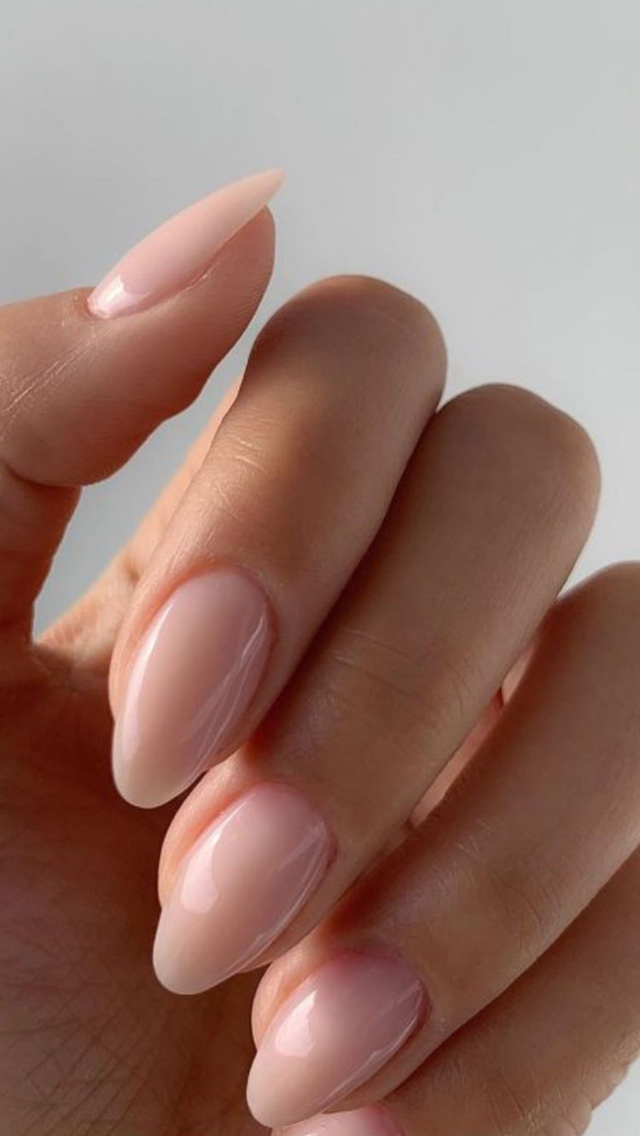
Are you looking for a trendy and easy-to-maintain nail look? The milky nails manicure could be the perfect choice for you! This soft and dreamy nail trend has been taking over social media feeds, and now you can achieve it at home with just a few simple steps. In this guide, we will walk you through how to create and maintain the milky nails mani without having to visit a salon.
How to Achieve Milky Nails Manicure at Home
Step 1: Prepare Your Nails
Start by removing any existing nail polish and shaping your nails to your desired length and shape. Use a nail file to smooth out the edges and create a clean canvas for your milky nails manicure.
Step 2: Apply a Base Coat
Before applying the milky nail polish, it is essential to apply a base coat to protect your nails and ensure a smooth application. This will also help the milky nail polish adhere better to your nails and last longer.
Step 3: Choose Your Milky Nail Polish
There are many milky nail polish options available in the market, ranging from sheer to opaque finishes. Choose a shade that suits your skin tone and preferences. For a more translucent look, opt for a sheer milky nail polish, and for a more opaque look, go for a creamy white shade.
Step 4: Apply the Milky Nail Polish
Now it’s time to apply the milky nail polish. Start by applying a thin layer of polish to each nail, starting from the base and working your way to the tip. Wait for the first layer to dry before applying a second coat for a more opaque finish.
Step 5: Seal with a Top Coat
Once the milky nail polish has dried, seal it with a top coat to protect the color and add shine to your nails. A top coat will also help your milky nails manicure last longer without chipping.
Maintaining Your Milky Nails Manicure
Now that you’ve achieved the perfect milky nails manicure, here are some tips to help you maintain it and keep your nails looking fresh and dreamy:
1. Moisturize Your Cuticles
Regularly moisturizing your cuticles will help keep them healthy and prevent dryness. Use a cuticle oil or cream to hydrate and nourish your cuticles, making your milky nails manicure look even more polished.
2. Avoid Harsh Chemicals
Avoid exposing your nails to harsh chemicals, such as cleaning products or acetone-based nail polish removers, as they can weaken and damage your nails. Opt for gentler alternatives and use gloves when handling chemicals.
3. Touch Up as Needed
As your milky nails manicure starts to show signs of wear, such as chipping or fading, touch up the polish with a fresh coat to keep them looking fresh and flawless. This will help extend the lifespan of your manicure and prevent the need for a full reapplication.
4. Keep Your Nails Short and Neat
Maintain the length and shape of your nails by regularly trimming and filing them to prevent breakage and maintain a clean appearance. Shorter nails are also less prone to snagging and breaking, making them easier to maintain.
5. Protect Your Nails
Protect your milky nails manicure by wearing gloves when doing household chores or engaging in activities that could damage your nails. This will help prevent chipping and keep your manicure looking fresh for longer.
With these simple steps and tips, you can achieve and maintain the milky nails manicure from the comfort of your own home. Enjoy your dreamy and trendy nail look without having to visit a salon!
You can review our digital products by following us on Etsy.


