1. Prepare Your Nails
Start by shaping and buffing your nails to create a smooth surface for the ombre design. Push back your cuticles and remove any excess skin around your nails. Apply a base coat to protect your nails from staining and help the ombre colors adhere better.
2. Choose Your Colors
Select two or more nail polishes in coordinating colors for your ombre design. You can choose shades that gradually transition into each other or opt for contrasting colors for a bold look. Make sure the nail polishes are of good quality to ensure a smooth and even application.
3. Gather Your Tools
You will need a makeup sponge, a small piece of aluminum foil or a disposable plate, nail polish remover, and a small brush for cleanup. The makeup sponge will help you achieve the ombre effect, while the aluminum foil or disposable plate will serve as a palette for mixing the colors.
4. Create the Ombre Effect
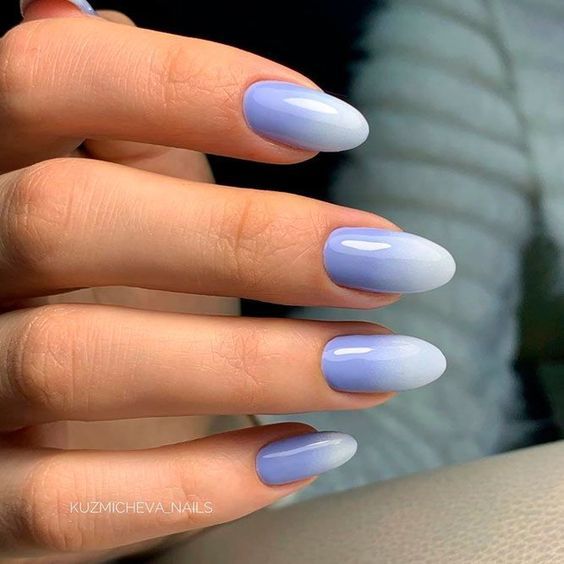
Start by painting your nails with the lightest color as the base coat and allow it to dry completely. Pour a small amount of each nail polish color onto the aluminum foil or disposable plate. Dab the makeup sponge into the first color and lightly press it onto the tip of your nail. Repeat this step with the second color, slightly overlapping it with the first color to create a seamless transition. Continue dabbing the sponge with each color until you achieve the desired ombre effect.
5. Blend the Colors
To blend the colors seamlessly, gently pat the sponge over the entire nail in a downward motion. This will help soften any harsh lines and create a smooth gradient effect. If needed, you can add more layers of color to intensify the ombre look.
6. Clean Up the Edges
Use a small brush dipped in nail polish remover to clean up any excess polish around the edges of your nails. This will give your ombre nails a polished and professional finish. Allow the design to dry completely before applying a top coat to seal in the colors and add shine.
7. Experiment with Different Techniques
Once you have mastered the basic ombre nail design, feel free to experiment with different techniques and color combinations. You can try vertical ombre, diagonal ombre, or even reverse ombre for a unique and eye-catching look. The possibilities are endless, so let your creativity shine!
8. Maintain Your Ombre Nails
To prolong the lifespan of your ombre nails, be sure to apply a top coat every few days to prevent chipping and fading. Avoid using harsh chemicals and always wear gloves when doing household chores to protect your nail design. With proper care and maintenance, your ombre nails will stay vibrant and beautiful for weeks to come.
By following these step-by-step tutorials and tips, you can easily create stunning ombre nail designs at home. Whether you prefer subtle gradients or bold color transitions, ombre nails are a versatile and trendy option for any occasion. So grab your favorite nail polishes and get ready to rock your ombre nails with confidence!
You can review our digital products by following us on Etsy.


