

What You’ll Need:
- White nail polish
- Clear nail polish
- Aluminum foil
- Top coat
- Small bowl
- Warm water
Step 1: Prep Your Nails
Start by removing any old nail polish and shaping your nails to your desired length and shape. Make sure to push back your cuticles and trim any excess skin around your nails.
Step 2: Apply White Nail Polish
Apply a base coat of white nail polish to all of your nails. Make sure to apply at least two coats for a solid white base.
Step 3: Prepare The Milky Effect Mixture
Fill a small bowl with warm water. Take your clear nail polish and pour a small amount onto a piece of aluminum foil. Use a toothpick or small brush to mix the clear polish into the warm water, creating a milky effect.
Step 4: Dip Your Nails
Once you have your milky mixture ready, gently dip your nails into the bowl of water one by one. Hold each nail in the water for a few seconds to allow the milky effect to transfer onto your nails.
Step 5: Clean Up
Use a cotton swab dipped in nail polish remover to clean up any excess polish around your nails. This will help give your manicure a clean and polished look.
Step 6: Apply Top Coat
Once your nails are dry, apply a top coat to seal in the milky effect and protect your manicure from chipping. Allow the top coat to dry completely before moving on to your next steps.
Step 7: Finishing Touches
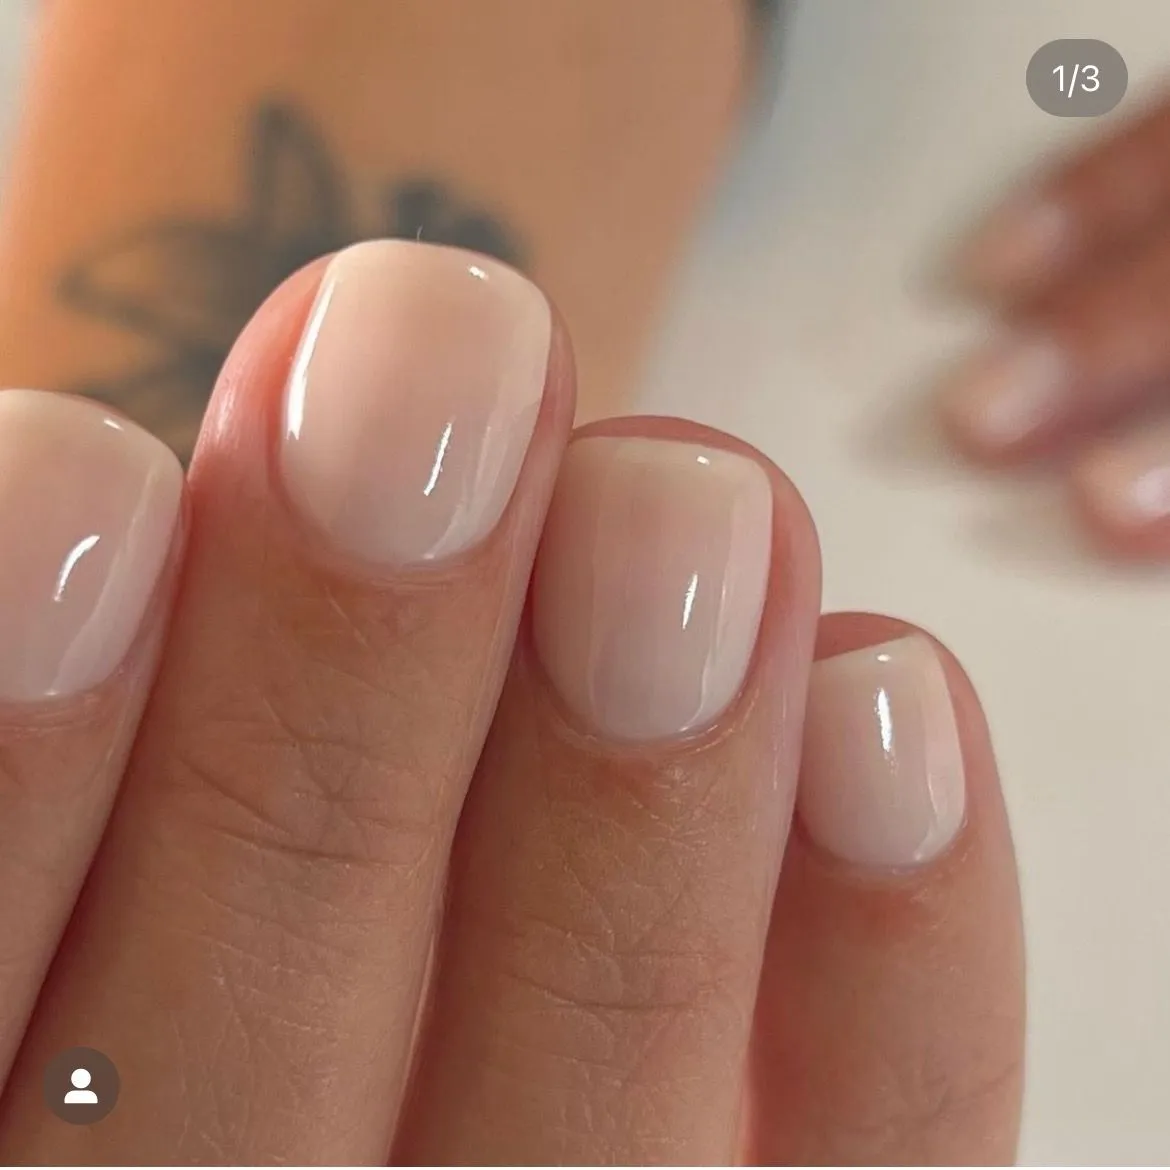
After your top coat has dried, take a moment to admire your new milky nails! Feel free to add any additional nail art or decorations to personalize your manicure even further.
Final Thoughts
Now that you’ve mastered the viral milky nails trend, you can show off your DIY skills to all your friends and followers. Remember, practice makes perfect, so don’t be afraid to experiment with different colors and techniques to create your own unique nail art designs.
Enjoy your beautiful milky nails, and happy DIY-ing!
You can review our digital products by following us on Etsy.


