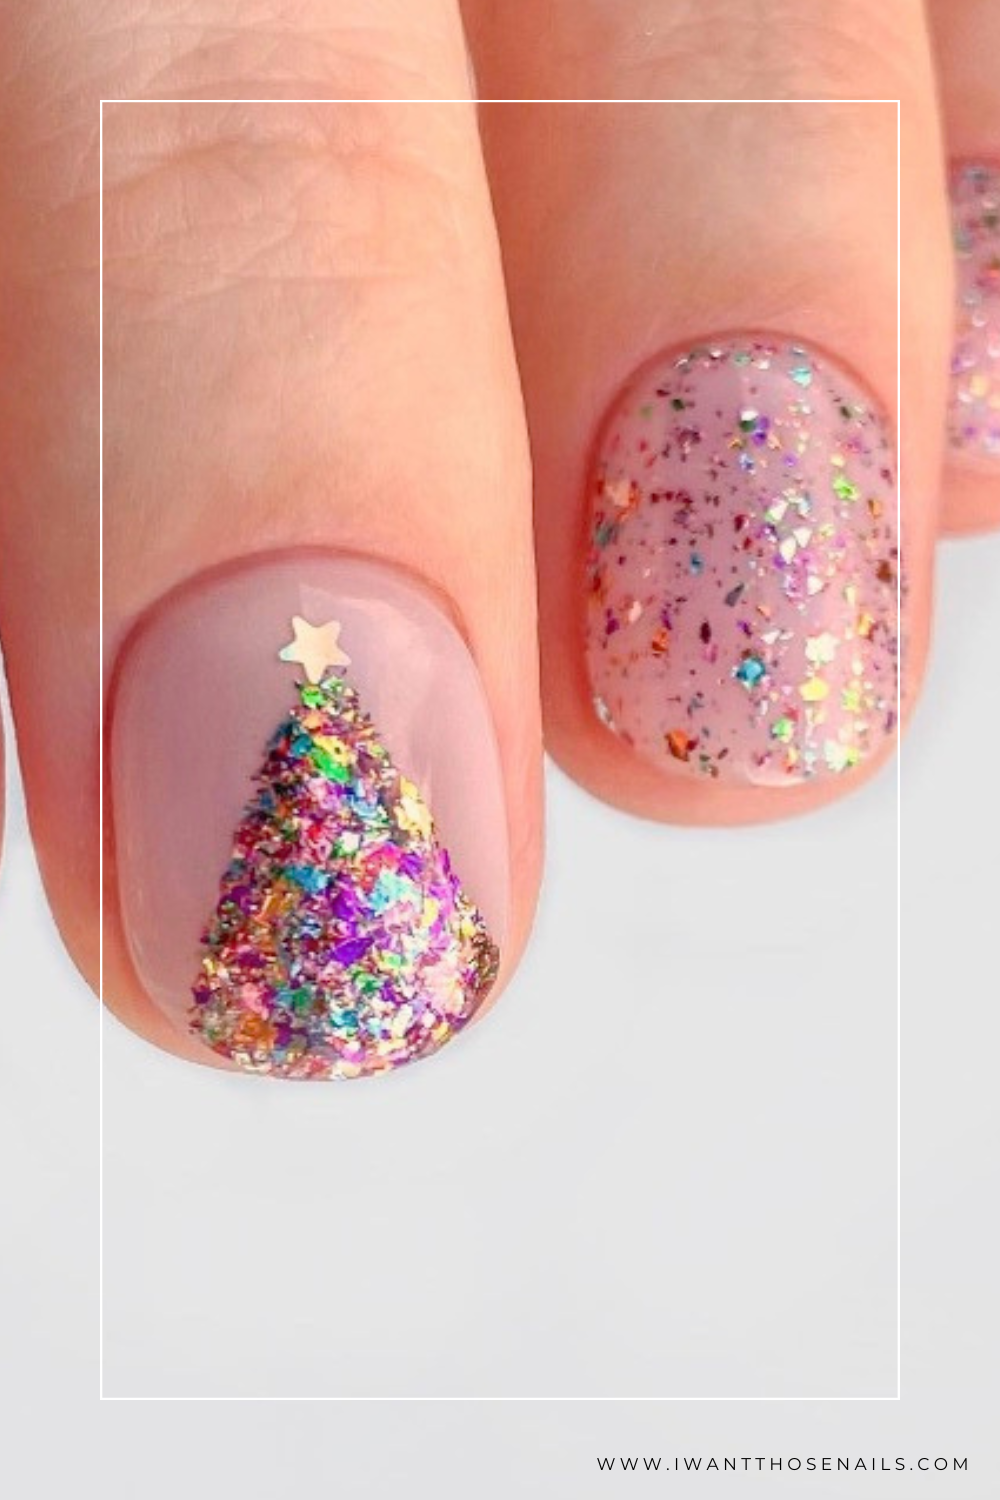

Glitter Christmas Tree Nail Designs
Looking for some festive nail art to rock this holiday season? Get ready to add some holiday glamour to your nails with glitter Christmas tree designs. Whether you’re planning to attend a holiday party or simply want to get into the festive spirit, these nail designs will surely help you stand out. Here are some suggestions on how to achieve this look!
1. Start with a Festive Base Color
Before adding the glitter Christmas tree designs, start by selecting a festive base color for your nails. Choose from classic holiday shades like deep red, emerald green, or shimmery gold. Apply a base coat to protect your nails, then apply two coats of the base color. Let them dry completely before moving on to the next step.
2. Create the Glitter Christmas Tree
Now it’s time to add the glitter Christmas tree designs to your nails. Use a thin nail art brush and green glitter nail polish to carefully create the outline of a Christmas tree on each nail. Start by painting a triangle shape for the tree, then add small lines to represent the branches. Once the outline is complete, fill in the tree with the green glitter polish, making sure to leave some space between the branches to create a realistic look.
3. Add Some Shimmer and Shine
Once the glitter Christmas tree designs are in place, it’s time to add some extra shimmer and shine to make them pop. Use a fine glitter nail polish in gold or silver to add a touch of sparkle to the tree. Apply the glitter polish to the edges of the tree branches and along the trunk to give it a festive and glamorous look.
4. Embellish with Festive Accents
To make your glitter Christmas tree designs even more eye-catching, consider adding some festive accents. You can use nail art rhinestones or small star-shaped confetti to decorate the tree and give it a more three-dimensional look. You can also add a small rhinestone at the top of the tree to represent a star or a crystal nail stud to add some extra bling.
5. Seal the Look with a Top Coat
Once you’re happy with your glitter Christmas tree designs, make sure to seal the look with a top coat. This will not only help protect the design but also give it a smooth and glossy finish. Apply a generous layer of top coat to each nail, making sure to cover the glitter and any embellishments to make them last through the holiday season.
With these easy steps, you can add some holiday glamour to your nails with glitter Christmas tree designs. Whether you’re a nail art pro or a beginner, these festive nail designs are sure to impress and get you into the holiday spirit. So go ahead and step up your nail game this holiday season!
You can review our digital products by following us on Etsy.


