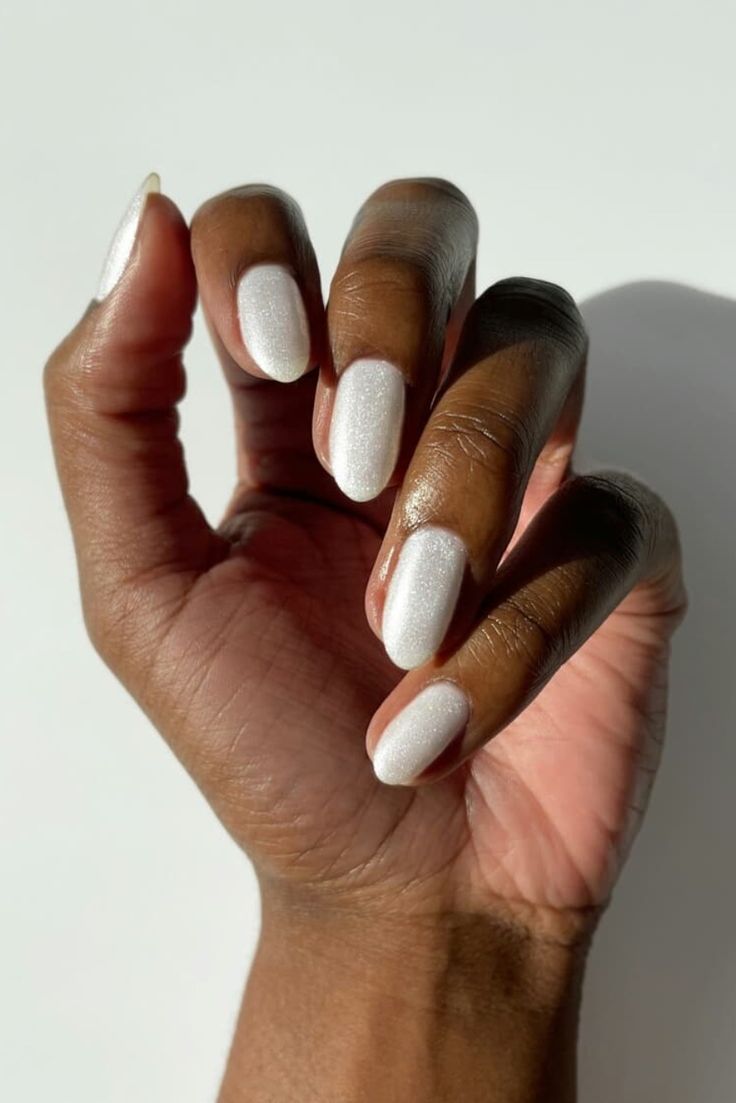
1. Snow Globe Nail Design
Create a festive snow globe nail design for the holidays. Start by choosing a light blue polish as the base color for the snow globe. Then, use a small nail art brush to create the outline of the snow globe on each nail. Fill in the circle with a clear or slightly iridescent nail polish to give it a glassy effect.
2. Snowflake Nail Art
To add a wintery touch to your snow globe nails, paint delicate snowflakes on each nail. Use a white nail polish and a thin nail art brush to create intricate snowflake designs. You can also use nail stickers or stencils for a quicker and easier application.
3. Snowy Scene
To complete the snow globe look, add a snowy scene inside the globe. Use a nail art brush to paint a snow-covered landscape with evergreen trees and a sprinkling of glitter to mimic falling snow. You can also add small snowman or reindeer decals for added festive charm.
4. Create a 3D Effect
To make your snow globe nails truly stand out, consider adding a 3D effect. You can use small beads or pearls to create the appearance of snow inside the globe. Apply a small dot of clear nail polish on the nail and use tweezers to carefully place the beads or pearls on top. Finally, seal the 3D elements with a clear top coat to ensure they stay in place.
5. Glitter Accents
Bring some sparkle and shine to your snow globe nails by adding glitter accents. You can use a glitter polish to create a shimmering effect on the snowflakes, the snowy landscape, or even the base of the snow globe. You can also use loose glitter to create a dazzling snow effect inside the globe.
6. Nail Care and Prep
Before starting your snow globe nail design, make sure to properly prep and care for your nails. File and shape your nails to your desired length and clean them thoroughly to remove any dirt or oils. Apply a base coat to protect your nails and create a smooth surface for the polish to adhere to.
7. Top Coat and Seal
Once you have completed your snow globe nail design, apply a high-quality top coat to seal in your design and add shine. This will also help protect your nails and prevent chipping. Allow your nails to fully dry before moving or touching anything to ensure your snow globe design stays intact.
By following these steps, you can create a stunning snow globe nail design that is perfect for the holiday season. Whether you do your nails at home or visit a professional nail salon, this festive and whimsical design is sure to be a hit and will add some cheer to your holiday celebrations.
You can review our digital products by following us on Etsy.


