
1. Choose the Perfect Shade of Red
When it comes to red Christmas nails, the shade you choose is crucial to achieving that festive glamour. Opt for classic red, deep burgundy, or even a metallic red for a shimmering effect. Consider your skin tone and personal style when selecting the perfect red nail polish for your holiday look.
2. Nail Shape and Length
Before you start painting your nails, consider the shape and length that best suits your preferences. Whether you prefer square, round, almond, or stiletto-shaped nails, make sure to trim and shape your nails to your desired look before applying the nail polish.
3. Prep Your Nails
Before applying the nail polish, it’s important to properly prep your nails. Start by removing any old polish and then washing your hands thoroughly. Use a nail file and buffer to shape and smooth the surface of your nails. Apply a base coat to protect your nails and help the polish adhere better.
4. Apply the Red Nail Polish
Once your nails are prepped and ready, it’s time to apply the red nail polish. Begin with a thin coat of polish, starting at the base of the nail and working your way to the tip. Allow the first coat to dry completely before applying a second coat for a more vibrant and opaque finish. Use a steady hand and take your time to ensure a neat application.
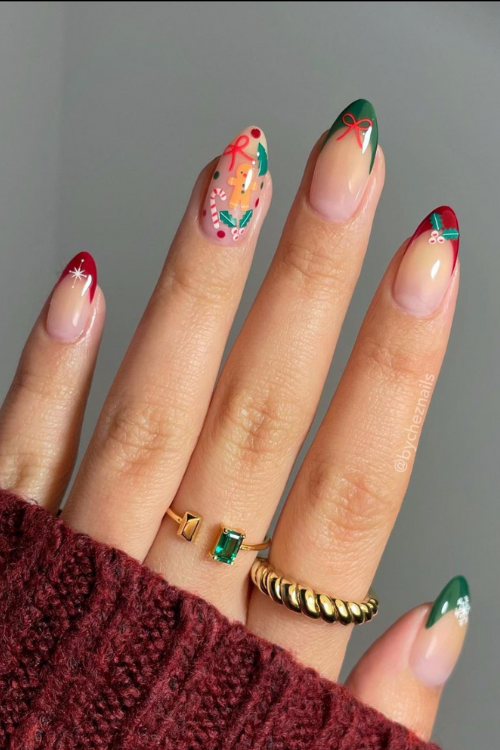
5. Add Some Festive Nail Art
To really bring the festive glamour to your red Christmas nails, consider adding some nail art. Whether it’s a simple glitter accent nail, a gold or silver nail sticker, or intricate holiday designs, nail art can take your manicure to the next level. Get creative and have fun with your festive nail art ideas.
6. Seal the Deal with a Top Coat
Once you’re satisfied with the color and design of your red Christmas nails, it’s important to seal the deal with a top coat. A top coat not only adds shine and prolongs the life of your manicure, but it also helps prevent chipping and peeling. Apply a generous layer of top coat and allow it to dry completely before using your hands.
7. Maintenance and Care
After completing your red Christmas nails, it’s important to take care of them to ensure they last throughout the holiday season. Avoid activities that may cause your manicure to chip or break, and use gloves when doing household chores. Keep a small bottle of nail polish and top coat on hand for touch-ups if needed.
8. Removal and Refresh
Once the holiday season has come to an end, it’s time to remove your red Christmas nails and give your nails a break. Use a gentle nail polish remover to take off the polish, then buff and moisturize your nails to keep them healthy. If you’re ready for a new look, consider refreshing your nails with a different color or design.
By following these simple steps, you can bring the festive glamour to your beauty routine with stunning red Christmas nails. Whether you’re attending holiday parties, exchanging gifts with loved ones, or simply embracing the season, your festive manicure is sure to make a statement. So, gather your red nail polish, unleash your creativity with some festive nail art, and get ready to shine this holiday season.
You can review our digital products by following us on Etsy.


