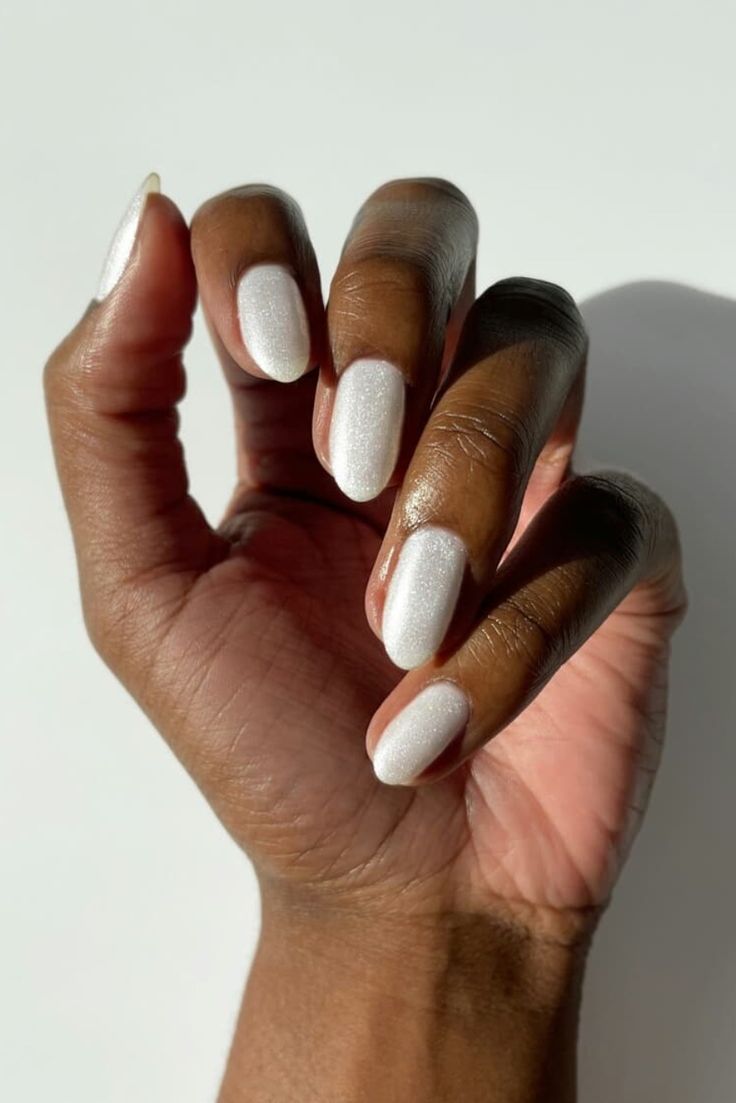
Christmas Nails Inspiration: Snow Globe
If you’re looking for a festive and unique nail design for the holiday season, why not try creating snow globe inspired nails? Here are some suggestions to help you achieve this fun and festive look.
Step 1: Gather Your Supplies
Before you begin, make sure you have all the necessary supplies on hand. This may include:
- Clear nail polish
- Glitter nail polish
- Nail art brush or toothpick
- Miniature holiday-themed figurines (such as snowmen, reindeer, or Christmas trees)
- Clear plastic nail tips or domed nail charms
- Nail glue
Step 2: Apply a Clear Base Coat
Start by applying a clear base coat to your nails to protect them and provide a smooth surface for the rest of the design.
Step 3: Add Glitter for a Sparkling Effect
Once the base coat is dry, apply a layer of glitter nail polish to create a sparkling snow-like effect on your nails.
Step 4: Create the Snow Globe Effect
Using a nail art brush or toothpick, carefully apply small dots and lines of clear nail polish to create the appearance of a snow globe on each nail. This will be the base for your miniature holiday scene.
Step 5: Place Your Miniature Figurines
Using nail glue, carefully attach your miniature holiday-themed figurines to the clear nail polish base, creating a charming winter wonderland scene on each nail.
Step 6: Seal with a Clear Top Coat
Once your snow globe scene is complete and the nail glue has dried, seal the design with a final layer of clear top coat to protect your festive nail art and ensure it lasts throughout the holiday season.
Final Tips
- Experiment with different colored glitter nail polishes to create a variety of snow globe effects.
- Consider adding small beads or rhinestones to your snow globe design for added sparkle and dimension.
- Have fun and get creative with your snow globe-inspired nails!
You can review our digital products by following us on Etsy.


