

Step 1: Gather your materials
Before you begin your nail art journey, make sure you have all the necessary materials. This includes a variety of nail polish colors, base coat, top coat, nail art brushes, nail polish remover, cotton pads, nail file, and nail stickers or gems if desired.
Step 2: Prep your nails
Start by removing any old nail polish and filing your nails to your desired shape. Make sure to push back your cuticles and trim any excess skin around the nails. Then, apply a base coat to create a smooth surface for your nail art.
Step 3: Choose your design
Now comes the fun part – choosing your nail art design! You can go for a simple pattern, like polka dots or stripes, or get creative with more intricate designs like floral patterns or geometric shapes. Once you’ve decided on a design, gather the appropriate nail polish colors and tools to bring your vision to life.
Step 4: Start with a simple design
If you’re new to nail art, it’s best to start with a simple design to practice your skills. One easy design to begin with is the classic French manicure. Use a light pink or nude color as the base and a white polish for the tips. You can use nail guides or tape to create a clean line for the tips.
Step 5: Add some flair
Once you’ve mastered the basics, it’s time to take your nail art to the next level. Experiment with different techniques like ombre, marbling, or gradient effects. You can also add dimension to your designs by incorporating nail stickers, gems, or 3D nail art decorations. The possibilities are endless!
Step 6: Finish with a top coat
After you’ve completed your nail art masterpiece, seal it in with a top coat. This will not only protect your design, but also add shine and dimension to your nails. Make sure to wait for your nail art to completely dry before applying the top coat to avoid smudging.
Step 7: Maintenance
Now that you’ve created stunning nail art, it’s important to maintain it. Be gentle with your hands and avoid activities that can chip or damage your nail art. If any touch-ups are needed, use a nail polish brush or nail art brush to fix any imperfections. Finally, moisturize your nails and cuticles to keep them healthy and strong.
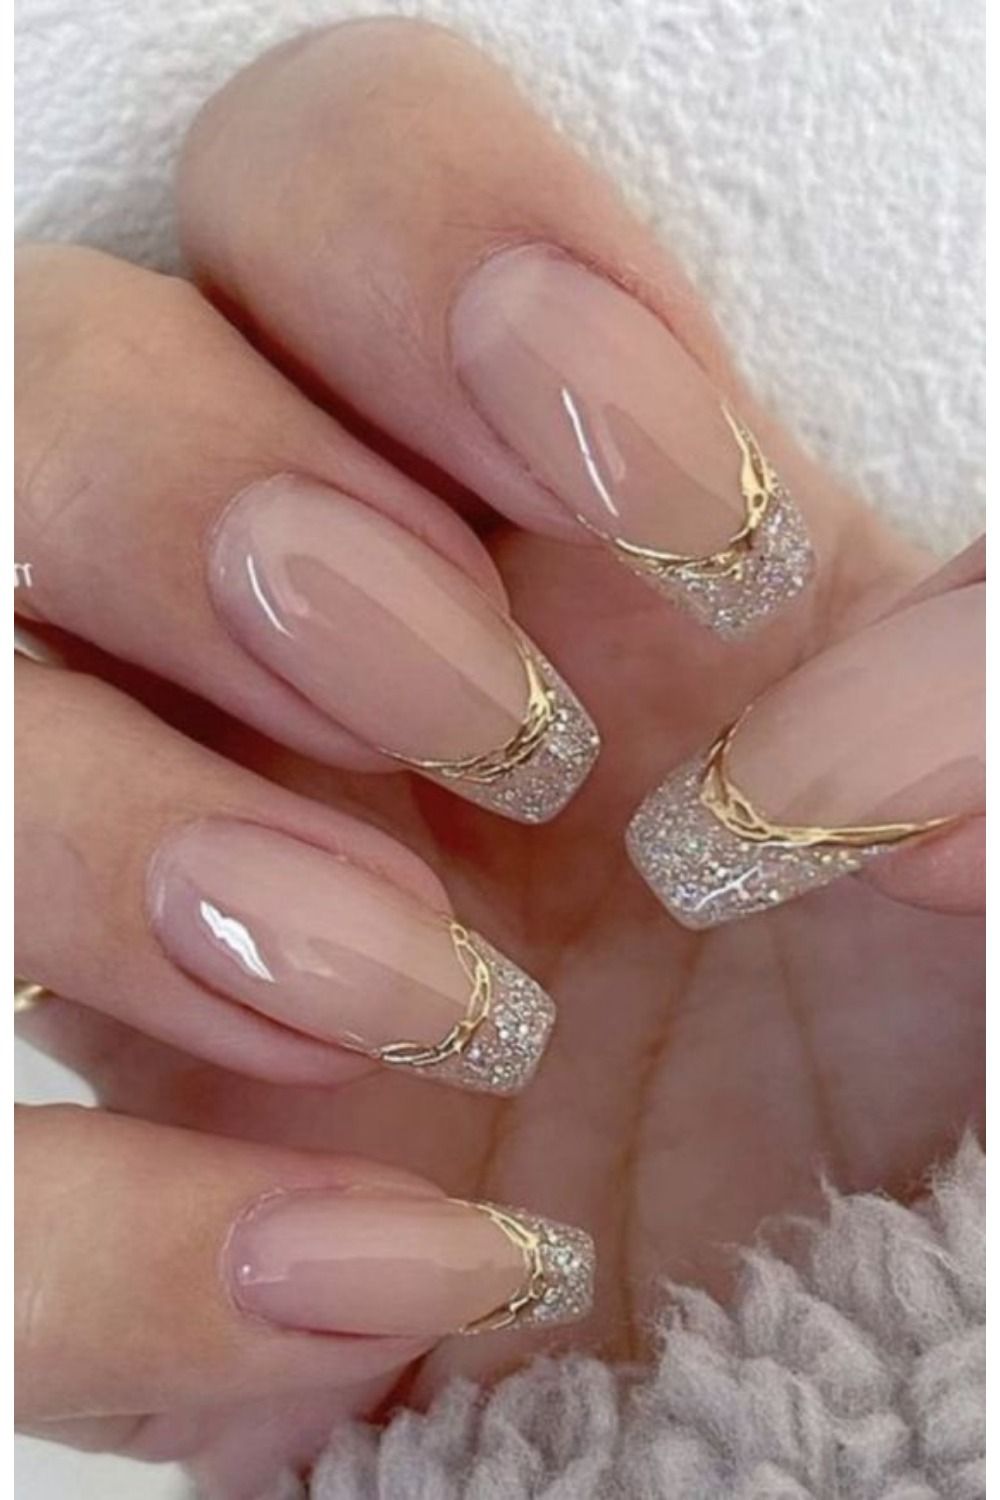
Step 8: Glam it up
If you’re feeling confident in your nail art skills, why not take it up a notch and add some glam? You can experiment with embellishments like glitter, metallic foils, or velvet flocking to elevate your nail art game. These extra touches will give your nails a dazzling and luxurious look.
Step 9: Be creative
Don’t be afraid to let your creativity shine! Nail art is an expressive and artistic form, so feel free to experiment with different colors, shapes, and textures. Whether you’re going for a simple, elegant look or a bold, statement-making design, the key is to have fun and express yourself through your nail art.
Step 10: Practice makes perfect
Like any skill, nail art takes practice to master. Don’t be discouraged if your first attempts aren’t perfect – keep practicing and experimenting to improve your technique. Watch tutorials, follow nail artists on social media, and stay updated on the latest trends to continue honing your nail art skills.
By following these step-by-step nail art tutorials, you can go from mastering the basics to creating glamorous and eye-catching designs. Have fun and express yourself through your unique nail art creations!
You can review our digital products by following us on Etsy.


