

Gather your supplies
To recreate the viral jelly nails trend at home, you will need the following supplies:
- Clear or sheer nail polish
- Jelly nail polish in your desired color
- Gel top coat
- Nail buffer
- Nail file
- Nail polish remover
- Cotton pads
- Small bowl of warm water
- Q-tips
- Orange stick or cuticle pusher
Prepare your nails
Before you start the jelly nails process, make sure your nails are clean and free from any old nail polish. Use a cotton pad soaked in nail polish remover to gently remove any existing polish. Then, shape your nails with a nail file and smooth the surface with a nail buffer for a clean canvas.
Apply a clear base coat
Start by applying a clear or sheer nail polish to your nails. This will act as a base for the jelly polish and help create a smooth and even surface for the jelly effect. Allow the base coat to dry completely before moving on to the next step.
Apply the jelly polish
Once the base coat is dry, it’s time to apply the jelly nail polish. Choose your desired color and apply a thin, even coat to each nail. For a more opaque jelly effect, you can apply a second coat after the first one has dried. Let the jelly polish dry completely before moving on to the next step.
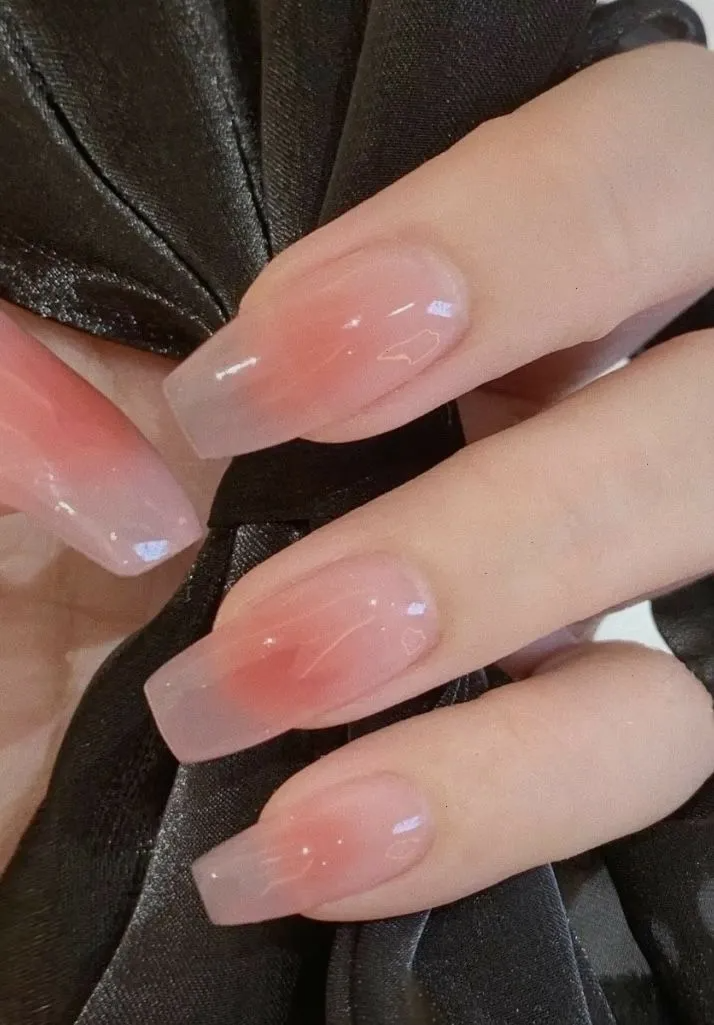
Create the jelly effect
To create the jelly effect, fill a small bowl with warm water. Once the jelly polish is dry, dip your nails into the warm water for a few seconds. Use a Q-tip or an orange stick to gently push back the jelly polish around the cuticles and sides of the nails for a clean finish. The warm water will help the jelly polish to spread and create a translucent, jelly-like effect on your nails.
Apply a gel top coat
Once you are happy with the jelly effect, apply a gel top coat to seal and protect the jelly polish. The gel top coat will also give your nails a high shine finish and help the jelly effect to stand out. Make sure to cap the free edge of your nails with the gel top coat to prevent chipping and peeling.
Final touches
After applying the gel top coat, let your nails dry completely. Once dry, use a cotton pad soaked in nail polish remover to clean up any excess polish around your cuticles for a professional and polished look. Enjoy your DIY jelly nails!
Following these simple steps and using the right supplies, you can easily recreate the viral jelly nails trend at home on a budget. Experiment with different jelly polish colors to create unique and eye-catching nail looks. With a little practice and creativity, you can achieve the trendy and fun jelly nails look without breaking the bank.
You can review our digital products by following us on Etsy.


