

Ready to achieve the trendy milky nails look? Follow these simple steps to create and maintain your milky nails mani at home!
Prep Your Nails
Start by removing any old polish and trimming your nails to your desired length. Use a gentle nail file to shape your nails and push back your cuticles for a clean canvas.
Apply Base Coat
Before applying the milky polish, be sure to use a base coat to protect your natural nails and help the color last longer. Allow the base coat to dry completely before moving on to the next step.
Choose Your Milky Polish
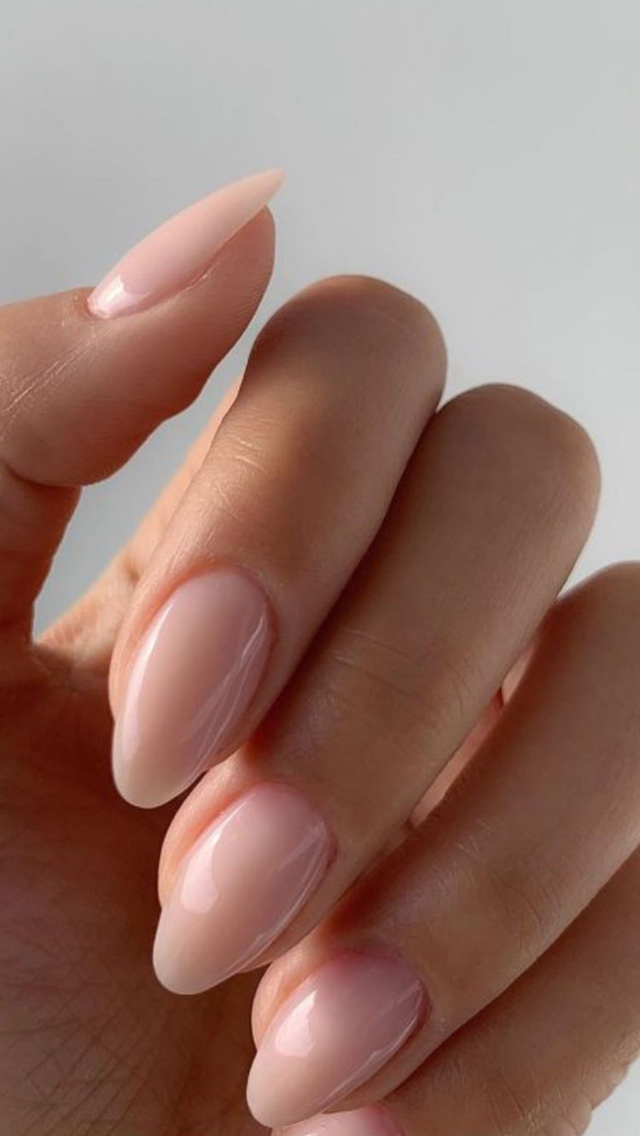
There are many different shades of milky polish to choose from, ranging from off-white to pale pink. Select a shade that complements your skin tone and personal style to achieve the perfect milky nails look.
Apply Milky Polish
Begin by applying a thin layer of milky polish to each nail, starting at the base and working your way to the tip. Allow the first coat to dry completely before applying a second coat for more opaque coverage.
Add a Glossy Top Coat
To finish off your milky nails mani, apply a glossy top coat to add shine and seal in the color. This will also help protect your manicure from chipping and peeling.
Maintain Your Mani
To keep your milky nails looking fresh and fabulous, be sure to touch up any chips or cracks with a matching milky polish. You can also reapply a top coat every few days to maintain the glossy finish.
With these simple steps, you can achieve and maintain the milky nails mani from the comfort of your own home. Experiment with different milky polish shades and have fun creating your own unique look!
You can review our digital products by following us on Etsy.


