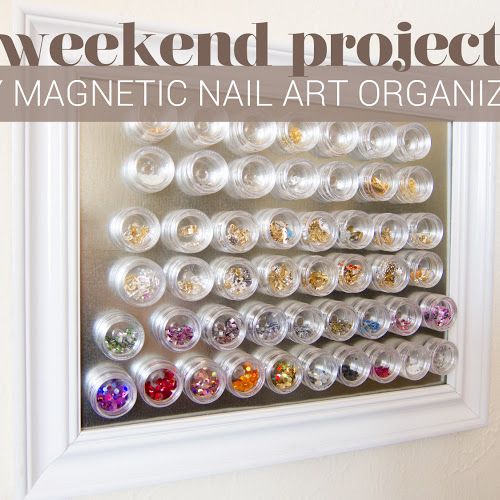


DIY Project: Magnetic Nail Art Organizer
Are you tired of digging through boxes and drawers to find your favorite nail art supplies? This DIY project will show you how to create a magnetic nail art organizer that will keep all your supplies easily accessible and organized. With just a few simple materials and some creativity, you can have a stylish and functional nail art organizer in no time!
Materials Needed
- Metal baking sheet
- Magnetic tape or sheets
- Fabric or patterned paper
- Scissors
- Glue
- Decorative ribbon
- Command strips or hooks
- Nail art supplies (nail polish, nail art pens, brushes, stickers, gems, etc.)
Step 1: Prepare the Metal Baking Sheet
Start by choosing a metal baking sheet that is large enough to hold all of your nail art supplies. You can find these at your local kitchen or home goods store. Clean the baking sheet thoroughly to remove any residue or grease. This will ensure that the magnetic tape or sheets adhere properly to the surface.
Step 2: Attach Magnetic Tape or Sheets
Cut the magnetic tape or sheets to fit the back of the metal baking sheet. Make sure to cover the entire back surface to ensure that your nail art supplies will stick securely. Adhere the magnetic tape or sheets to the baking sheet, following the manufacturer’s instructions.
Step 3: Customize the Front of the Organizer
Once the magnetic backing is in place, it’s time to customize the front of the organizer. You can cover the front surface of the baking sheet with fabric or patterned paper to add a decorative touch. Cut the fabric or paper to fit the dimensions of the baking sheet and use glue to secure it in place.
Step 4: Add Decorative Accents
To give your nail art organizer some extra flair, consider adding decorative ribbon around the edges of the baking sheet. This will not only add visual interest, but it will also help to conceal any rough edges from the fabric or paper. Use glue to attach the ribbon securely to the edges of the organizer.
Step 5: Mount the Organizer
Once your magnetic nail art organizer is fully customized, it’s time to mount it in your desired location. Use Command strips or hooks to secure the organizer to the wall, or you can attach it to the back of a door or inside a cabinet. Make sure to choose a location that is easily accessible and within reach while you are doing your nail art.
Step 6: Arrange Your Nail Art Supplies
Now that your organizer is mounted, it’s time to arrange your nail art supplies on the magnetic surface. You can use the magnetic backing to hold items such as nail polish, nail art pens, brushes, stickers, gems, and more. Arrange your supplies in a way that makes them easily accessible and visually appealing.
Step 7: Enjoy Your Organized Nail Art Space
With your magnetic nail art organizer in place, you can now enjoy a stylish and functional space for all of your nail art supplies. No more digging through drawers and boxes – everything you need will be right at your fingertips. Plus, the decorative accents and customization will add a personal touch to your nail art area.
With this DIY project, you can create a magnetic nail art organizer that not only keeps your supplies organized but also adds a decorative touch to your space. Whether you’re a nail art enthusiast or a professional nail technician, this organizer will make your nail art supplies easily accessible and visually appealing.
You can review our digital products by following us on Etsy.


