
If you’re looking for a fun and unique holiday decoration to add to your home this year, look no further than this DIY light-up melting snowman. This adorable project is the perfect way to bring some holiday cheer to your home, even if you live in a place where snowstorms and blizzards are a rarity. Not only is this project fun to make, but it also makes for a great conversation piece and will surely bring a smile to the faces of everyone who sees it.
Materials Needed:
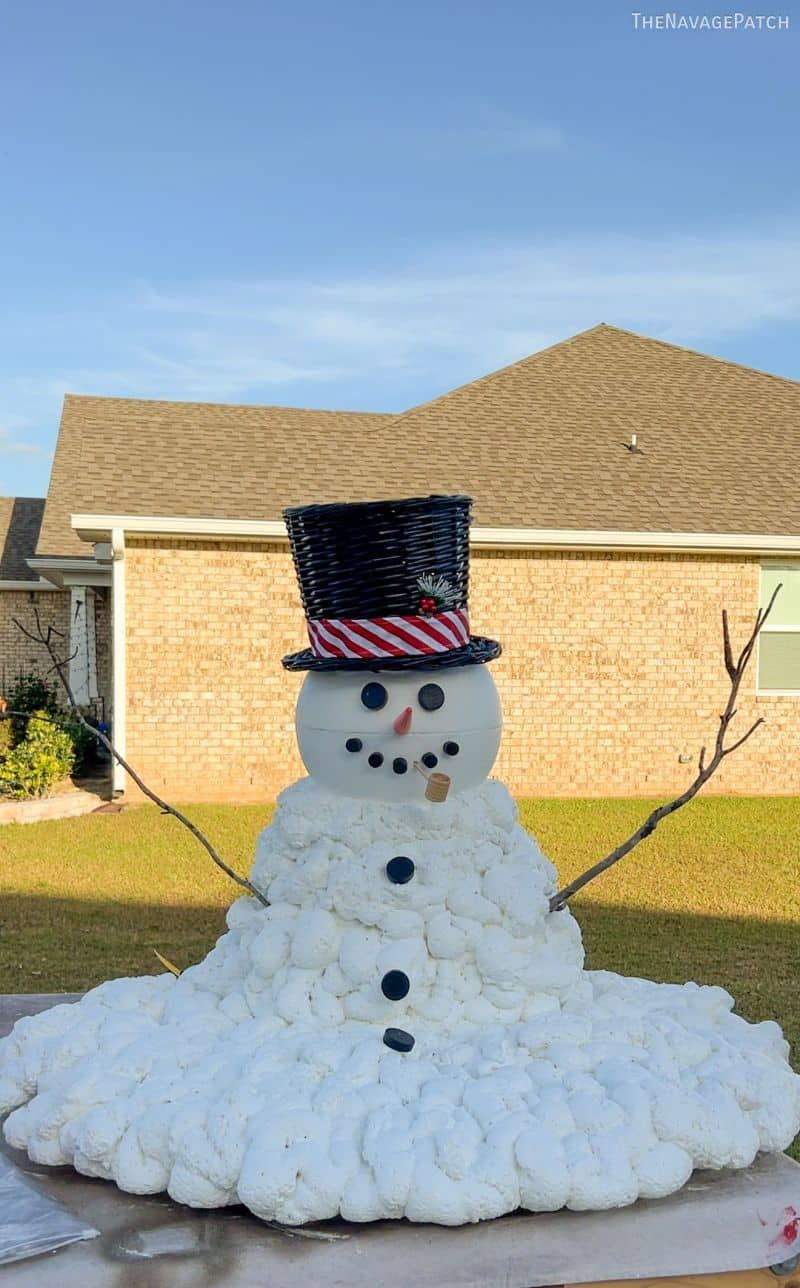
To make this DIY light-up melting snowman, you’ll need a few supplies. You’ll need a large plastic bucket to serve as the base of the snowman, as well as a smaller plastic bucket to serve as the head. You’ll also need some white paint, a string of white Christmas lights, a hot glue gun, and some basic crafting supplies like scissors and a permanent marker. Additionally, you’ll need some black and orange paint or markers for the snowman’s face, and some fabric for a scarf.
Steps to Create Your Melting Snowman
1. The first step in creating your light-up melting snowman is to paint the buckets. Start by painting the large bucket white to resemble the snowman’s body, and the smaller bucket white to resemble the snowman’s head. You may need to apply a few coats of paint to ensure that the buckets are completely covered.
2. Once the paint has dried, it’s time to add the details to the snowman’s face. Use a permanent marker to draw on the snowman’s eyes, mouth, and buttons, and use black and orange paint or markers to add the snowman’s nose and coal-like features. Get creative and give your snowman a unique look!
3. After the buckets are painted and the snowman’s face is complete, it’s time to assemble the snowman. Flip the large bucket upside down and place the smaller bucket on top of it, creating the illusion that the snowman is melting. Secure the buckets together using a hot glue gun, making sure the smaller bucket is centered on top of the larger one.
4. Next, it’s time to add the lights. Carefully poke holes in the larger bucket where you want the lights to go, and then insert the Christmas lights through the holes. You can use as many or as few lights as you’d like, but the more lights you use, the brighter and more festive your snowman will look.
5. Once the lights are in place, use the hot glue gun to secure the lights to the buckets and to keep them from slipping out of place. Make sure the cord for the lights is long enough to reach an outlet, and then plug in your snowman to bring it to life!
Adding the Finishing Touches
To complete your light-up melting snowman, add some finishing touches like a fabric scarf around the snowman’s “neck” and perhaps even a small hat on top of his head. You can also add some fake snow or glitter to the buckets to give the appearance of melting snow.
By following these simple steps, you can create a one-of-a-kind holiday decoration that is sure to impress your friends and family. Not only is this light-up melting snowman fun to make, but it’s also a great way to bring some holiday cheer to your home, no matter where you live. So gather your supplies and get creative – your new favorite holiday decoration is just a few steps away!
You can review our digital products by following us on Etsy.


