

How to Create Almond Gel Nails
Almond gel nails are a chic and versatile nail shape that looks great on everyone. Whether you’re going for a classic nude almond gel nail or a bold and colorful design, there are endless possibilities to choose from. Here are a few ideas to help you achieve the almond gel nails of your dreams.
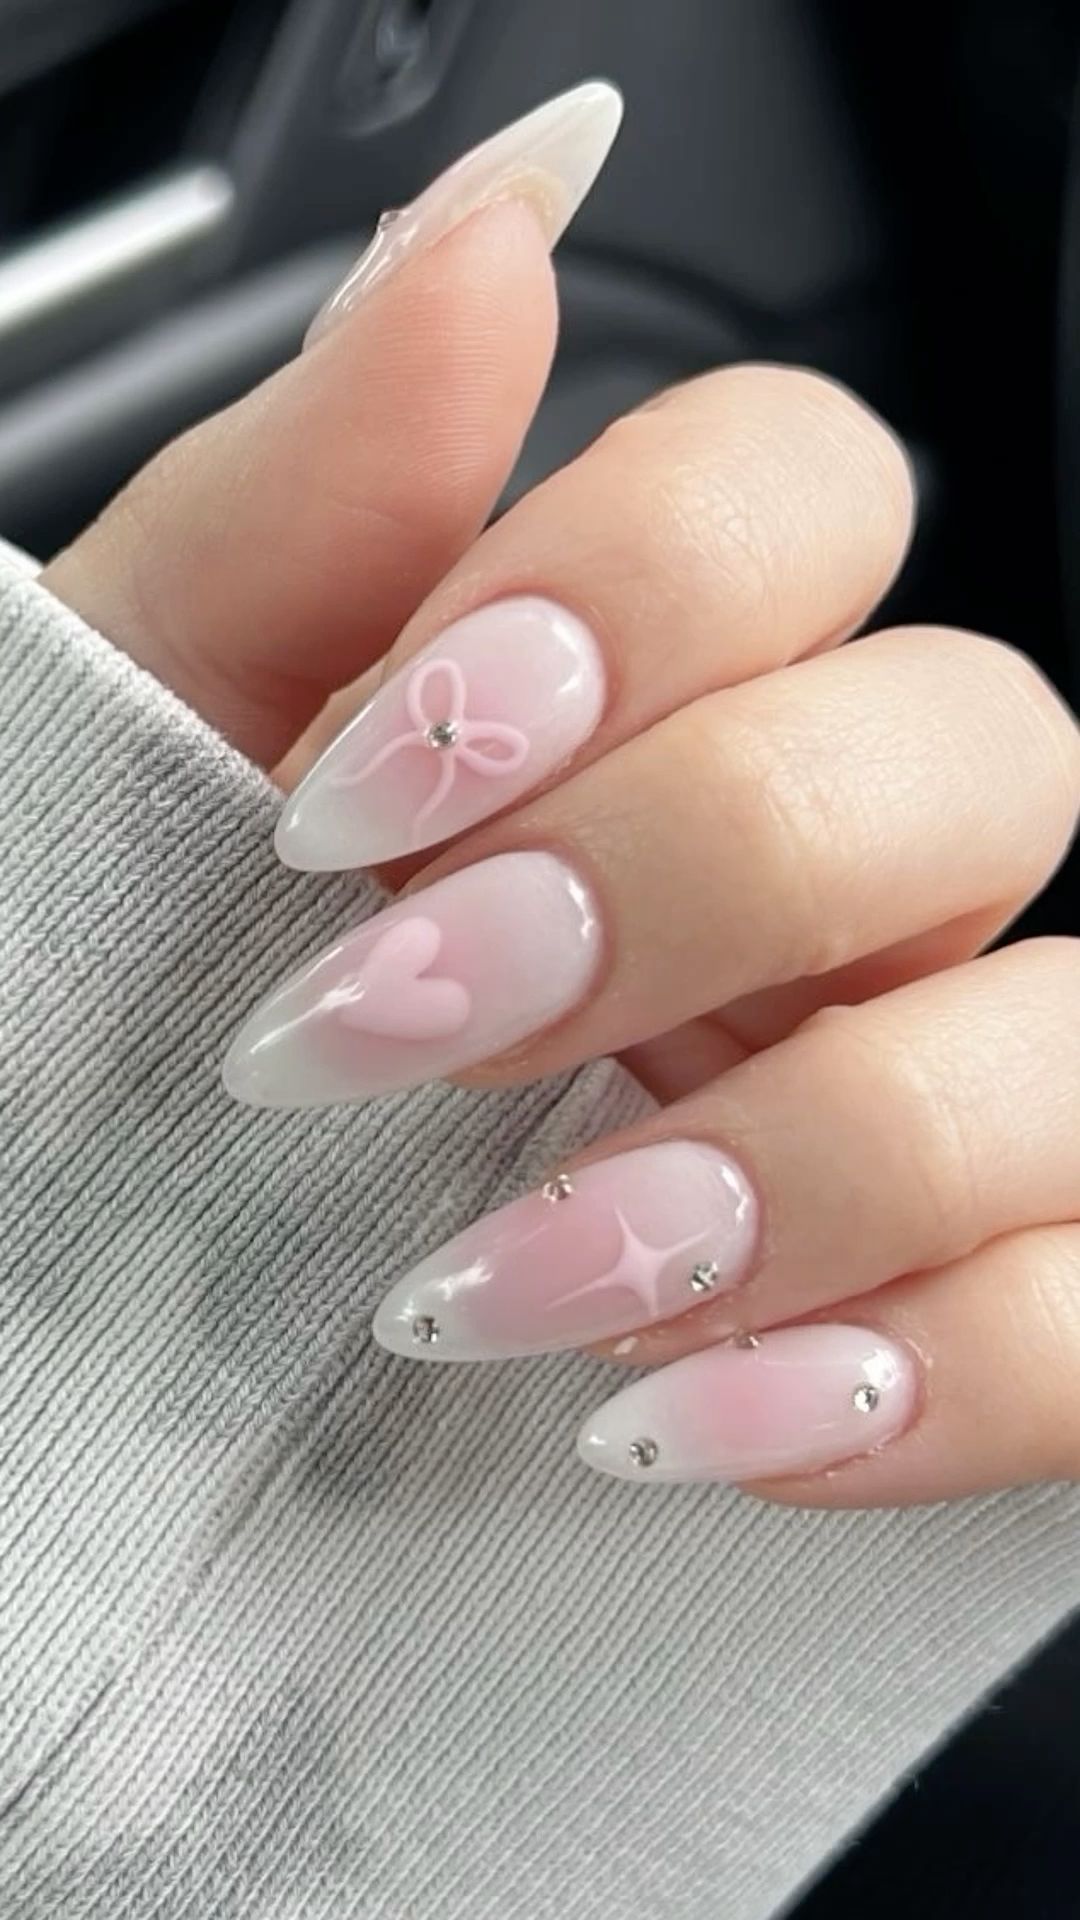
1. Start with the Right Shape
The first step to creating almond gel nails is to shape your nails into the desired almond shape. To do this, file the sides of your nails at an angle, creating a point at the tip. You can use a nail file or an electric nail file for more precision. Make sure to file in one direction to avoid damaging the nail and create a more symmetrical shape.
2. Prep Your Nails
Before applying the gel polish, it’s important to prep your nails. Start by pushing back your cuticles and trimming any excess skin around the nails. Then, lightly buff the surface of your nails to remove any shine and create a rough texture for the gel polish to adhere to. Finally, cleanse your nails with alcohol to remove any oils or residue.
3. Choose Your Gel Colors
One of the best things about almond gel nails is that you can experiment with different colors and designs. Whether you opt for a classic nude, a bold red, or a trendy ombré effect, the choice is yours. Gel nail polishes come in a variety of shades and finishes, so pick the colors that best reflect your style and personality.
4. Apply the Gel Polish
Once your nails are prepped and you’ve chosen your colors, it’s time to apply the gel polish. Start with a thin layer of base coat and cure it under a UV or LED lamp according to the manufacturer’s instructions. Then, apply 1-2 coats of your chosen gel color, curing each layer under the lamp. For a more intricate design, you can also use nail art brushes and dotting tools to create patterns or accents.
5. Finish with Top Coat
To seal and protect your almond gel nails, finish with a layer of top coat. This will add shine and longevity to your manicure, as well as prevent chipping and peeling. Cure the top coat under the lamp and then cleanse your nails with alcohol to remove any residue and reveal a high-gloss finish.
6. Maintain and Protect
Now that you’ve achieved your almond gel nails, it’s important to maintain and protect them. Keep your nails hydrated with cuticle oil and moisturizing hand cream. Use gloves when doing household chores or working with harsh chemicals to prevent damage to your manicure. And if any chips or cracks do occur, you can easily touch up your nails with additional gel polish.
Get Inspired with These Almond Gel Nail Ideas
Still need some inspiration for your almond gel nails? Here are 65 stunning almond gel nail designs to spark your creativity:
- Nude Almond Gel Nails
- Matte Black Almond Gel Nails
- Chrome Almond Gel Nails
- Glitter Ombré Almond Gel Nails
- Marble Almond Gel Nails
- French Tip Almond Gel Nails
- Floral Almond Gel Nails
- Geometric Almond Gel Nails
- Rainbow Almond Gel Nails
- And so much more!
With these ideas in mind, you’ll be well on your way to creating almond gel nails that you’ll absolutely love. Experiment with different colors, designs, and techniques to find the perfect almond gel nails that suit your style. And don’t forget to share your fabulous manicure on social media to inspire others!
You can review our digital products by following us on Etsy.


