

What You’ll Need:
- White nail polish
- Clear gel polish
- Opaque nail polish in a pastel color
- Topcoat
- Nail buffer
- Small bowl of room temperature water
- Nail polish remover
- Cotton pads
Step 1: Prepare Your Nails
Start by removing any old nail polish and shaping your nails to your desired length and style. Use a nail buffer to gently buff the surface of your nails, which will help the polish adhere better.
Step 2: Apply White Base Coat
Apply a layer of white nail polish to each nail and allow it to dry completely. This will serve as the base for the milky effect.
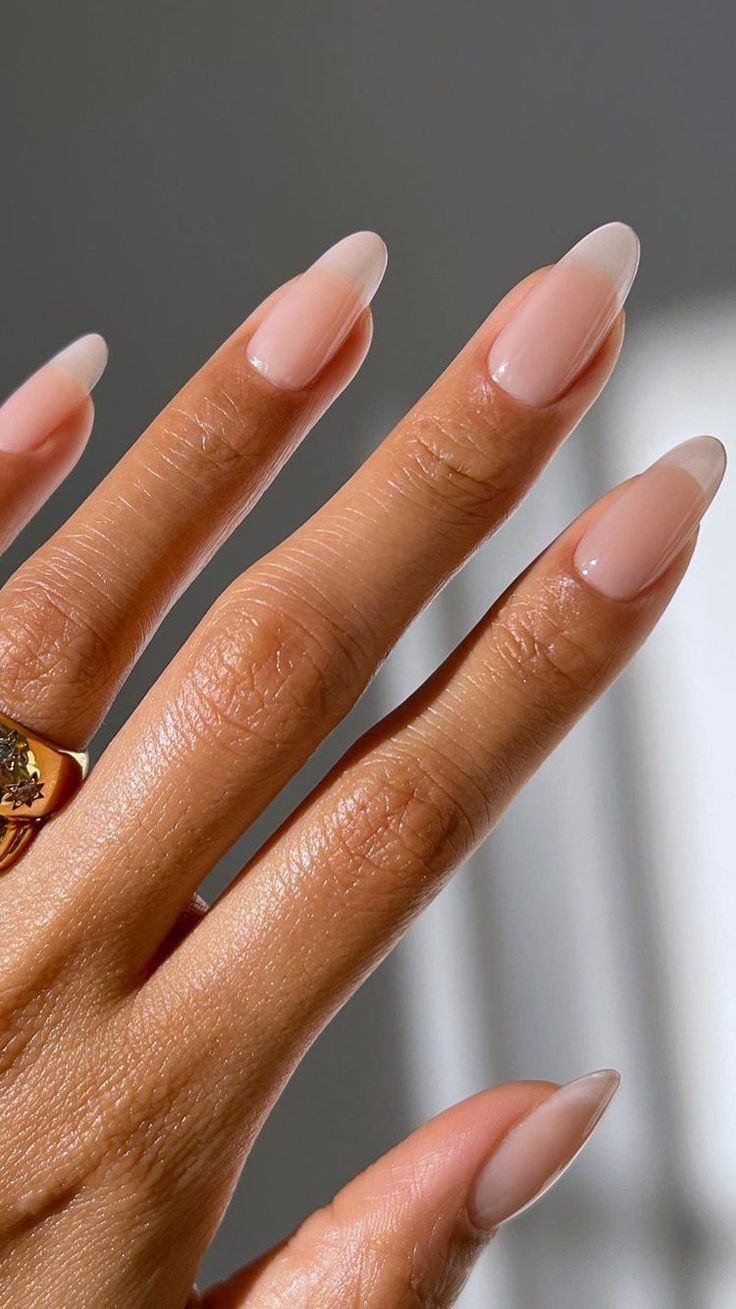
Step 3: Create The Milky Effect
Fill a small bowl with room temperature water. Once your white base coat is dry, apply a few drops of opaque pastel nail polish to the surface of the water. Use a toothpick to create swirls and marble patterns in the polish.
Step 4: Dip Your Nails
Once you’ve created the desired pattern in the water, gently lower your nails into the water, one at a time. The polish should adhere to your nails and create a unique milky effect. Wait for the polish to fully dry before moving on to the next step.
Step 5: Apply Clear Gel Polish
Once your nails are dry, apply a layer of clear gel polish to seal in the milky effect. This will also give your nails a glossy finish.
Step 6: Final Touches
Finish off the look with a topcoat to protect your new manicure and add extra shine. Clean up any excess polish around the edges of your nails with a small brush dipped in nail polish remover.
Tips for Success:
- Use room temperature water for best results.
- Work quickly when creating the marble pattern in the water to ensure the polish doesn’t dry before you dip your nails.
- Experiment with different colors to create a custom milky nail look.
- Take your time and be patient – practice makes perfect!
Conclusion
By following these simple steps, you can easily recreate the viral milky nails trend at home on a budget. With just a few basic nail polish colors and some creativity, you can achieve a professional-looking manicure that’s sure to turn heads. Have fun experimenting with different colors and patterns to customize your milky nails to your personal style. Happy DIY-ing!
You can review our digital products by following us on Etsy.


