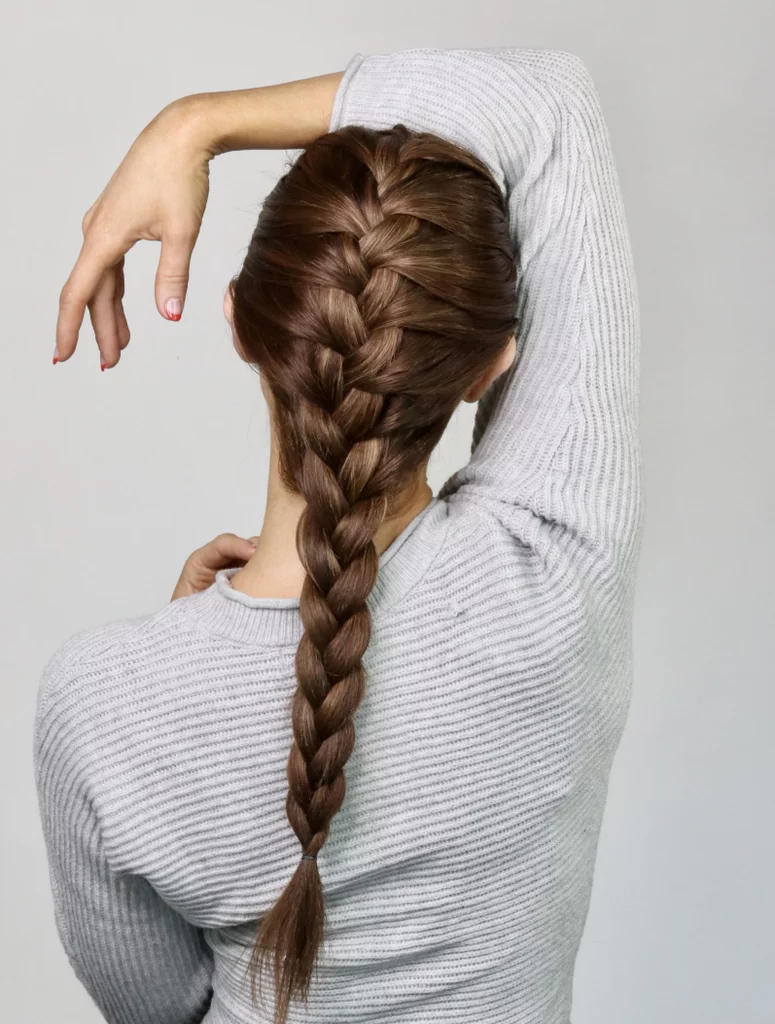
How to French Braid Your Own Hair: A Step-By-Step Tutorial
Learning how to French braid your own hair can seem intimidating at first, but with the right guidance, it can be a fun and easy skill to master. French braids are versatile and can be worn for any occasion, making them a valuable addition to your hairstyling repertoire.
In this step-by-step tutorial, we will walk you through the process of creating a French braid hairstyle at home, using easy-to-follow instructions and helpful photos.
What You’ll Need:
– Hairbrush
– Hair elastic
– Hair product (optional)
– Mirror
– Patience and practice
Before you begin, make sure your hair is tangle-free and smooth. You may also want to apply a small amount of hair product to help control any flyaways and provide extra hold to your braid. Additionally, having a mirror in front of you will make it easier to see what you’re doing as you braid.
Step 1: Start with a small section of hair
Begin by parting your hair as desired. Then, take a small section of hair near the crown of your head and divide it into three equal parts – left, middle, and right.
Step 2: Cross the outer sections over the middle section
Starting with the right section, cross it over the middle section. Then, take the left section and cross it over the middle, swapping places with the right section. This is the foundation of the French braid.
Step 3: Add more hair to each section
As you continue braiding, add more hair to each section before crossing it over the middle. For example, when you cross the right section over the middle, gather a small section of hair from the right side of your head and incorporate it into the right section before crossing it over. Repeat this process on the left side, gathering a small section of hair and adding it to the left section before crossing it over the middle.
Step 4: Keep braiding and adding hair until you reach the nape of your neck
Continue braiding in this manner, adding more hair to each section as you go along. As you reach the nape of your neck, you should have incorporated all of the loose hair into the braid.
Step 5: Finish with a regular braid
Once all the loose hair has been braided, continue with a regular braid (crossing the outer sections over the middle) until you reach the ends of your hair. Secure the braid with a hair elastic.
Step 6: Adjust and secure the braid
Gently tug on the sides of the braid to loosen it and create a fuller, more textured look. You can also secure any flyaways with bobby pins or additional hair product if desired.
Learning how to French braid your own hair may take some practice, but with dedication and patience, you’ll soon be able to create this classic hairstyle with ease. Whether you’re heading to a formal event or simply want to add a touch of elegance to your everyday look, the French braid is a timeless and versatile hairstyle that anyone can master. So, grab your hairbrush and some elastics, and start practicing your French braiding skills today!
You can review our digital products by following us on Etsy.


