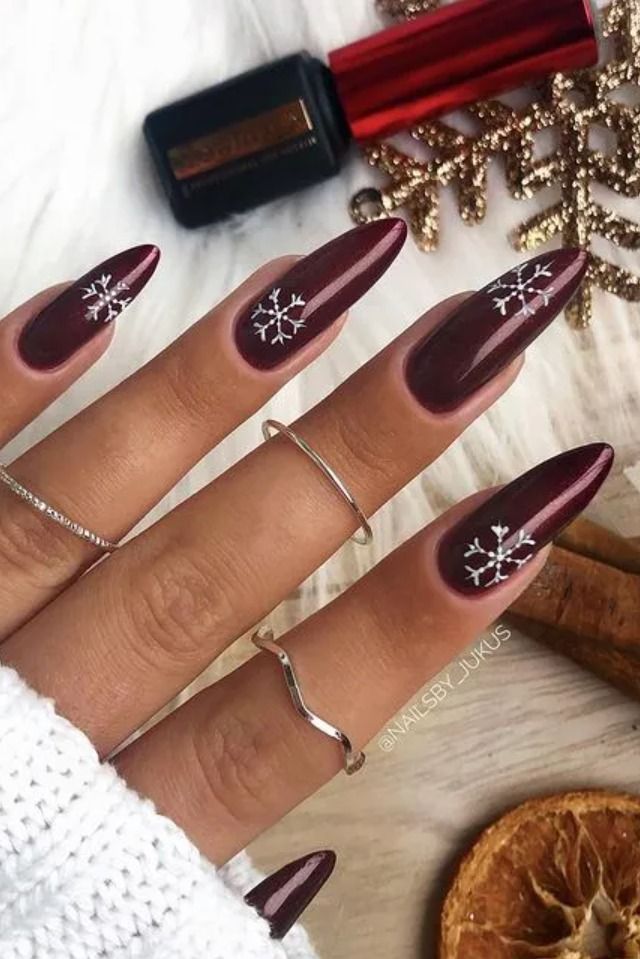


Red Christmas Snowflake Nails: A Festive Nail Art Tutorial
Looking to add some festive flair to your nails this holiday season? Why not try creating beautiful red Christmas snowflake nails! In this tutorial, we’ll walk you through step-by-step instructions on how to achieve this stunning and seasonal nail art look. From gathering your supplies to creating intricate snowflake designs, we’ve got you covered.
Supplies You’ll Need
- Red nail polish
- White nail polish
- Small nail art brush
- Dotting tool or toothpick
- Top coat
- Nail polish remover
- Cotton balls
Step 1: Prep Your Nails
Start by preparing your nails for the nail art process. Remove any old nail polish using nail polish remover and a cotton ball. Next, shape and file your nails to your desired length and style. Apply a base coat to protect your nails and help the polish adhere better.
Step 2: Apply Red Polish
Once your base coat has dried, apply two thin coats of red nail polish to each nail. Allow each coat to dry completely before moving on to the next step.
Step 3: Create Snowflake Designs
Using a small nail art brush or a toothpick, dip it into white nail polish and carefully create snowflake designs on each nail. Start by creating a small “x” shape in the center of the nail, then add lines and dots to create the snowflake effect. You can also use a dotting tool to create smaller dots to complete the snowflake design.
Step 4: Add Detail and Accents
Once the snowflake designs have dried, you can add some extra detail and accents to make the design pop. You can use a silver or gold nail polish to add some sparkle to the snowflakes, or even add some rhinestones or glitter for some extra bling.
Step 5: Apply Top Coat
To seal in your design and add a glossy finish, apply a top coat to each nail. This will help protect the nail art and keep it looking fresh for longer.
Final Thoughts
There you have it – beautiful red Christmas snowflake nails perfect for the holiday season! With these easy steps and a little bit of creativity, you can achieve a festive and fun nail art look that will be sure to impress. Don’t be afraid to get creative and add your own unique touches to make this design your own. Whether you’re attending a holiday party or just want to feel festive, these nails are the perfect accessory to show off your Christmas spirit.
So, gather your supplies, set aside some time, and give this festive nail art tutorial a try. Your nails will be looking merry and bright in no time!
You can review our digital products by following us on Etsy.


