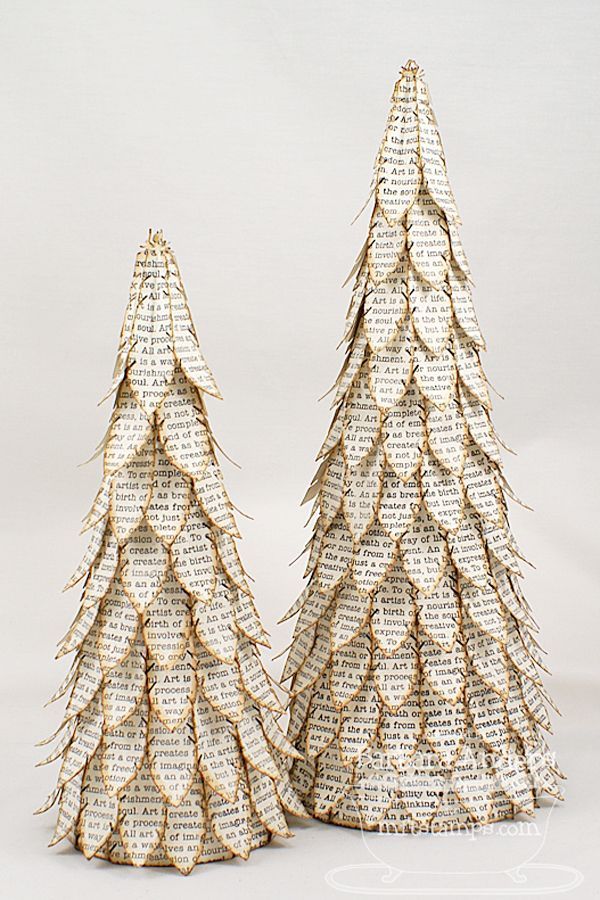
Mini Christmas trees are a great way to add some festive cheer to your home, and they are also a fun and affordable DIY project for the whole family. Whether you are looking to add a touch of Christmas to your office desk or want to create a mini Christmas tree forest on your mantle, these simple DIY mini Christmas trees are perfect to include every year with your Christmas decorations.
Materials Needed:
– Cone-shaped foam or cardboard
– Green felt or fabric
– Hot glue gun
– Small ornaments or embellishments
– Scissors
– Ribbon or garland
– Small pot or container
– Decorative rocks or sand
– String lights (optional)
Choosing the Right Materials:
When making a DIY mini Christmas tree, it’s important to choose the right materials. Cone-shaped foam or cardboard is a great base for your mini tree, and you can easily find them at any craft store. Green felt or fabric is perfect for covering the foam or cardboard, and you can choose a shade of green that matches your holiday decor. A hot glue gun is essential for attaching the fabric to the foam or cardboard, and for adding any embellishments or ornaments.
Creating the Base of the Tree:
Choosing the Right Base
The first step in creating your DIY mini Christmas tree is to choose the right base. You can use cone-shaped foam or cardboard as the base for your tree. If you choose to use foam, you can easily cut and shape it to create the perfect tree shape. If you use cardboard, you can simply roll it into a cone shape and secure it with tape or glue.
Covering the Base:
Wrapping the Base
Once you have your base, it’s time to cover it with green felt or fabric. Cut the fabric into strips and use a hot glue gun to attach it to the base. Start at the bottom and work your way up, wrapping the fabric around the base and securing it with glue as you go. Make sure to smooth out any wrinkles or bumps as you wrap to create a clean and seamless look.
Adding Decorative Touches:
Embellishing the Tree
Once you have covered the base with fabric, it’s time to add some decorative touches to your mini Christmas tree. Use a hot glue gun to attach small ornaments, ribbon, or garland to the tree. You can also add a star or other tree topper to the top of the tree for a festive finishing touch.
Creating a Mini Tree Forest:
Displaying Your Mini Trees
Once you have created your DIY mini Christmas trees, it’s time to display them in your home. You can place them on your mantle, on a side table, or even create a mini tree forest by displaying several trees together. If you want to add an extra festive touch, you can use string lights to add some sparkle to your mini trees.
Maintaining Your Mini Trees:
Caring for Your Mini Trees
One of the great things about DIY mini Christmas trees is that they can be easily stored and reused year after year. When the holiday season is over, simply carefully pack the trees away in a box or container to keep them in good condition for the following year. With proper care, your DIY mini Christmas trees can become a beloved part of your holiday decor for many years to come.
In conclusion, DIY mini Christmas trees are a fun and easy way to add some festive cheer to your home. By choosing the right materials, covering the base with fabric, adding decorative touches, creating a mini tree forest, displaying your mini trees, and maintaining them for future use, you can create the perfect DIY mini Christmas trees to include every year with your holiday decorations.
With a little time and creativity, you can create beautiful mini trees that will add a special touch to your holiday decor. So gather your materials and get ready to craft the perfect mini Christmas trees for your home!
You can review our digital products by following us on Etsy.


