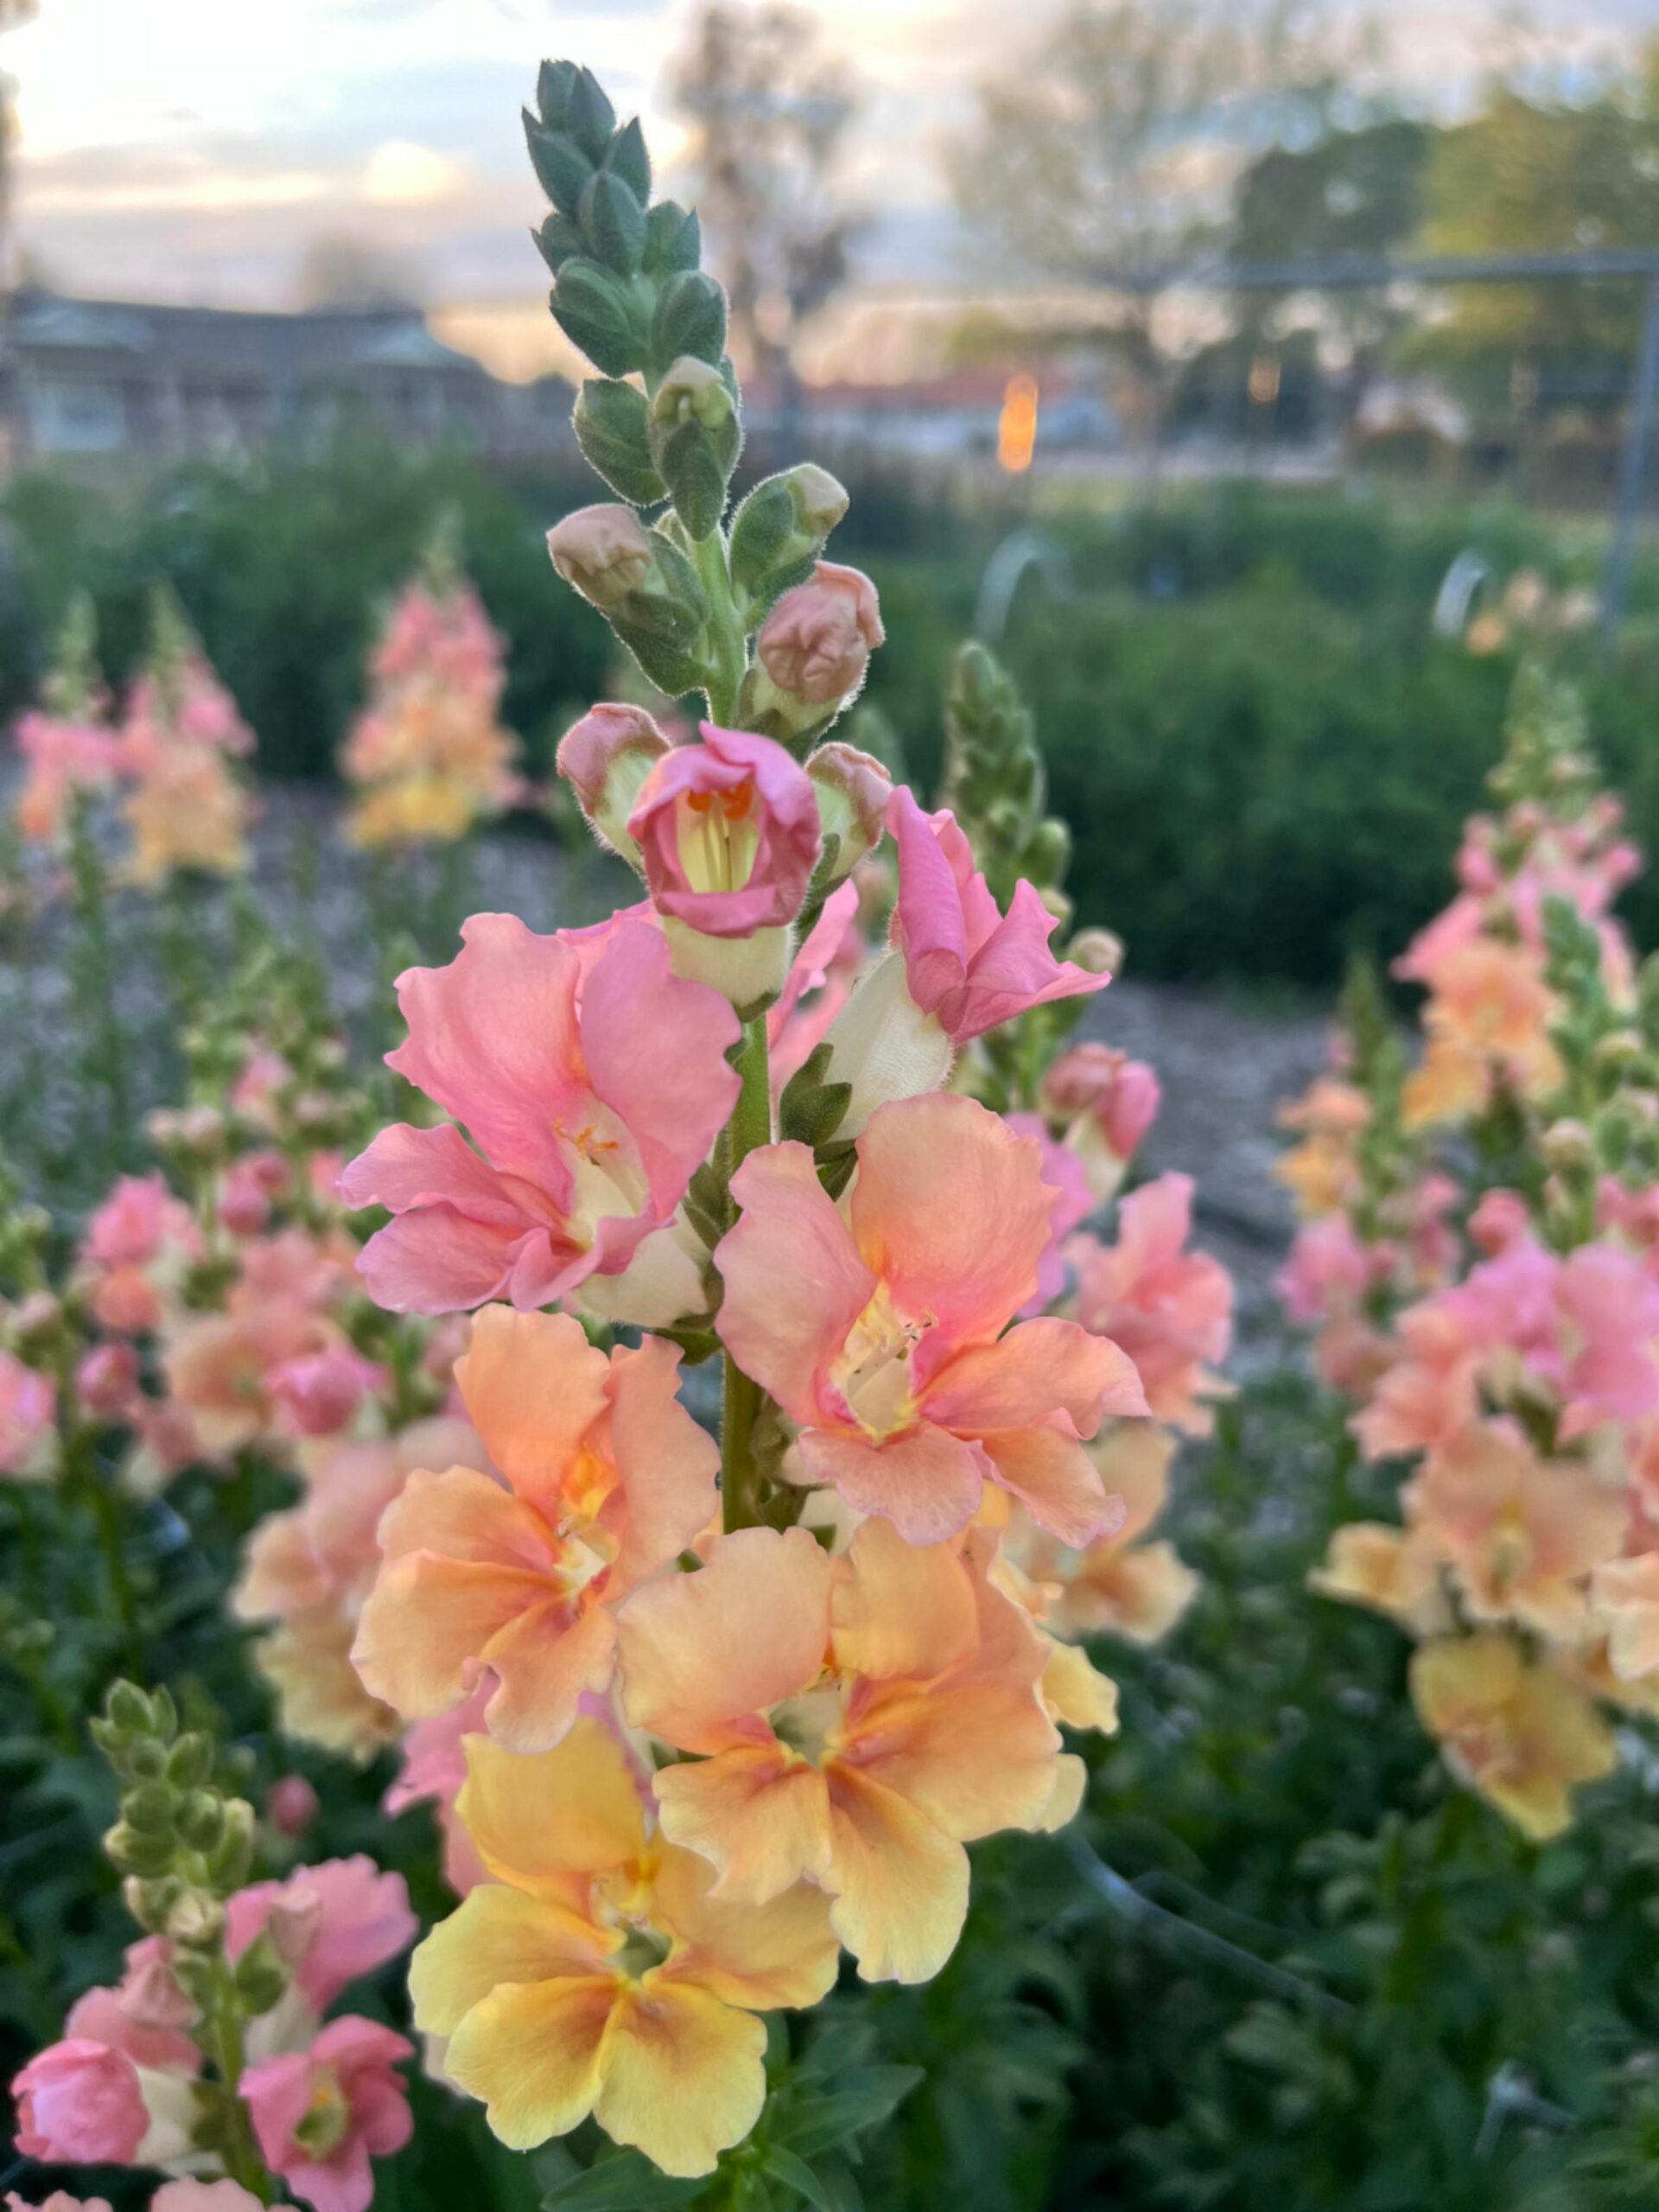
How to Successfully Grow Group One Snapdragons
If you’re looking to add some vibrant colors to your garden in the cooler months, Group One snapdragons are a great choice. However, these particular snapdragons can be a bit trickier to start from seed compared to other groups. But with the right knowledge and techniques, you can successfully grow beautiful Group One snapdragons in your garden.
Preparing the Seeds
To increase the chances of successful germination, it’s recommended to place the Group One snapdragon seeds in the fridge for a few weeks before sowing them. This process, known as stratification, helps mimic the natural conditions that the seeds would experience in the wild. By chilling the seeds, you are essentially tricking them into thinking they have gone through a winter period, which can improve germination rates.
Sowing the Seeds
Once the seeds have been stratified, it’s time to sow them. Group One snapdragon seeds should be sown indoors in September or October. Start by filling a seed tray with a well-draining seed starting mix. Moisten the mix, but be careful not to make it too wet as this can cause the seeds to rot. Gently press the seeds into the surface of the soil, but do not cover them with additional soil as snapdragon seeds require light to germinate.
Providing the Right Conditions
After sowing the seeds, place the seed tray in a warm location that receives plenty of sunlight. Group One snapdragons prefer cooler temperatures, so make sure to keep the seedlings in a room that stays around 60-70 degrees Fahrenheit. Keep the soil consistently moist, but again, be careful not to overwater as this can lead to damping off.
Transplanting the Seedlings
Once the seedlings have developed their first true leaves, they can be transplanted into individual pots. Use a well-draining potting mix and make sure to water the seedlings thoroughly after transplanting. Group One snapdragons can be sensitive to transplant shock, so it’s important to handle them carefully and provide them with the right conditions to help them adjust to their new pots.
Caring for Your Snapdragons
As your Group One snapdragons continue to grow, make sure to provide them with regular water and fertilization. Snapdragons are heavy feeders, so consider using a balanced fertilizer to help promote healthy growth and blooming. Deadhead spent flowers to encourage new blooms and keep your snapdragons looking their best.
Common Issues and Troubleshooting
If you encounter any issues while growing your Group One snapdragons, there are a few common problems to be aware of. Yellowing leaves can be a sign of nutrient deficiencies, so make sure to fertilize your plants regularly. Pests such as aphids and spider mites can also be problematic, so keep an eye out for any signs of infestation and treat them promptly.
Summary
– Place Group One snapdragon seeds in the fridge for a few weeks before sowing
– Sow seeds indoors in September or October
– Provide warm, sunny conditions for germination
– Transplant seedlings into individual pots after first true leaves develop
– Water and fertilize regularly to promote healthy growth and blooming
By following these tips and techniques, you can successfully grow beautiful Group One snapdragons in your garden. With their vibrant colors and unique snapdragon shape, these flowers are sure to add a touch of beauty to your outdoor space.


