

Introduction
With winter just around the corner, it’s the perfect time to update your nail game with some stunning winter nail designs. From icy blues to shimmery silvers, there are so many gorgeous options to choose from. In this article, we’ll share over 50 winter nail art designs that you’ll love and provide tips on how to achieve them at home.
Classic Winter Colors
When it comes to winter nail art, classic colors like deep reds, rich greens, and elegant navy blues are always popular choices. To achieve these classic winter nail looks, start by applying a base coat of your chosen color. Once the base coat is dry, use a nail art brush or a toothpick to create simple designs like snowflakes, holly leaves, or candy canes. Finish with a top coat to seal in your design and add shine.
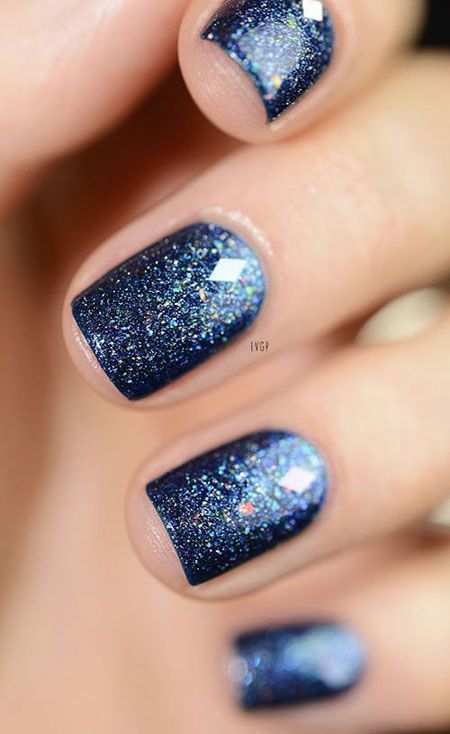
Sparkling Glitter Nails
Nothing says winter quite like sparkling glitter nails. To create this look, start by applying a base coat in a coordinating color. Once the base coat is dry, apply a layer of glitter nail polish over the entire nail or just along the tips for a more subtle sparkle. For an even more dazzling effect, consider adding rhinestones or sequins to your nails using nail glue.
Festive Holiday Nail Art
During the holiday season, festive nail art designs are always a hit. Consider creating festive nail art with classic holiday symbols like Christmas trees, snowmen, or candy canes. You can also opt for a more subtle approach by using holiday-inspired colors like gold, silver, and emerald green to create a chic and sophisticated look.
Winter Wonderland Nails
For a whimsical winter nail art design, consider creating a winter wonderland scene on your nails. Start by painting your nails in a light blue or white base coat. Then use nail art brushes to create snowflakes, pine trees, and cute little snowmen. Finish with a sprinkle of silver glitter to add some sparkle to your winter wonderland nails.
Frosty Ombre Nails
Ombre nails are a popular nail art technique that can be easily adapted for winter. To create frosty ombre nails, start with a base coat in a light color like baby blue or pale pink. Then use a makeup sponge to apply a darker shade of polish to the tips of your nails, blending it into the lighter color for a smooth transition. Finish with a coat of shimmering topcoat for a frosty, wintery effect.
Cozy Sweater Nail Designs
If you love the look of cozy winter sweaters, you’ll adore sweater nail designs. Start with a base coat in a neutral color like beige or gray. Once the base coat is dry, use a nail art brush to create a crisscross pattern on your nails to mimic the look of a cozy sweater. You can also add cute accents like snowflakes or reindeer for an extra festive touch.
Tips for Achieving Winter Nail Art at Home
When attempting these winter nail art designs at home, there are a few tips to keep in mind to ensure a successful outcome. Firstly, ensure that your nails are clean and free from any old polish. Use a good quality base coat to protect your nails and prevent staining. Additionally, invest in some quality nail art brushes and tools to make creating intricate designs easier. Finally, practice makes perfect, so don’t be discouraged if your first attempt doesn’t turn out exactly as you’d hoped. With a little practice, you’ll be creating gorgeous winter nail art designs in no time.
Conclusion
Winter is the perfect time to have fun with your nail art and experiment with new designs. Whether you opt for classic winter colors, sparkling glitter nails, festive holiday designs, or whimsical winter scenes, there are endless possibilities for creating stunning winter nail art. With the tips and techniques shared in this article, you’ll be well on your way to achieving gorgeous winter nails that you’ll love.
You can review our digital products by following us on Etsy.


