
Get into the Holiday Spirit with Christmas Tree Nail Art
The holiday season is upon us, and that means it’s time to break out the festive nail art! Christmas tree nail art is a fun and creative way to show off your holiday spirit. With just a few simple steps, you can transform your nails into a winter wonderland. In this article, we’ll show you how to create the perfect Christmas tree nail art and give you some tips on how to make it last throughout the holiday season.
Materials You’ll Need
Before you get started, make sure you have all the necessary materials. You’ll need a base coat, green nail polish, a thin nail art brush or toothpick, assorted nail colors for decorating (such as red, gold, and silver), a top coat, and some nail polish remover for any mistakes. Once you have everything you need, you’re ready to begin creating your Christmas tree nail art.
Step-by-Step Instructions
Start by applying a base coat to protect your nails and create a smooth surface. Once the base coat is dry, apply two coats of green nail polish to all of your nails. This will serve as the background for your Christmas tree design.
Creating the Christmas Tree
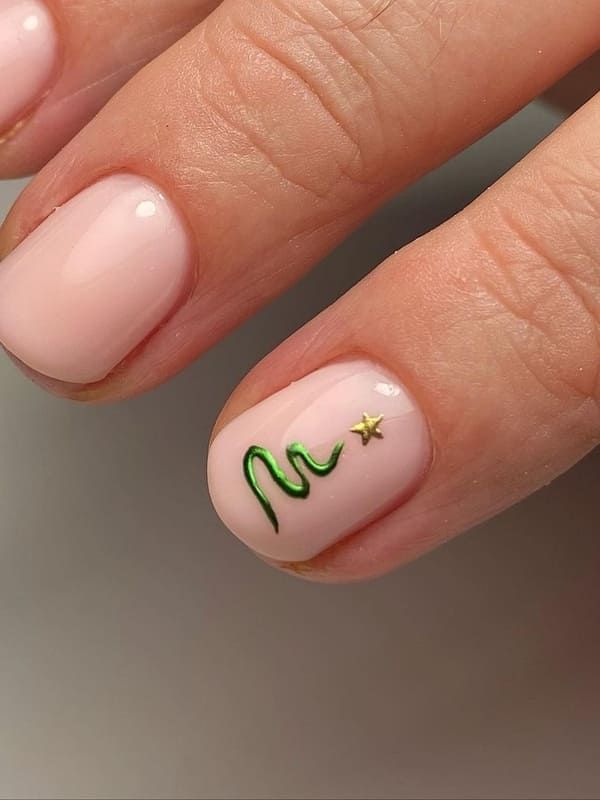
Once the green polish is dry, it’s time to start creating the Christmas tree. Using a thin nail art brush or a toothpick, draw a triangle shape at the tip of your nail using a darker shade of green nail polish. This will be the outline of your tree.
Decorating Your Tree
Now it’s time to decorate your tree! Using the assorted nail colors, create ornaments on your tree by carefully dabbing small dots onto the tree with the nail art brush or toothpick. You can also add a star to the top of the tree using a gold or silver polish. Get creative with your decorations and add as many colors and patterns as you like.
Finishing Touches
Once you’re happy with your Christmas tree design, let it dry for a few minutes before applying a top coat to seal in your masterpiece. This will help your nail art last throughout the holiday season and prevent chipping.
Tips for Long-Lasting Christmas Tree Nail Art
To make sure your Christmas tree nail art lasts as long as possible, there are a few tips you can follow. First, be sure to apply a thin layer of top coat every couple of days to protect the design from wear and tear. Additionally, try to avoid using your nails as tools and be gentle with your hands to prevent chipping.
Get Creative with Christmas Tree Nail Art
The options are endless when it comes to Christmas tree nail art. You can mix and match different colors and patterns to create a unique design that reflects your personal style. Whether you prefer a classic green and red color scheme or a more modern and whimsical look, there’s no wrong way to decorate your Christmas tree nails.
Show Off Your Festive Spirit
Christmas tree nail art is a fun and festive way to get into the holiday spirit. With just a few simple steps and some creative flair, you can transform your nails into a winter wonderland that will be the envy of all your friends. So go ahead, grab your nail polish and get ready to shine this holiday season with Christmas tree nail art!
You can review our digital products by following us on Etsy.


