

1. Glitter Ombre Nails
For on-trend winter nail designs, try creating a glitter ombre effect on your nails. Start by painting your nails with a dark base color, such as deep blue or burgundy. Then, use a sponge to dab a lighter glitter polish onto the tips of your nails, blending it into the base color for a stunning ombre effect. Finish with a top coat for added shine and protection.
2. Snowflake Nail Art
Add a festive touch to your winter nails with snowflake nail art. Start by painting your nails a pale blue or white. Then, use a fine nail art brush to create delicate snowflake designs on each nail. Finish with a clear top coat to seal in your winter wonderland nail art.
3. Knit Sweater Nails
Embrace the cozy vibes of winter with knit sweater nail designs. Start by painting your nails a neutral color, such as taupe or cream. Then, use a thin nail art brush to create a knit pattern on each nail, mimicking the look of a cozy winter sweater. Finish with a matte top coat for a textured finish.
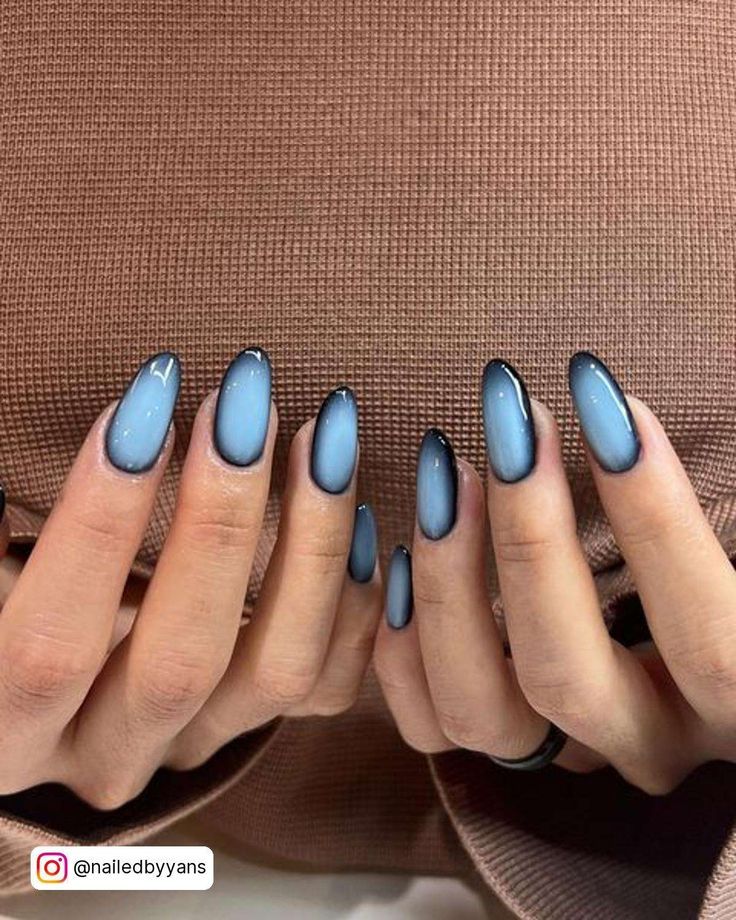
4. Jewel-Toned Nails
For a luxurious look this winter, consider jewel-toned nails. Choose rich, deep shades such as emerald green, sapphire blue, or ruby red for a regal manicure. Add a touch of sparkle with a glitter accent nail or embellishments such as rhinestones or studs for a glamorous finish.
5. Icicle Nail Tips
Create a frosty look with icicle nail tips this winter. Start by painting your nails a pale blue or silver. Then, use a fine nail art brush to create icicle designs along the tips of your nails, making them appear as if they are dripping with shimmering icicles. Finish with a glossy top coat for a polished look.
6. Plaid Nail Art
Add a touch of traditional winter style to your nails with plaid nail art. Start by painting your nails a solid color, such as red, green, or navy. Then, use a thin nail art brush to create a plaid pattern on each nail, with intersecting lines and small squares. Finish with a matte top coat for a cozy, cabin-inspired look.
7. Winter Wonderland Nails
Bring the beauty of a winter wonderland to your nails with this enchanting nail design. Start with a sheer white or pale blue base color. Then, use a fine nail art brush to create snow-covered trees, falling snowflakes, or a serene winter landscape on each nail. Finish with a glittery top coat to add a touch of sparkle to your snowy scene.
8. Metallic Foil Nails
Add a touch of metallic glamour to your winter nails with metallic foil designs. Start by painting your nails with a dark base color, such as black or navy. Then, apply metallic foil in shades of gold, silver, or rose gold to create eye-catching designs on each nail. Finish with a clear top coat to seal in the metallic foil and protect your winter nail art.
9. Poinsettia Nail Art
Celebrate the holiday season with poinsettia nail art. Start by painting your nails a festive red or deep green. Then, use a fine nail art brush to create delicate poinsettia flowers on each nail, complete with vibrant petals and a bold center. Finish with a glossy top coat for a festive and floral winter nail design.
10. Fair Isle Nails
Embrace the cozy and charming look of Fair Isle knitting with this winter nail design. Start by painting your nails a neutral base color, such as cream or gray. Then, use a fine nail art brush to create intricate Fair Isle patterns on each nail, featuring a mix of geometric shapes and complementary colors. Finish with a matte top coat for a cozy and stylish winter nail look.
With these 10 on-trend winter nail designs, you can add a touch of seasonal style to your manicure. Whether you opt for glitter ombre nails, snowflake nail art, or metallic foil designs, there are endless ways to embrace the beauty of winter on your fingertips. Experiment with different colors, textures, and nail art techniques to find the perfect winter nail design that suits your style and celebrates the season.
You can review our digital products by following us on Etsy.


