

Spring Nails Art Gel 2023 | Aesthetic Nail Art Designs
When it comes to nail art, Gel nails are a popular choice for many people due to their durability and long-lasting color. If you’re looking to elevate your Spring nail game with some aesthetic designs, then you’ve come to the right place. In this article, we’ll provide you with some suggestions and tips on how to achieve stunning Spring nail art using gel polish.
Tools and Materials
Before you start with your nail art, it’s important to ensure you have all the necessary tools and materials. Here’s a list of items you’ll need:
- Gel nail polish in Spring-inspired colors
- Nail art brushes
- Dotting tools
- Nail tape or stickers
- UV/LED lamp
- Nail file and buffer
- Nail polish remover
- Base and top coat
Design Ideas
Now that you have all the tools and materials ready, it’s time to explore some aesthetic nail art designs for Spring. Here are a few ideas to get you started:
Floral Designs
Spring is the perfect time to embrace floral designs on your nails. You can create delicate flower patterns using different shades of gel polish and a thin nail art brush. Alternatively, you can also opt for floral water decals for an easier application.
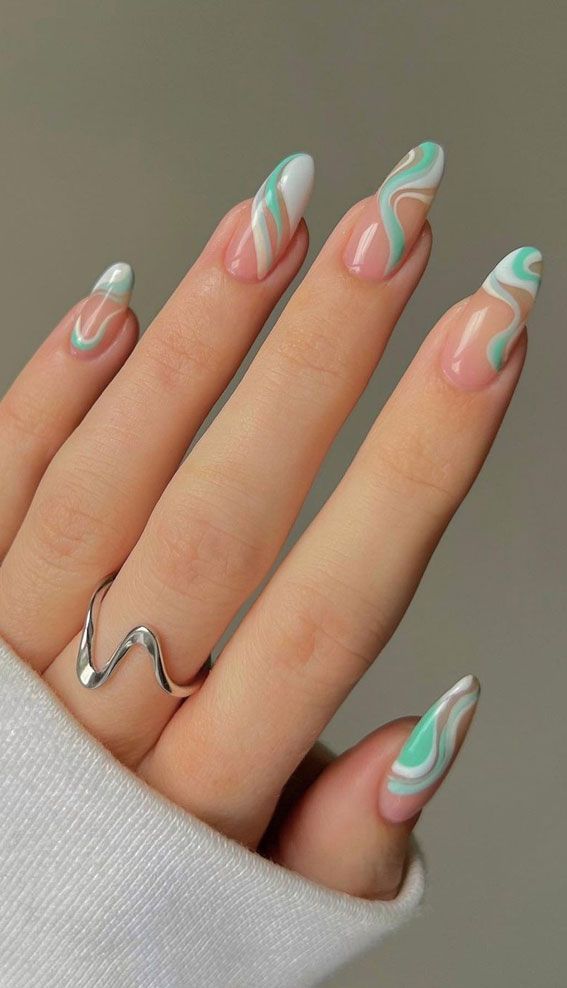
Pastel Ombre
Pastel colors are synonymous with Spring, and creating an ombre effect with gel polish can give your nails a soft and dreamy look. You can use a makeup sponge to blend two or more pastel shades together for a stunning gradient effect.
Textured Nails
Adding texture to your nails can create an interesting and unique look. You can achieve this by using gel polish with glitter or adding 3D elements such as studs or pearls to your nails. Textured nails can add a playful and whimsical touch to your Spring nail art.
Step-by-Step Application
Now that you have some design ideas in mind, let’s walk through the step-by-step application process for creating Spring nails art with gel polish.
Prep Your Nails
Start by prepping your nails. Remove any old polish using nail polish remover and shape your nails with a file. Make sure to push back your cuticles for a clean canvas.
Apply Base Coat
Once your nails are prepped, apply a thin layer of base coat and cure it under a UV or LED lamp according to the instructions of your gel polish brand.
Create Your Design
Now it’s time to get creative with your gel polish. Whether you’re doing floral designs, ombre, or adding texture, take your time to carefully apply the gel polish in the desired pattern or style. Use nail art brushes and dotting tools to achieve precision.
Cure Under Lamp
After you’ve created your design, cure your nails under the UV or LED lamp to set the gel polish. Make sure to follow the recommended curing time for the specific gel polish you’re using.
Apply Top Coat
Lastly, seal your design with a layer of top coat to add shine and protection to your nails. Cure the top coat under the lamp, and you’re all set with your Spring gel nails art!
Final Thoughts
Spring is the perfect season to play around with vibrant colors and fun designs for your nails. With the right tools, materials, and a bit of creativity, you can achieve stunning aesthetic nail art using gel polish. Whether you opt for floral designs, pastel ombre, or textured nails, the key is to have fun and express your personal style through your Spring nails art.
So, what are you waiting for? Get your gel polish and start experimenting with these Spring nail art ideas to elevate your manicure game and welcome the new season with style!
You can review our digital products by following us on Etsy.


