

Spring Nail Trends
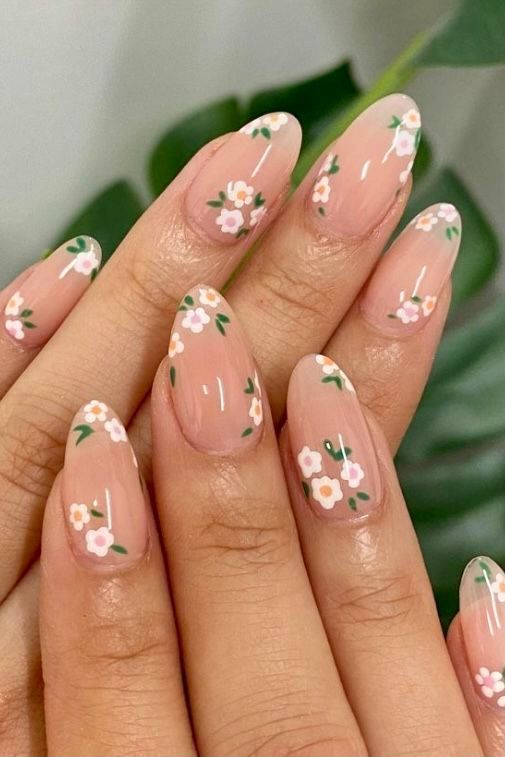
Spring is the perfect time to experiment with fun and fresh nail designs. One of the most popular nail trends for spring is flower nails. Whether you prefer delicate daisies or vibrant roses, there are countless ways to incorporate floral designs into your manicure. In this article, we’ll explore some pretty spring nail trends and provide step-by-step instructions for achieving flower nails at home.
1. Choose the Right Colors
The first step in creating stunning flower nails is to choose the right colors. For a classic spring look, opt for pastel shades such as soft pink, lavender, and mint green. If you’re feeling bold, you can also experiment with brighter hues like coral, turquoise, and sunshine yellow. Once you’ve selected your base color, consider which shades you’ll use for the flower petals and centers.
2. Gather Your Supplies
Before you begin, gather all the supplies you’ll need to create your flower nails. This includes your chosen nail polish colors, a top coat, and any nail art tools you may want to use, such as dotting tools or nail brushes. You may also want to have a small dish of acetone on hand for clean-up purposes.
3. Create Your Base Coat
Start by applying a base coat to your nails. This will help your manicure last longer and provide a smooth surface for your flower designs. Allow the base coat to dry completely before moving on to the next step.
4. Paint Your Nails
Once your base coat is dry, it’s time to apply your chosen nail polish colors. Use your desired base color as the background for your flower nails. Then, select a different shade to use for the flower petals. Use a small brush or dotting tool to create flower petals on each nail. You can also use a contrasting color for the flower centers, adding small dots or dashes to complete the look.
5. Add Detail to Your Flowers
To add depth and dimension to your flower nails, consider adding some extra details. You can use a thin nail art brush to add outlines and accents to your flowers, creating a more intricate design. You can also experiment with different flower shapes and sizes to create a unique and eye-catching manicure.
6. Apply a Top Coat
Once you’re satisfied with your flower nail designs, apply a top coat to seal in your hard work and provide a glossy finish. This will help protect your manicure and extend its longevity while adding a polished look to your nails.
7. Clean Up Any Mistakes
Finally, use a small brush dipped in acetone to clean up any mistakes or excess polish around your nails. This will give your flower nails a clean and professional finish, ensuring that your manicure looks its best.
Conclusion
Flower nails are a playful and feminine way to embrace the beauty of spring. By following these simple steps and experimenting with different colors and designs, you can create a stunning manicure that will turn heads and brighten your mood. Whether you’re a nail art pro or just starting out, flower nails are a fun and accessible trend that anyone can enjoy.
You can review our digital products by following us on Etsy.


