")
Adorable Christmas and Winter Nail Art Designs
If you’re looking for some festive nail art designs to show off this holiday season, look no further! We’ve got some of the cutest and most adorable Christmas and winter nail art ideas that you can easily recreate at home. Whether you’re into traditional holiday colors or more whimsical designs, there’s something for everyone.
How to Create Cute Christmas and Winter Nail Art
Here are some step-by-step instructions on how to create cute Christmas and winter nail art at home:
1. Gather Your Supplies
- Nail polish in festive colors like red, green, white, silver, and gold
- Nail art tools such as brushes, dotting tools, and nail tape
- Nail polish remover and q-tips for clean-up
- Top coat for a long-lasting finish
2. Choose Your Design
There are endless possibilities when it comes to Christmas and winter nail art designs. You can opt for classic symbols like snowflakes, reindeer, or Christmas trees, or go for a more modern approach with geometric patterns or glitter accents. Take some time to browse through different designs and choose one that speaks to you.
3. Prep Your Nails
Before you start painting, make sure your nails are clean and free of any old polish. Trim and shape your nails to your desired length and apply a base coat to protect your natural nails.
4. Paint Your Base Color
Once your base coat is dry, apply your chosen base color. For a classic Christmas look, you can’t go wrong with red or green. If you’re feeling more wintery, opt for white or silver as your base.
5. Add Your Design
This is where the fun part begins! Use your nail art tools to create your chosen design on top of your base color. If you’re not confident in freehand nail art, you can also use nail stickers or decals for an easy and cute design.
6. Seal the Deal
Once your design is dry, finish off with a top coat to protect your nail art and give it a glossy finish. This will also help your design last longer without chipping.
Cute Christmas and Winter Nail Art Design Ideas
Now that you know how to create your own adorable Christmas and winter nail art, here are some design ideas to inspire you:
1. Snowflake Nails
Create a wintery wonderland on your nails with delicate snowflake designs. Use a white base and add detailed snowflakes with a fine nail art brush or stamping tool.
2. Candy Cane Stripes
Add a pop of color to your nails with festive candy cane stripes. Use red and white nail polish to create alternating stripes or a candy cane swirl design.
3. Reindeer Nails
Add a touch of whimsy to your manicure with adorable reindeer designs. Use brown polish for the base and add reindeer faces, antlers, and red noses for a cute and festive look.
4. Christmas Tree Nail Art
Create a mini Christmas tree on your nails with green polish and tiny jewel accents for ornaments. You can also add a star or a garland for extra detail.
5. Sweater Nails
Channel the cozy vibes of winter with a sweater-inspired nail art design. Use a base color and add intricate knit patterns in contrasting colors for a cozy and cute look.
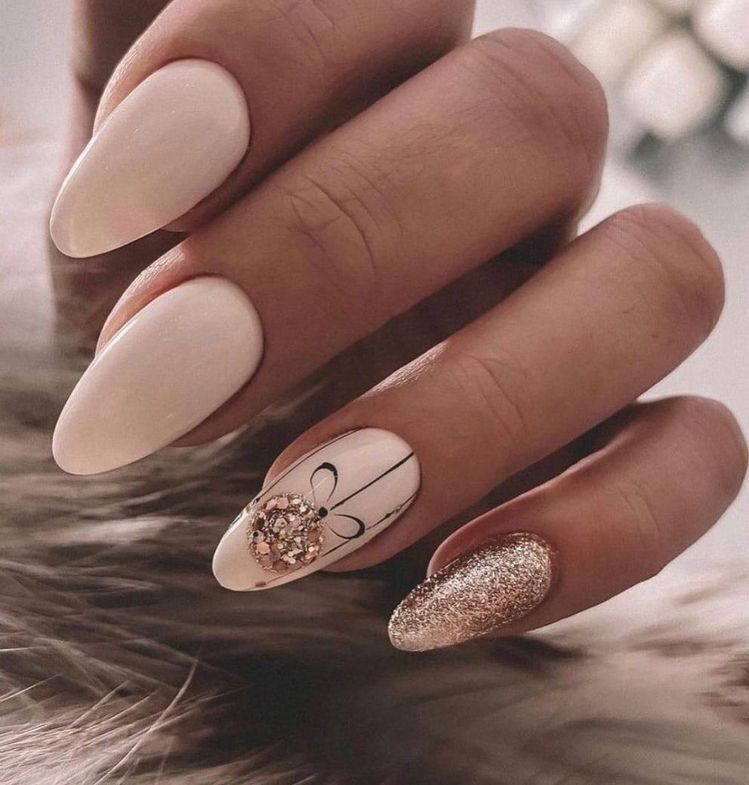
6. Glitter Gradient
Add some sparkle to your nails with a glitter gradient design. Start with a base color and add a glittery gradient effect at the tips for a subtle yet festive look.
Conclusion
With these adorable Christmas and winter nail art ideas, you’ll be able to show off your festive spirit with style. Whether you’re a nail art pro or a beginner, these designs are easy to recreate at home and are sure to be a hit at any holiday gathering. So get your nail polish and brushes ready, and let’s get into the holiday spirit with some cute and festive nail art!
You can review our digital products by following us on Etsy.


